|  By selecting **Matterport**, you’ll be asked if you want to import rooms for your space from a selected smart home provider or create rooms yourself, then follow up with Matterport scan Linking. |
|  By selecting the **NavVis**, you’ll be asked if you want to import rooms for your space from a selected smart home provider or create rooms yourself, then follow up with NavVis scan Linking. |
|  By selecting the Stages, you’ll be asked if you want to import rooms for your space from a selected smart home provider or create rooms yourself. |
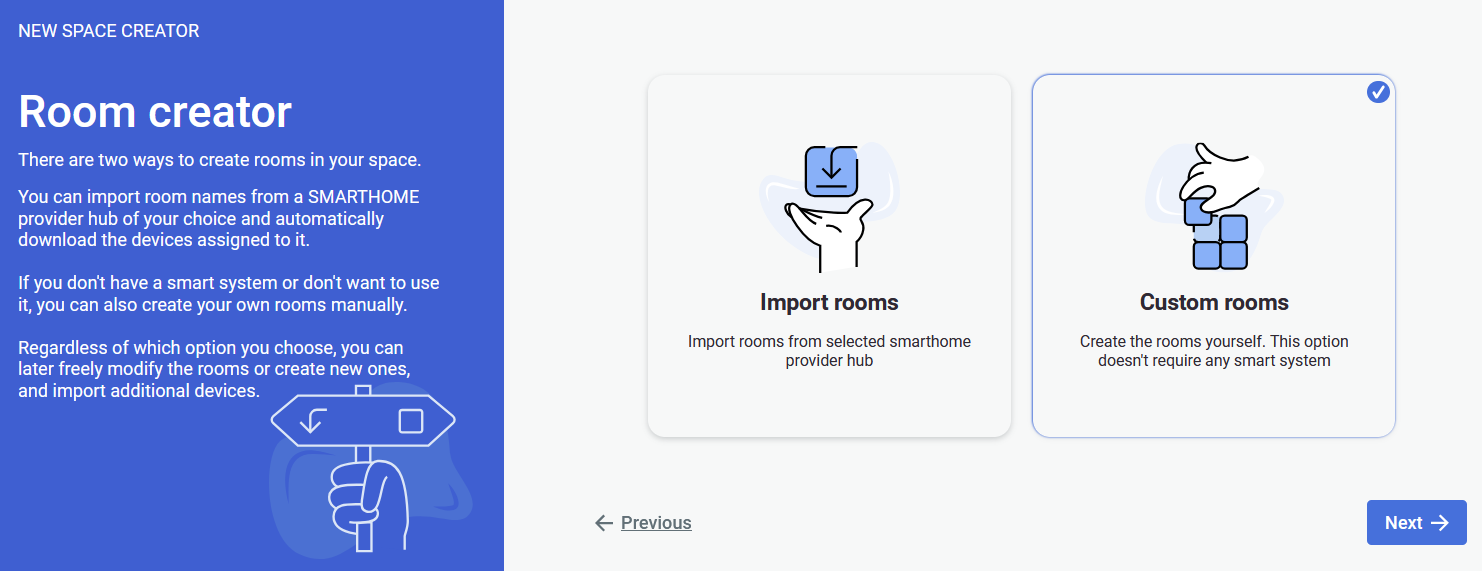
Space import process is the same for each of the setting up methods - you can import rooms automatically or create custom rooms yourself
#### **Space import**| **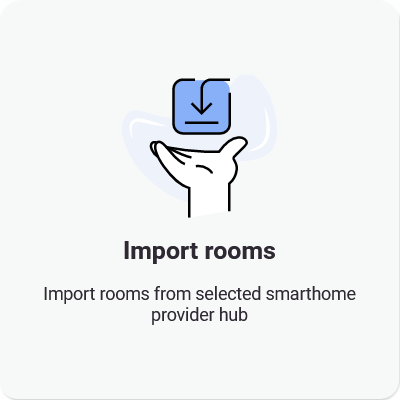** - Automatic room import - you need to choose the provider, log in to your account and your rooms will be imported according to the provider you choose. All devices will be imported automatically too.  | 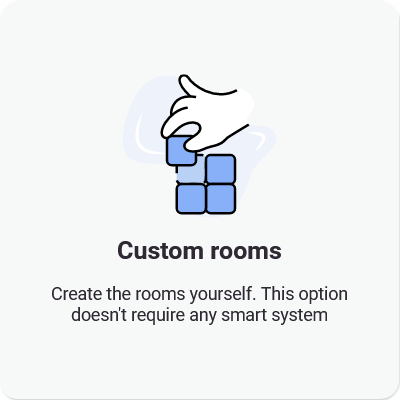
- Manual room setup - you need to enter names of the rooms you want to add. It will create a list of rooms that you’ll be able to assign in the 3D walk.
- After naming all rooms (*or part of them, you can always add/modify/remove rooms later*), you can click on the  button and paste Matterport link or log in to your Matterport account to select the space you want to use. After clicking  and checking if the summary looks okay, you can click confirm.
Learn more about creating rooms **[here](https://docs.sim-on.com/books/3-app-overview/page/rooms "Room Setup")** |
If you already have a **Stages project** set up, it is recommended to use the [**STAGES METHOD**](https://docs.sim-on.com/books/2-getting-started/page/stages-method)
The process is the same for all Providers **SIM-ON** works with. For the presentation purposes, we will be using [**Fibaro (NICE)**](https://docs.sim-on.com/books/2-getting-started/page/fibaro) and present the whole process of adding a new space with importing devices, setting sweeps to rooms and adding and renaming the devices for the space
--- #### **Importing rooms**If you do not have a smart home system that we support, or any smart system at this time, use the **[Custom room creation](https://docs.sim-on.com/link/128#bkmrk-custom-rooms-1)**
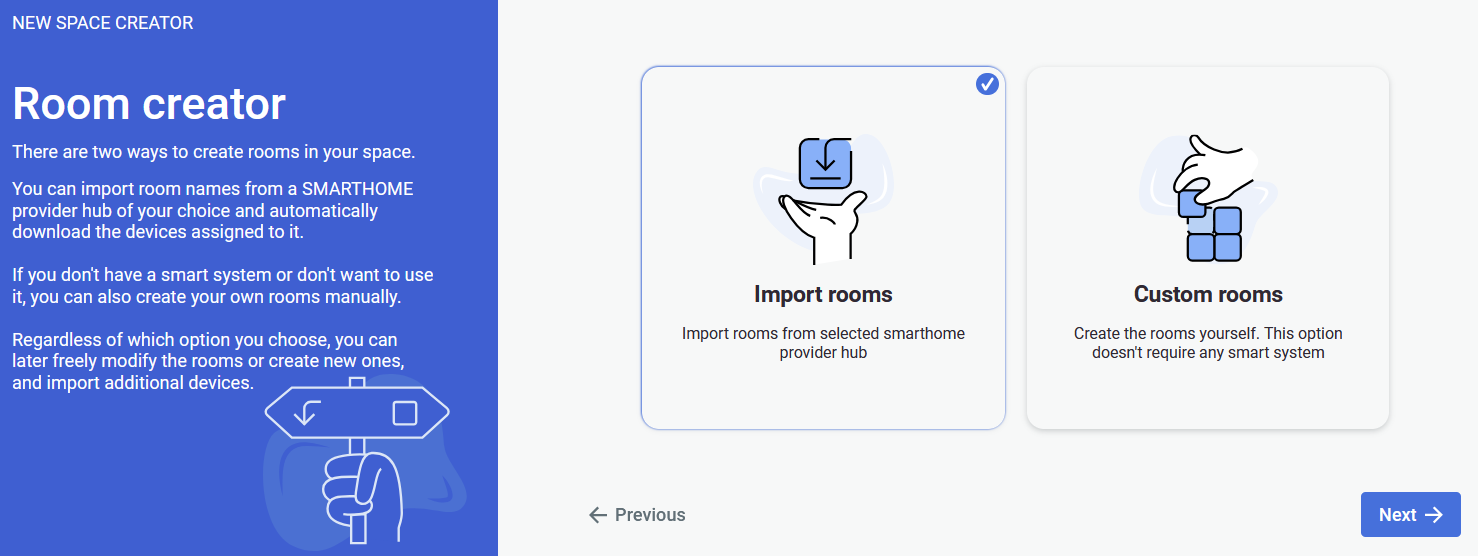 Selecting the **Import rooms** option will open a SMARTHOME provider selection window, where you will be asked to choose a provider. We will be using Fibaro as our provider. Currently supported providers are: **[KNX - project setup](https://docs.sim-on.com/books/2-getting-started/page/knx-image-change)** **[SmartThings - project setup](https://docs.sim-on.com/books/2-getting-started/page/smartthings "Project Setup - SmartThings example")** **[NICE (Fibaro) - project setup](https://docs.sim-on.com/books/2-getting-started/page/fibaro-text-changes "Project setup - Fibaro")** **[NETX - project setup](https://docs.sim-on.com/books/2-getting-started/page/netx "Project setup - NETX example")** 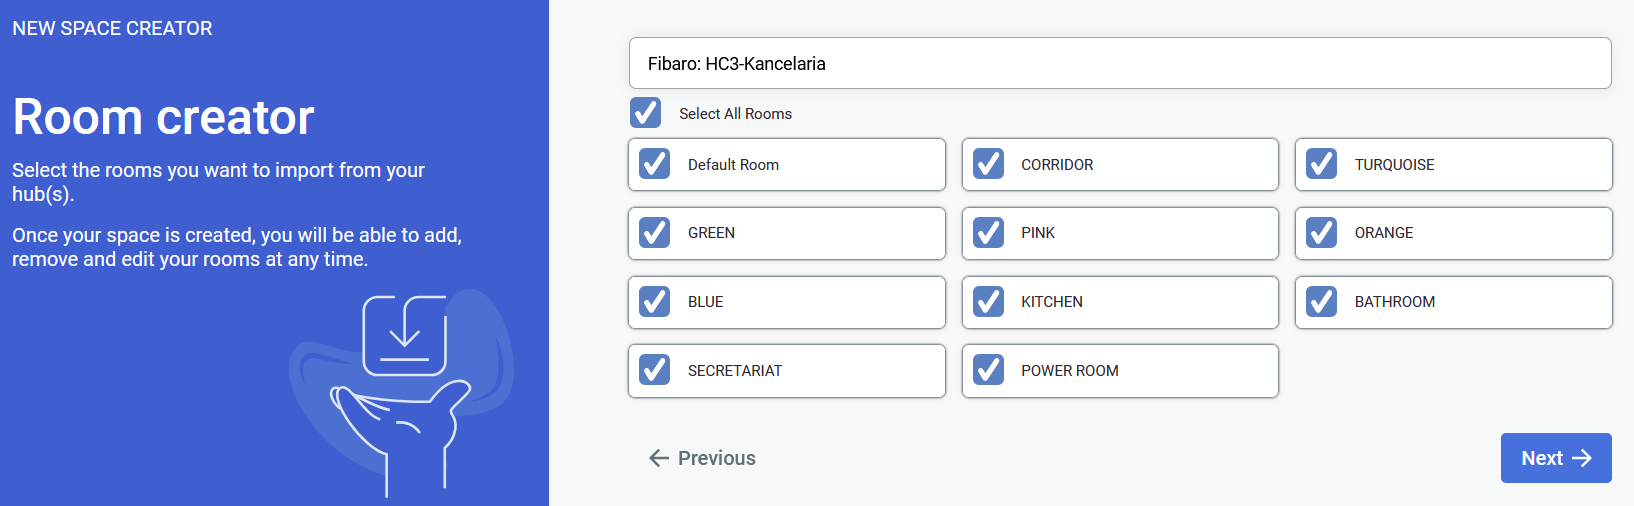 After selecting your smarthome provider and logging into your account you will see a list of available rooms to choose from for an automatic import.At least a single room has to be selected to proceed
**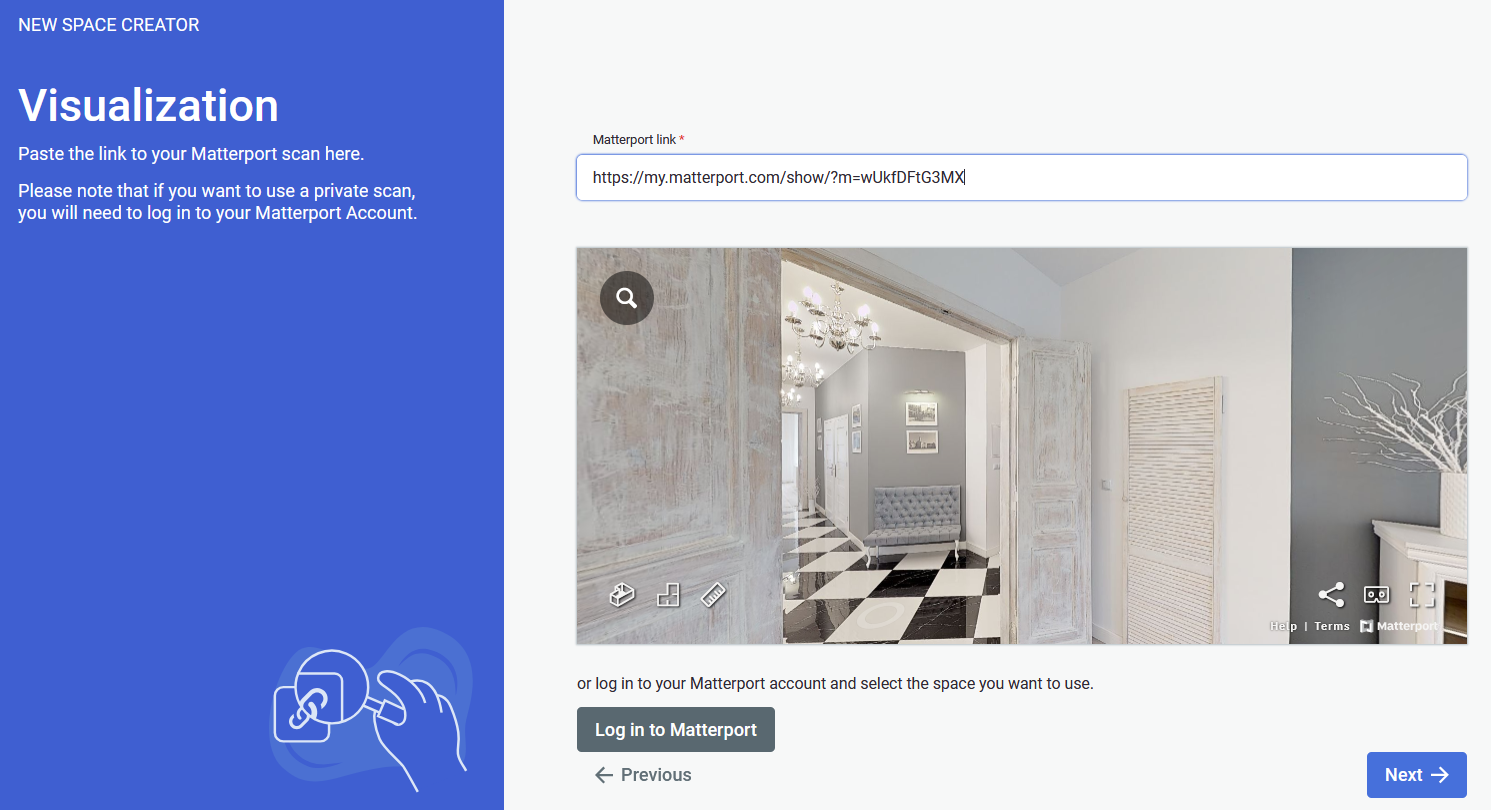** After completing your choice of rooms you will be prompted to provide a link to the **Matterport** virtual tour scan.If the link to your scan is private, you will need to log in into your Matterport account
Lastly you will be asked to check if everything is correct and you can start working on your project. --- #### **Custom rooms**Custom rooms do not require any smart system, so if you plan to add one in the future, this option will work best for you
 The option of custom room creation is the most suitable for clean slate space creation. 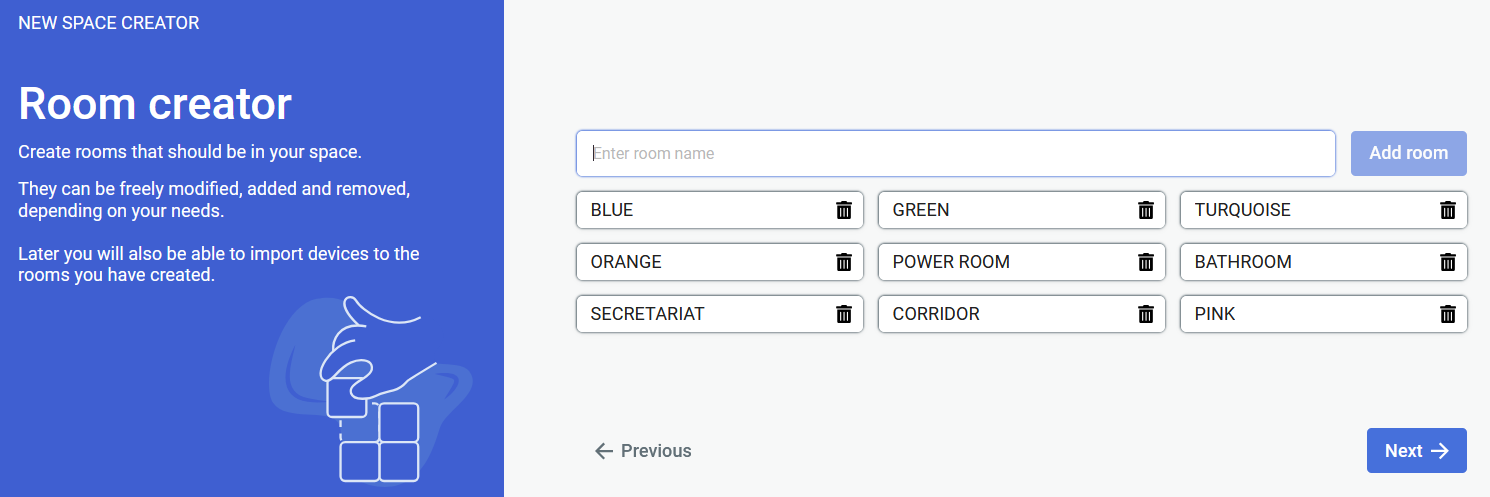 Now you will have to create rooms for the scene.At least a single room has to be created to proceed
 After creating your choice of rooms, you will be prompted to provide a link to the **Matterport** virtual tour scan.If the link to your scan is private, you will need to log in into your **Matterport** account.
After clicking next, the last step is to check if everything is correct. If so, click confirm and you can start working on your scene: adding sweeps to rooms, assets, tickets and events or devices in the future. # NavVis method 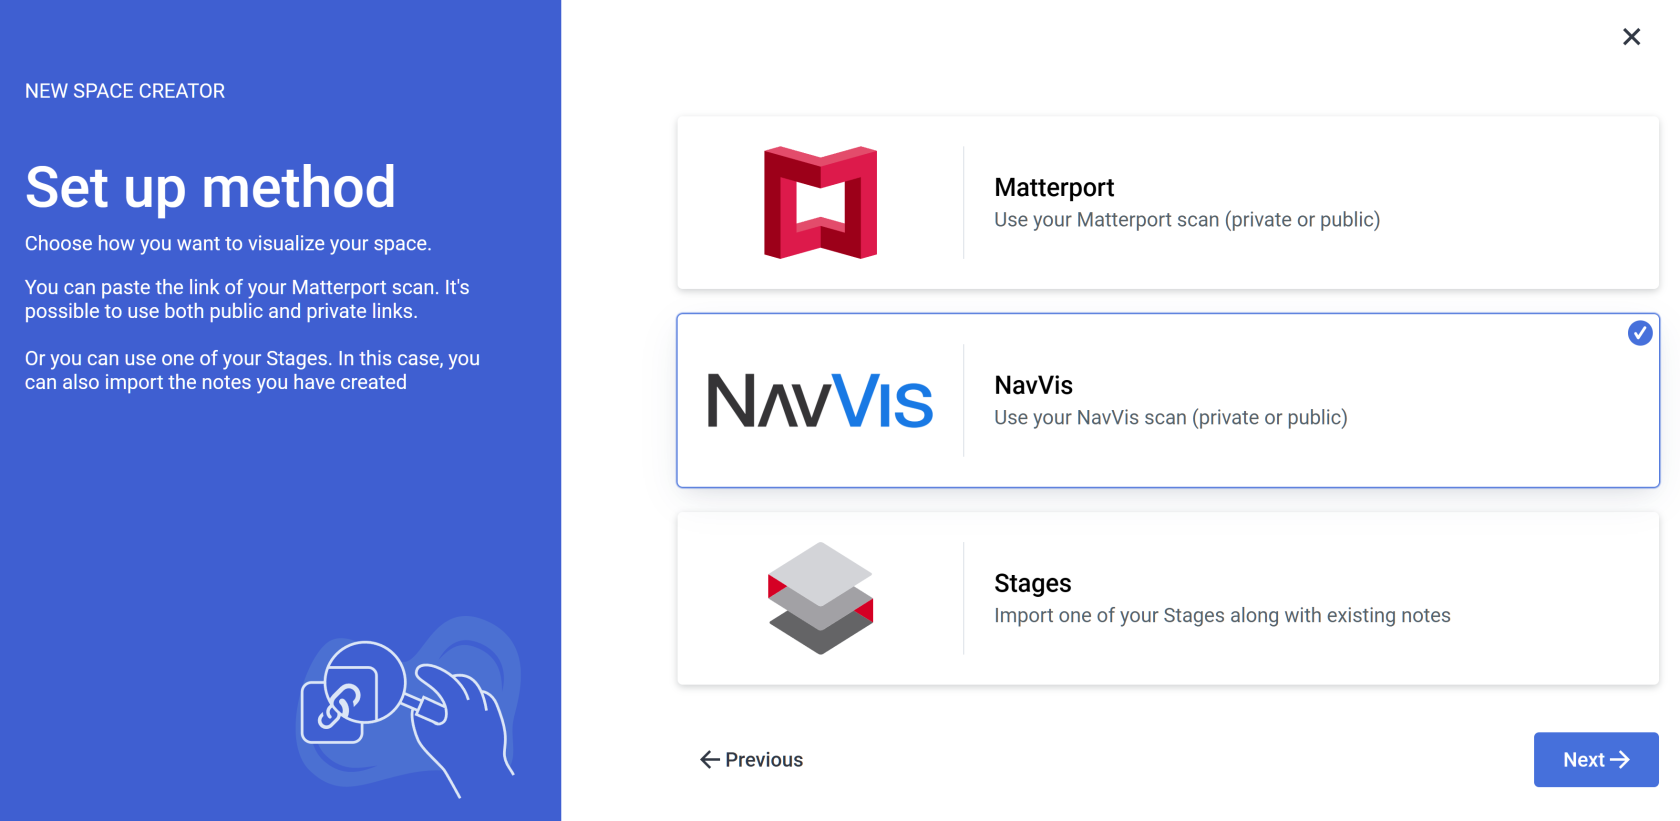 By selecting **NavVis** you will begin space creation based on the **NavVis** **scan.**If you already have a **Stages project** set up, it is recommended to use the [**STAGES METHOD**](https://docs.sim-on.com/books/2-getting-started/page/stages-method)
The process is the same for all Providers **SIM-ON** works with. For the presentation purposes, we will be using [**Fibaro (NICE)**](https://docs.sim-on.com/books/2-getting-started/page/fibaro) and present the whole process of adding a new space with importing devices, setting sweeps to rooms and adding and renaming the devices for the space
--- #### **Importing rooms**If you do not have a smart home system that we support, or any smart system at this time, use the **[Custom room creation](https://docs.sim-on.com/link/128#bkmrk-custom-rooms-1)**
 Selecting the **Import rooms** option will open a SMARTHOME provider selection window, where you will be asked to choose a provider. We will be using Fibaro as our provider. Currently supported providers are: **[KNX - project setup](https://docs.sim-on.com/books/2-getting-started/page/knx-image-change)** **[SmartThings - project setup](https://docs.sim-on.com/books/2-getting-started/page/smartthings "Project Setup - SmartThings example")** **[NICE (Fibaro) - project setup](https://docs.sim-on.com/books/2-getting-started/page/fibaro-text-changes "Project setup - Fibaro")** **[NETX - project setup](https://docs.sim-on.com/books/2-getting-started/page/netx "Project setup - NETX example")**  After selecting your smarthome provider and logging into your account you will see a list of available rooms to choose from for an automatic import.At least a single room has to be selected to proceed
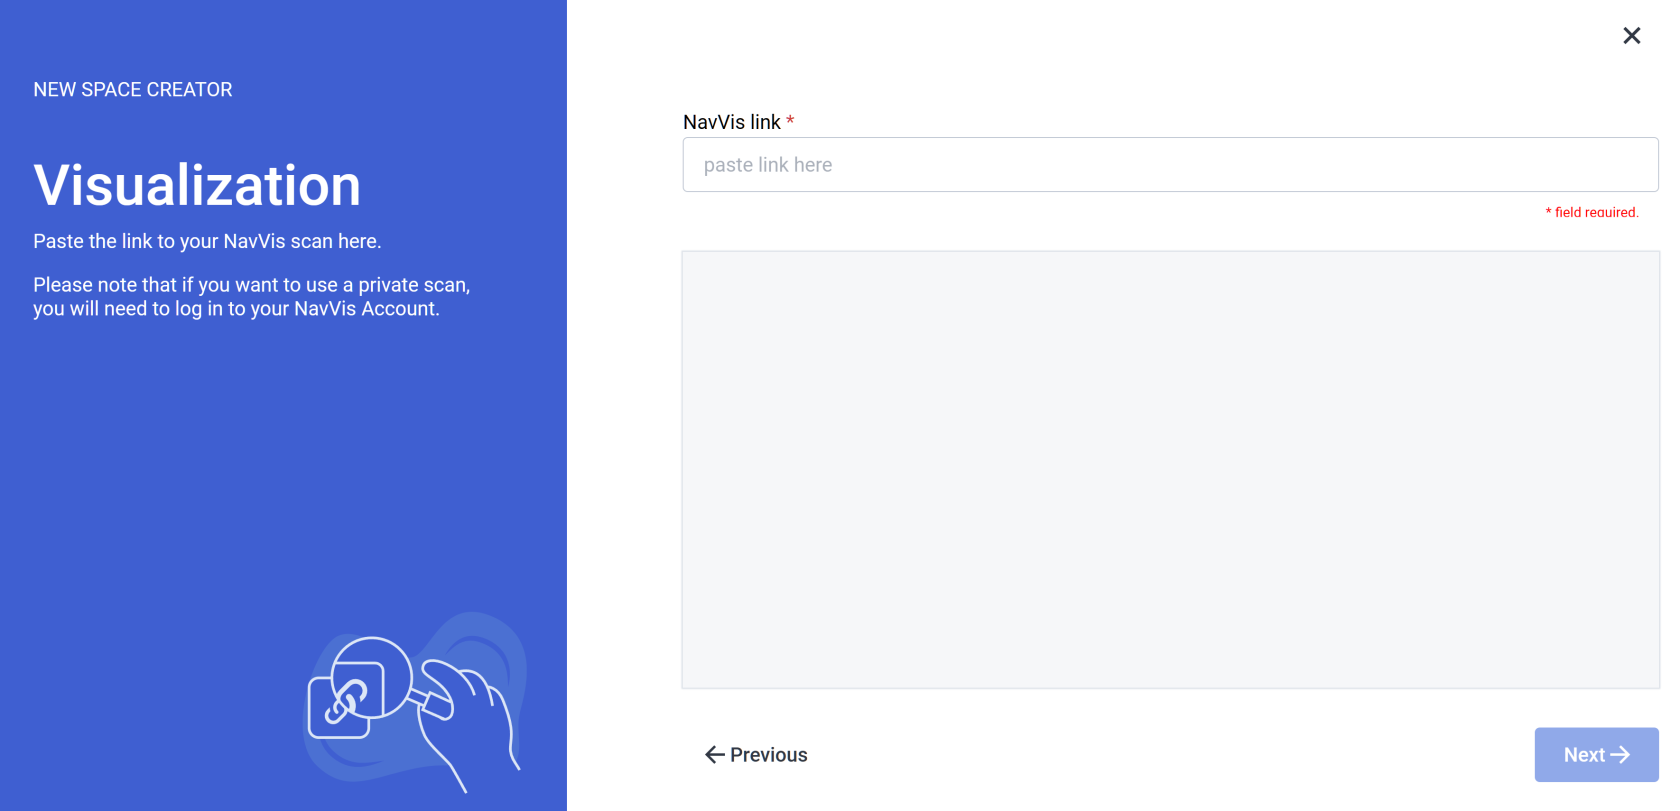 After completing your choice of rooms you will be prompted to provide a link to the **NavVis** virtual tour scan.If the link to your scan is private, you will need to log in into your NavVis account
Lastly you will be asked to check if everything is correct and you can start working on your project. --- #### **Custom rooms**Custom rooms do not require any smart system, so if you plan to add one in the future, this option will work best for you
 The option of custom room creation is the most suitable for clean slate space creation.  Now you will have to create rooms for the scene.At least a single room has to be created to proceed
[](https://docs.sim-on.com/uploads/images/gallery/2025-03/1Mnimage.png) After creating your choice of rooms, you will be prompted to provide a link to the **NavVis** virtual tour scan.If the link to your scan is private, you will need to log in into your NavVis account
After clicking next, the last step is to check if everything is correct. If so, click confirm and you can start working on your scene: adding sweeps to rooms, assets, tickets and events or devices in the future. # Stages method [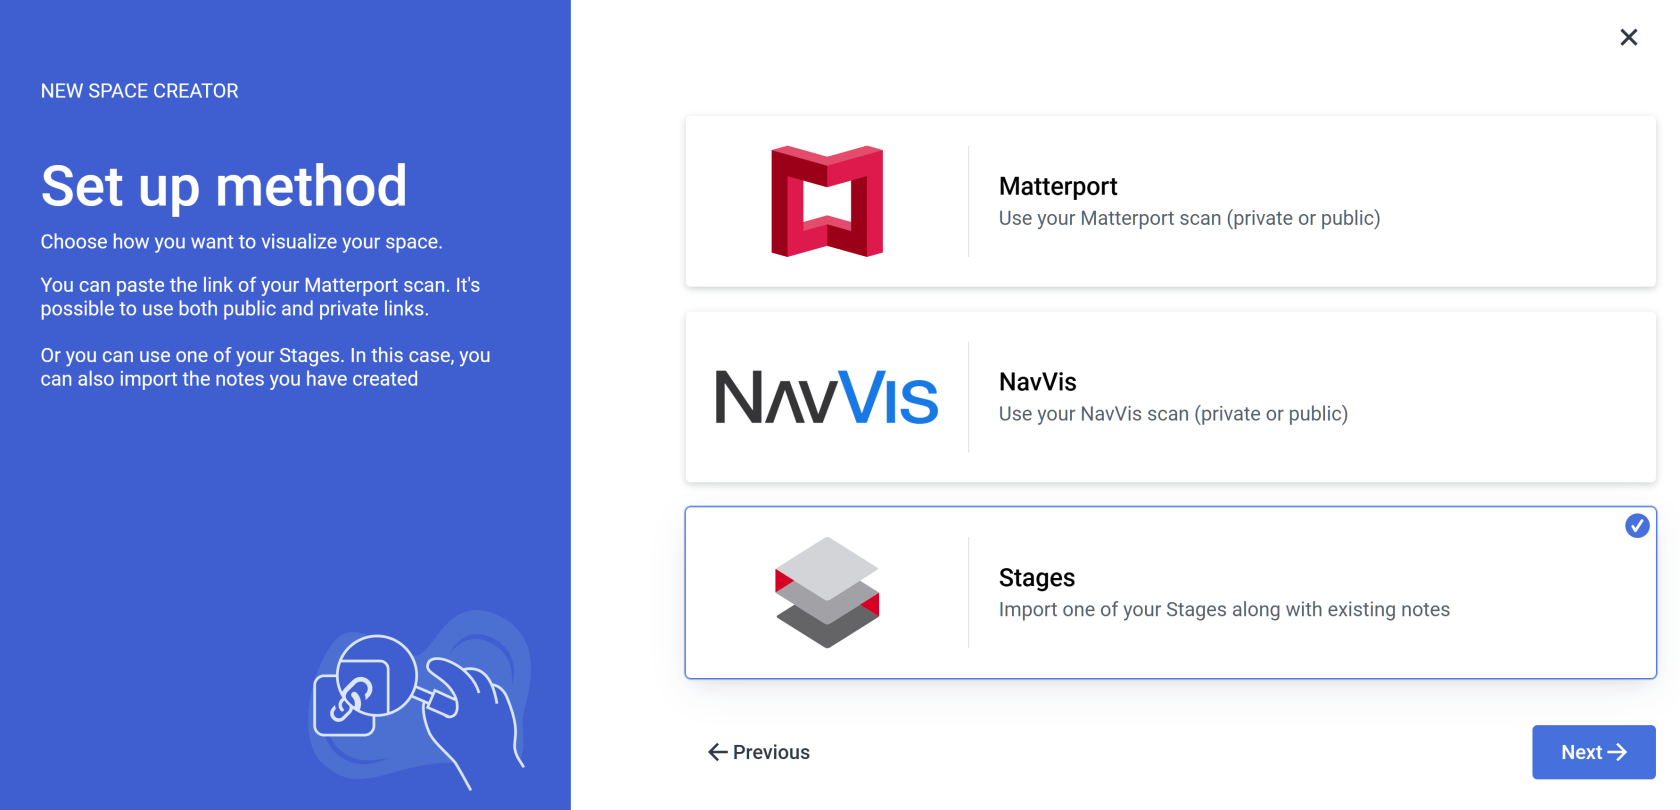](https://docs.sim-on.com/uploads/images/gallery/2025-03/Ezqimage.png) If you already have a project in **Stages** and Import room option, similarly to the Matterport option, you will be asked to choose the provider.If you don't have a **Stages project** set up, you can use either the [**MATTERPORT**](https://docs.sim-on.com/books/2-getting-started/page/matterport-method) or [**NAVVIS**](https://docs.sim-on.com/books/2-getting-started/page/navvis-method) Method instead
The process is the same for all Providers **SIM-ON** works with. For the presentation purposes, we will be using [**Fibaro (NICE)**](https://docs.sim-on.com/books/2-getting-started/page/fibaro) and present the whole process of adding a new space with importing devices, setting sweeps to rooms and adding and renaming the devices for the space
--- #### **Importing rooms**If you do not have a smart home system that we support, or any smart system at this time, use the [**Custom room creation**](https://docs.sim-on.com/link/129#bkmrk-stages-method---crea-1)
 Selecting the **Import rooms** option will open a SMARTHOME provider selection window, where you will be asked to choose a provider. We will be using Fibaro as our provider. Currently supported providers are: **[KNX - project setup](https://docs.sim-on.com/books/2-getting-started/page/knx-image-change)** **[SmartThings - project setup](https://docs.sim-on.com/books/2-getting-started/page/smartthings "Project Setup - SmartThings example")** **[NICE (Fibaro) - project setup](https://docs.sim-on.com/books/2-getting-started/page/fibaro-text-changes "Project setup - Fibaro")** **[NETX - project setup](https://docs.sim-on.com/books/2-getting-started/page/netx "Project setup - NETX example")**  After selecting your smarthome provider and logging into your account you will see a list of available rooms to choose from for an automatic import.At least a single room has to be selected
 After selecting your choice of rooms, you will now have to select the Organization, project and stage, your scene will be built on. After clicking next, the last step is to check if everything is correct. If so, click confirm and you can start working on your scene: adding sweeps to rooms, assets, tickets and events or devices in the future. --- #### **Creating custom rooms**The second option, “Custom rooms,” does not require any smart system, so if you plan to add one in the future, this option will work best for you
 Select **Custom rooms** then proceed.  Now you will have to create rooms for the scene.At least a single room has to be created to proceed
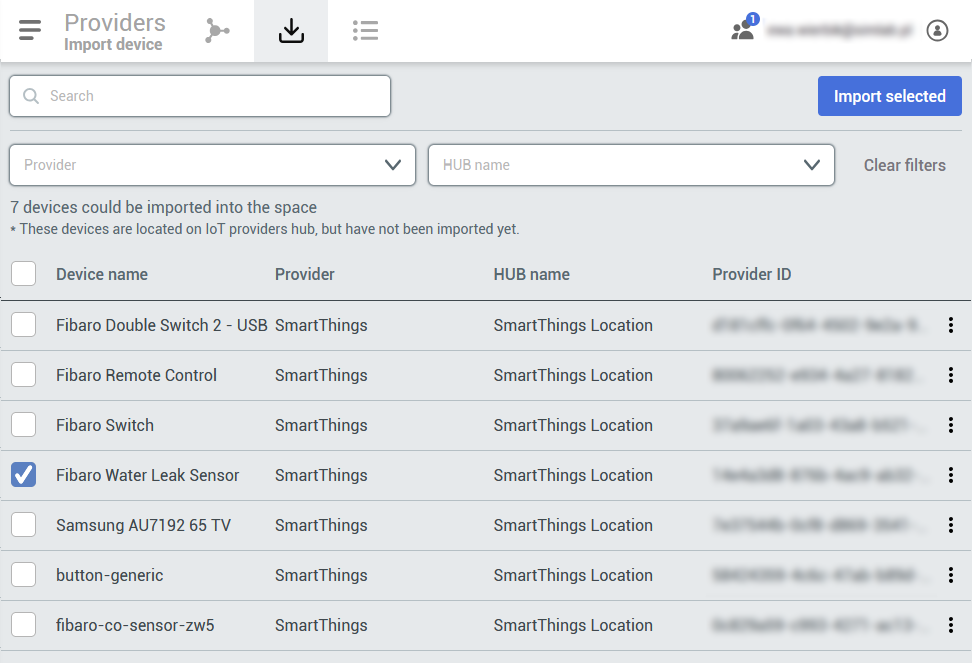
 After creating your choice of rooms, you will now have to select the **Organization, project and stage,** your scene will be built on. After clicking next, the last step is to check if everything is correct. If so, click confirm and you can start working on your scene: adding sweeps to rooms, assets, tickets and events or devices in the future. # Devices #### **Choosing the Providers and adding Devices** There are two ways to import the devices. The first is a part of the process of creating a space - mainly, the import rooms option. After selecting the option of importing rooms the process of connecting to providers is shown here: **[KNX - project setup](https://docs.sim-on.com/books/2-getting-started/page/knx-image-change)** **[SmartThings - project setup](https://docs.sim-on.com/books/2-getting-started/page/smartthings "Project Setup - SmartThings example")** **[NICE (Fibaro) - project setup](https://docs.sim-on.com/books/2-getting-started/page/fibaro-text-changes "Project setup - Fibaro")** **[NETX - project setup](https://docs.sim-on.com/books/2-getting-started/page/netx "Project setup - NETX example")**If you have more than one provider but you want to import devices from one of them only, click on the Provider dropdown and choose the desired one. If the devices were already connected to the project, they will appear in the Device list immediately
Be aware that you can import many devices but not all of them will be connected to your space. If the devices are connected to the space already, you will find them in the Device list. In the example on the right there are multiple devices that are not connected to the space | 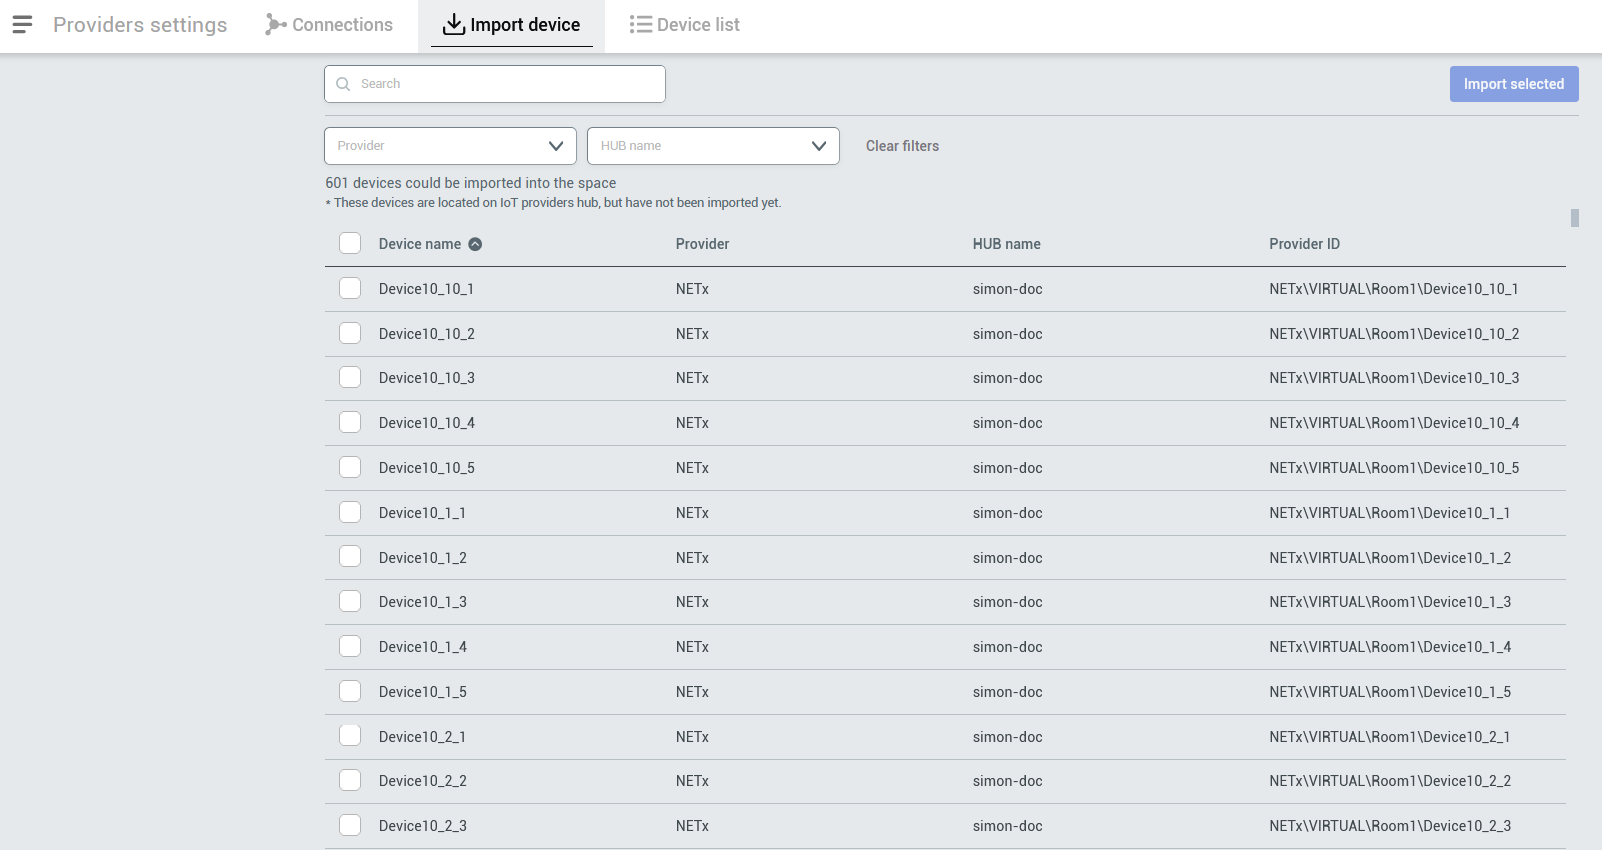 |
| Then, In the Device list, you will see all the new Devices you just imported (*or imported automatically*) with information about device name, provider, HUB name, room and its status. | 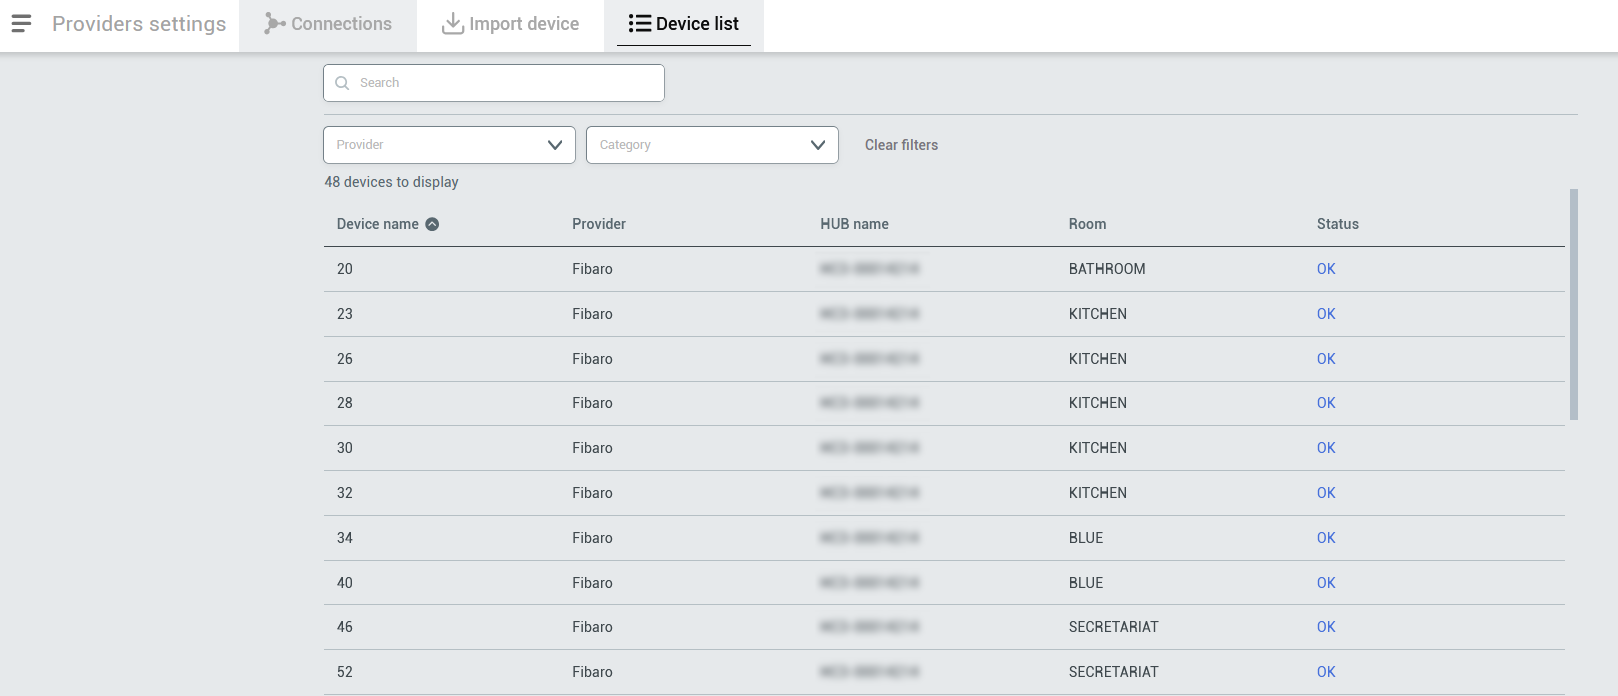 |
|  |  |
| The devices come with icons that shows what specific device do. Let's change the name of the power outlet.
To rename a device (*if it's named automatically but not* *intuitive,*) you can select the device from the right panel, click on it and a window will appear.
Remember that at this point, if you're editing any property and click on the on-off option, you might accidentally turn on or off some devices | 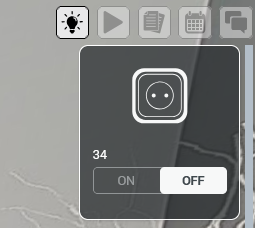 | |
| After clicking on a device, you will see a window with the device details. You can click the icon to see the device structure and what it is controlling. 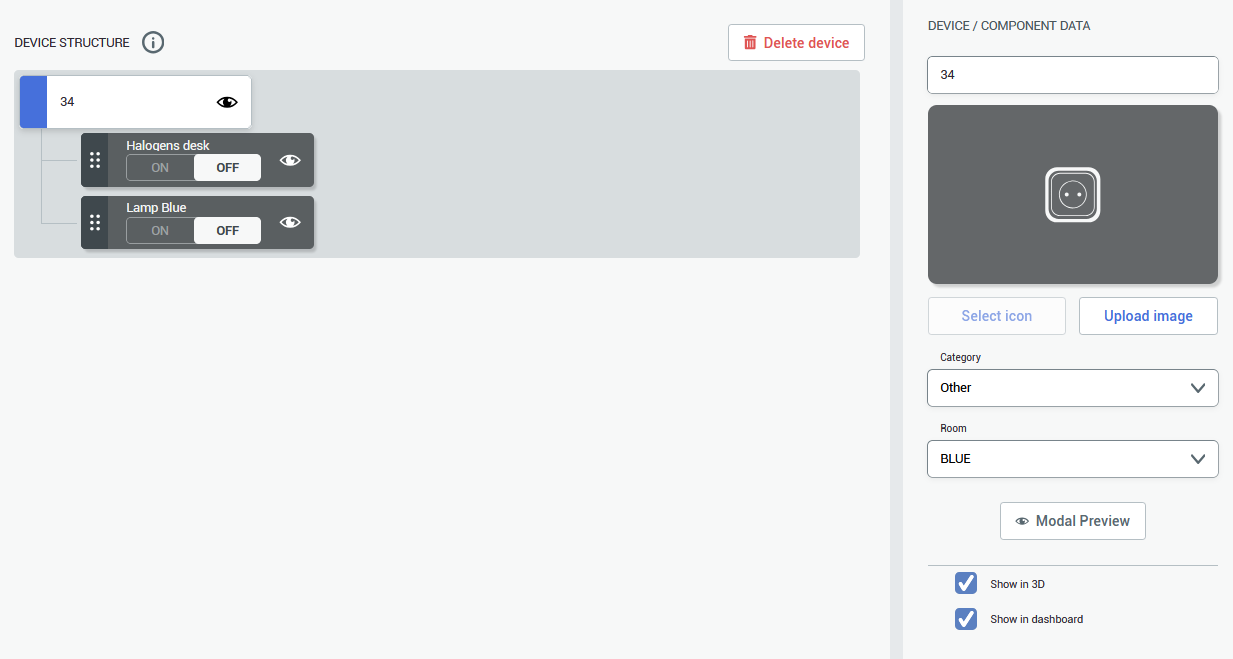 | 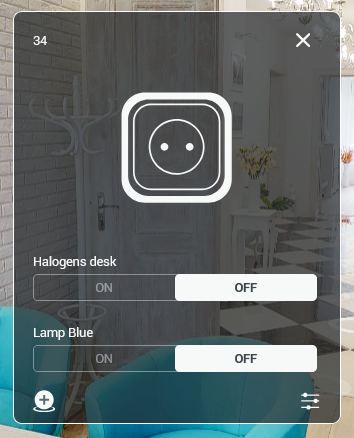 | |
| On the right you can change the name of the device and add the custom icon, change the category and room its assigned to. After renaming and saving the settings, you can click on the device again and see the little icon. This way you can click place the icon of the device in your space. Power outlet that is used for this walkthrough is located behind the door, so the marker is placed near the socket location.  | 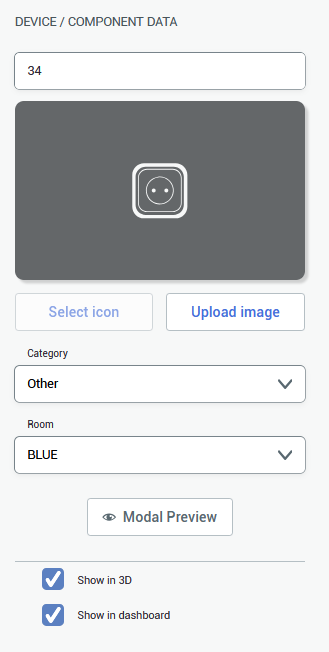 To accept the device's icon placement, click on the icon to close the pop-up window. If you want to delete the icon, click . If you want to place the icon again, click on icon. |
At this stage you might as well add other asset info such as: description or photos, although it is not necessary, since you can come back at any time and edit them later.
After creating an asset, it will now appear on the right side of the viewport, under the **[Quick Access Menu](https://docs.sim-on.com/link/148#bkmrk-assets "Top Menu")**, as well as in the [**assets list**](https://docs.sim-on.com/books/3-app-overview/page/assets) in the [**Dashboard**](https://docs.sim-on.com/books/3-app-overview/chapter/dashboard). **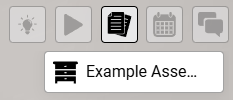** 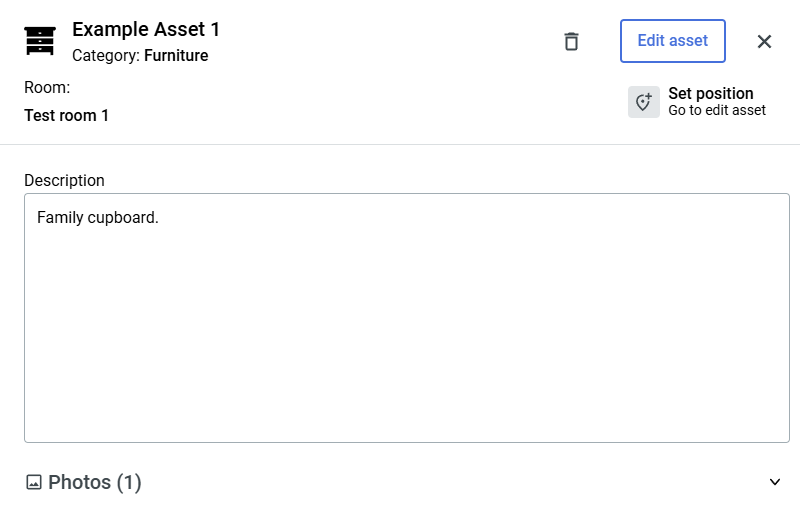 Clicking the asset tile will reveal similar window as before, displaying the details of the asset. From here you can either go back to **edit** your asset, **set it's position** within 3D space or **delete** it altogether. # Sweeps #### **Assigning sweeps to a room**| To place **devices** within the 3D space of **Virtual Tour**, first we need to **define** **the rooms** within the 3D space by assigning them to "**sweeps**".
‘**Sweep**’ as in a full Matterport camera rotation - **A spot** in the **Matterport Space** where a user can **stand** and **look around** (*This includes 3D scan locations and 360º Views*) |  |
After assigning al the sweeps to the room some devices (*if set up before*) might appear on the right panel. Now, the last step is to rename them (*if necessary*) and add their locations
You can assign all the sweeps in the project the same way. To finish you need to lock editing by clicking the **lock**  icon again.After assigning the sweeps to more rooms you'll be able to use the "**Jump to room**" feature located at the bottom of the viewport. Available rooms (*the ones that you assigned the sweeps to*) won't be greyed out and if you click on any of the rooms, you'll be transported to the nearest assigned sweep within the selected room
# Users #### **Adding Users, changing Permissions and Privileges** If you want to add someone to your project, no matter what kind of collaborator it would be, you need to set some privileges. You can do it by clicking the **burger**  icon and then selecting Space settings in the Side bar. First, you can add roles. By default you, as the space creator, have the **OWNER** role. To create new roles, go to the Role templates tab and click  button. In the pop-up window enter new role name and click the confirm button. 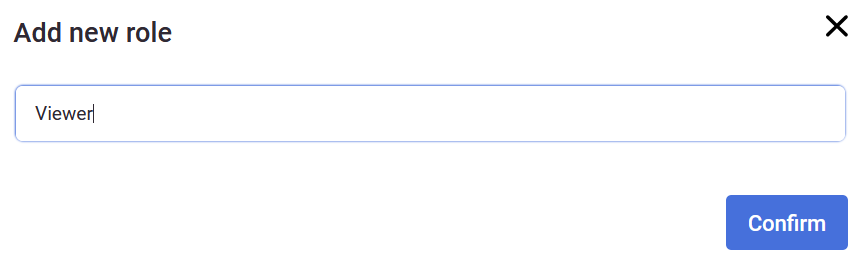 After accepting the new role, another window will appear, allowing you to change different privileges for the role you've just created. You can set appropriate permissions in several categories: General privileges, Rooms, Devices, Assets, Scenes and Tickets. For the role created for this walkthrough, we will set all the privileges to View only.| 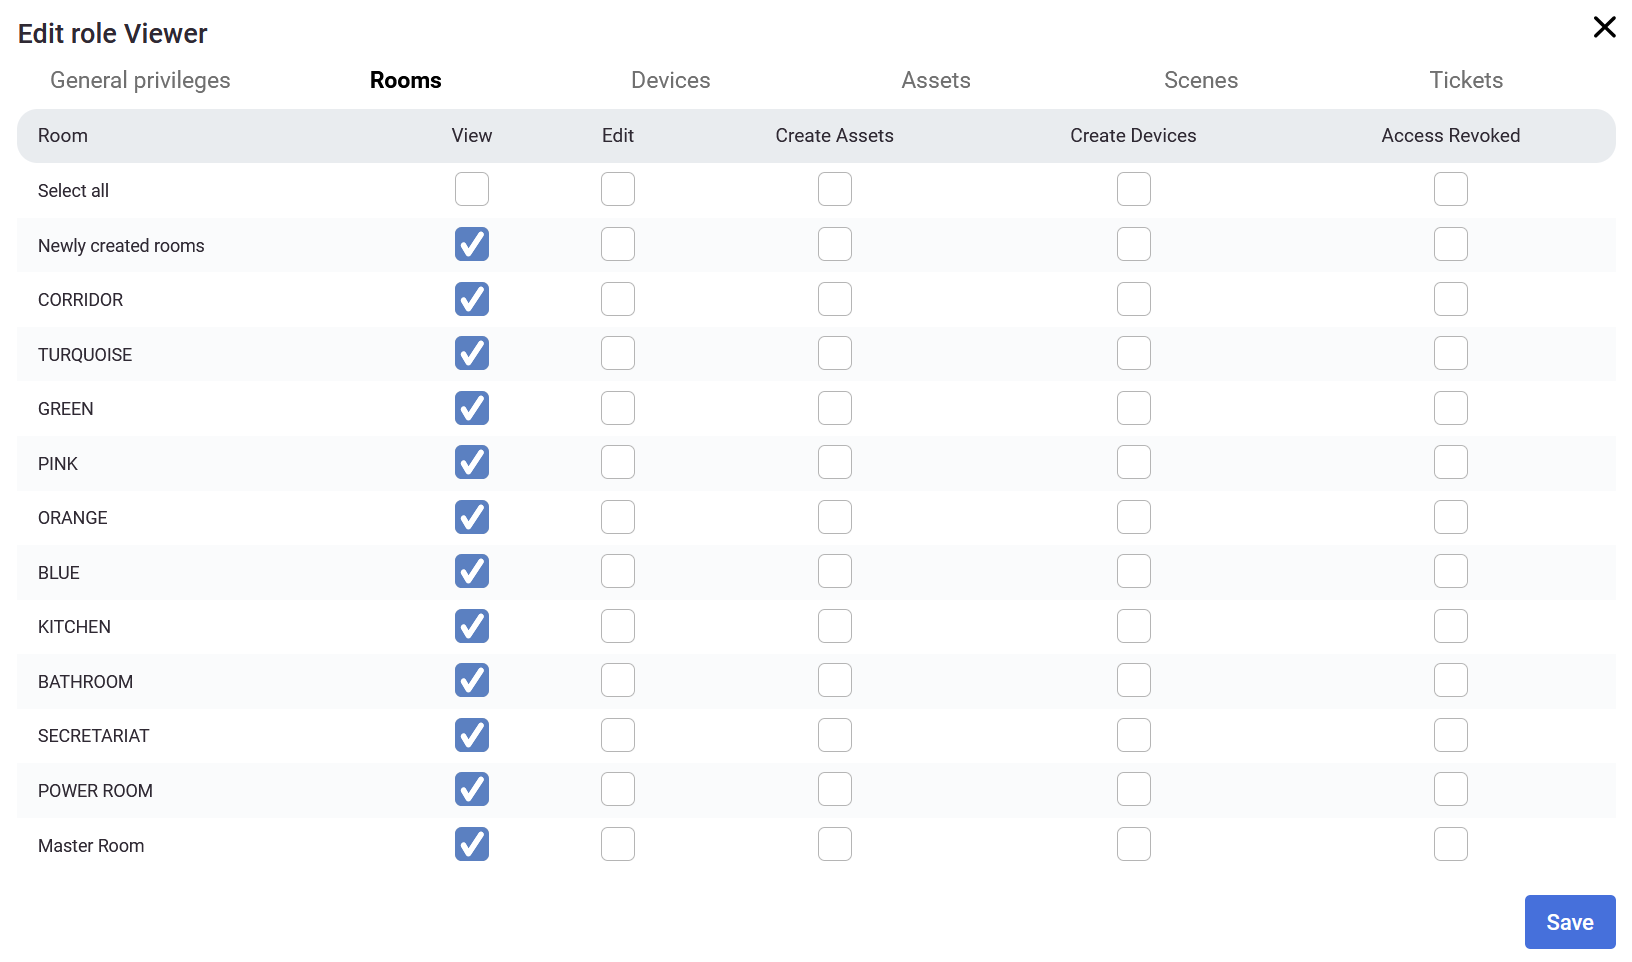 | 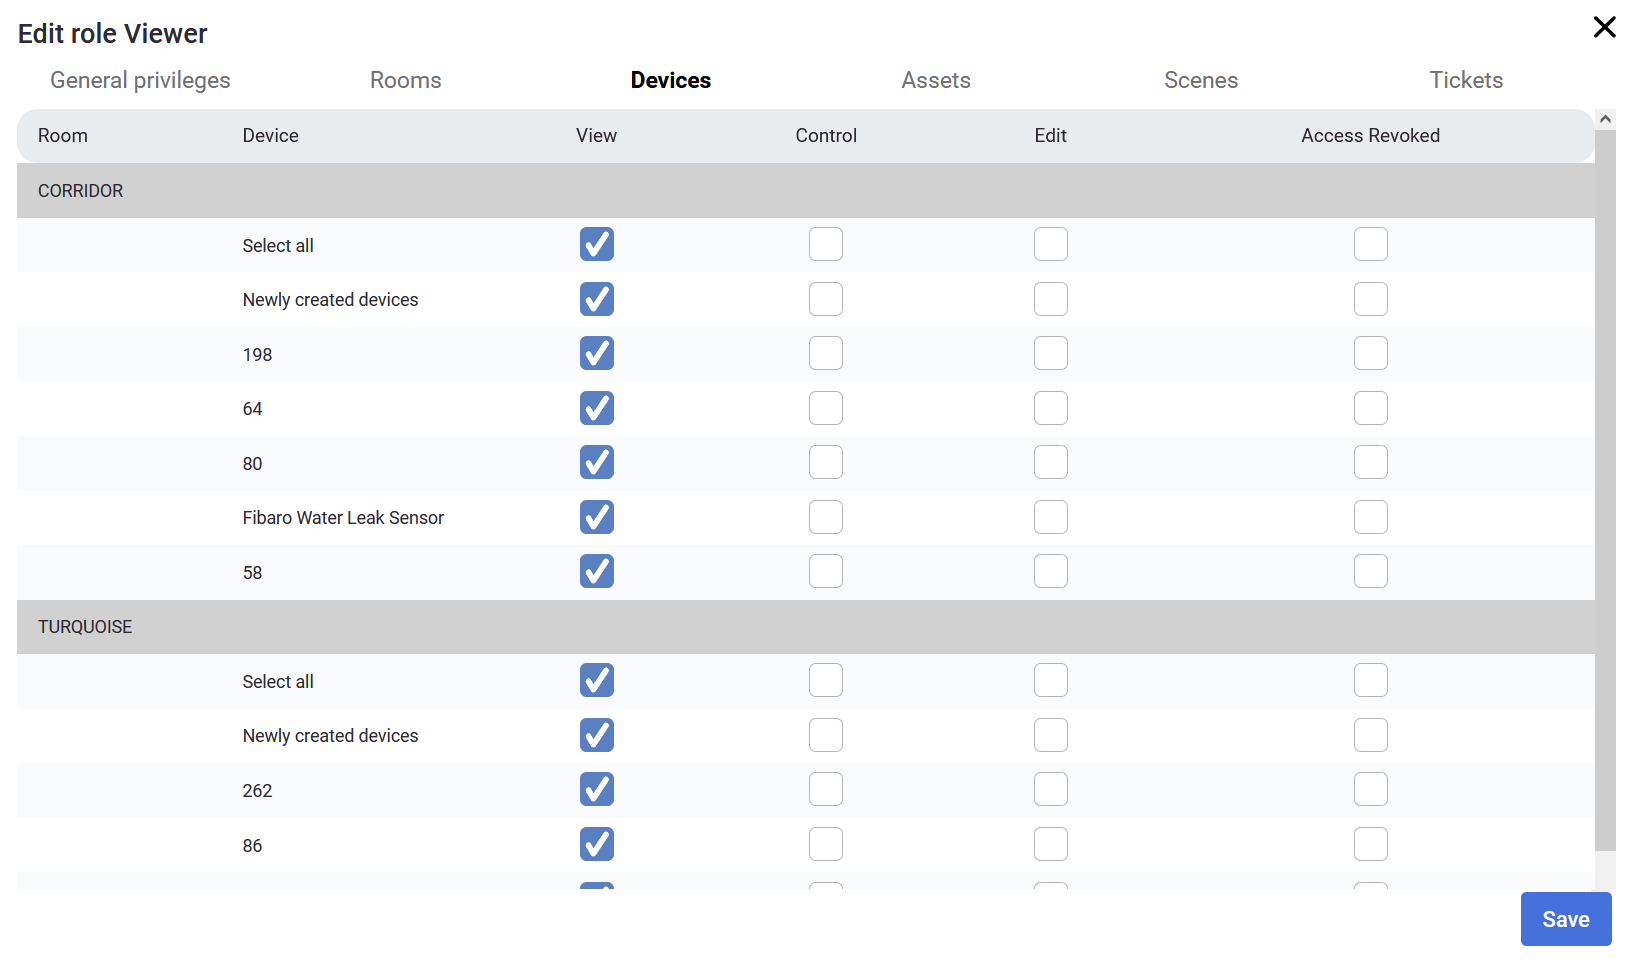 |
| **1.**
In the provider selection window, choose **Schneider KNX** to proceed the project setup based on this home automation service provider.
See the [**list of smarthome providers**](https://docs.sim-on.com/books/2-getting-started/chapter/providers) in **detailed project setup**, to check which ones are supported. | 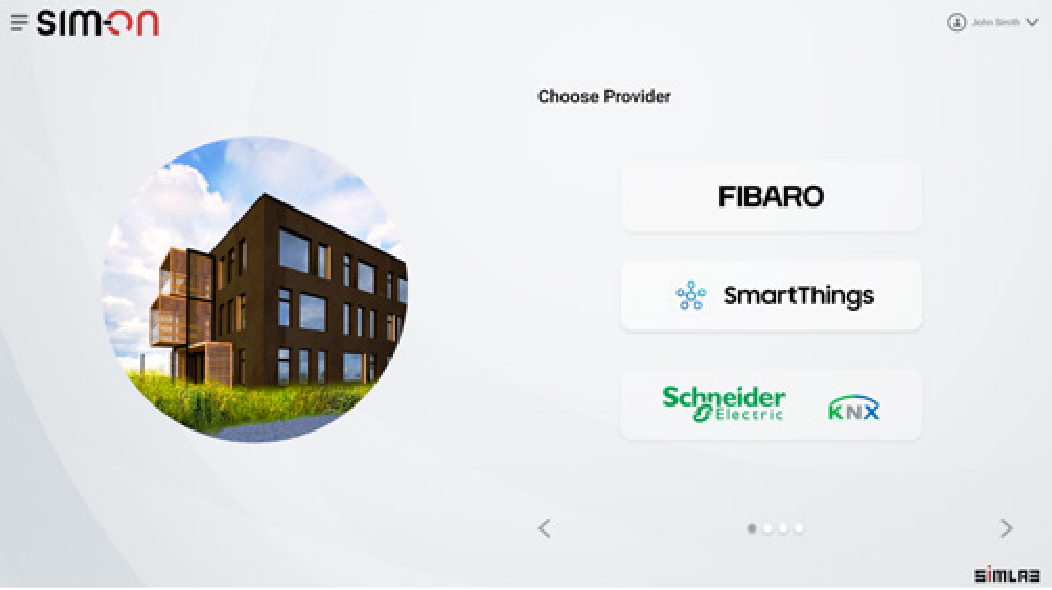 |
| **2.** Once KNX has been selected, you need to connect to the KNX IoT 3 Party API server (*the Wiser for KNX in this case*). The security protocol gets started, ensuring a safe environment for the involved solutions to work together. |  |
| **3.** Once you get access to the KNX IoT 3 Party API server, the software client initiates the authorization process, based on the OAuth2.0 (*the industry-standard protocol for authorization*). OAuth2.0 has the advantage of allowing third parties to access subsets of data without knowing the customer credentials, among other benefits. | 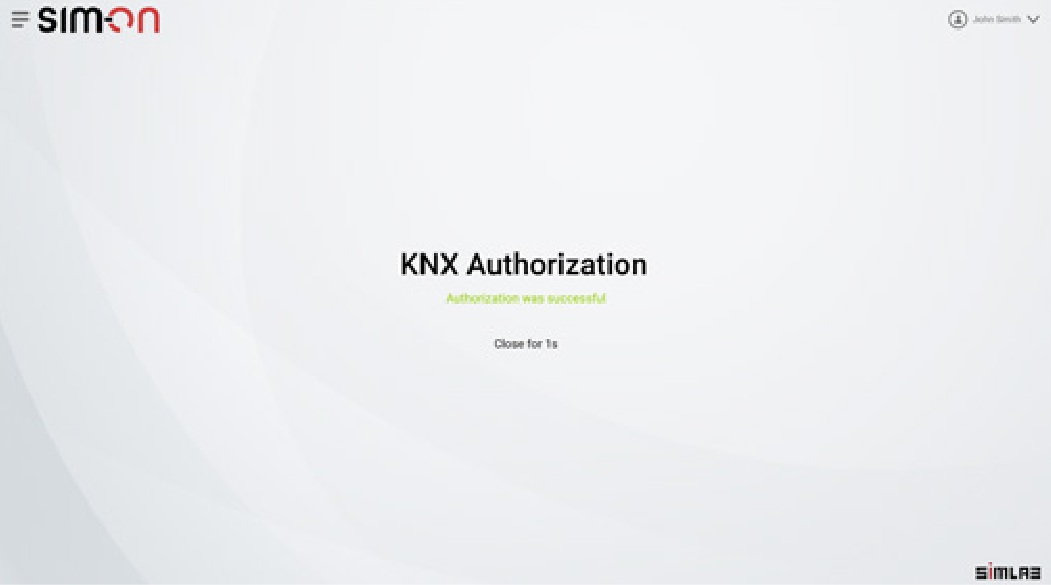 |
| **4.** Now you can select the rooms to be added to the Digital Twin. This information is provided by the KNX IoT 3 Party API server. Every room contains functions and a selection of datapoints. Note that at this point, the developer does not need to deal with group addresses or KNX- specific knowledge: simply retrieve human-readable information. | 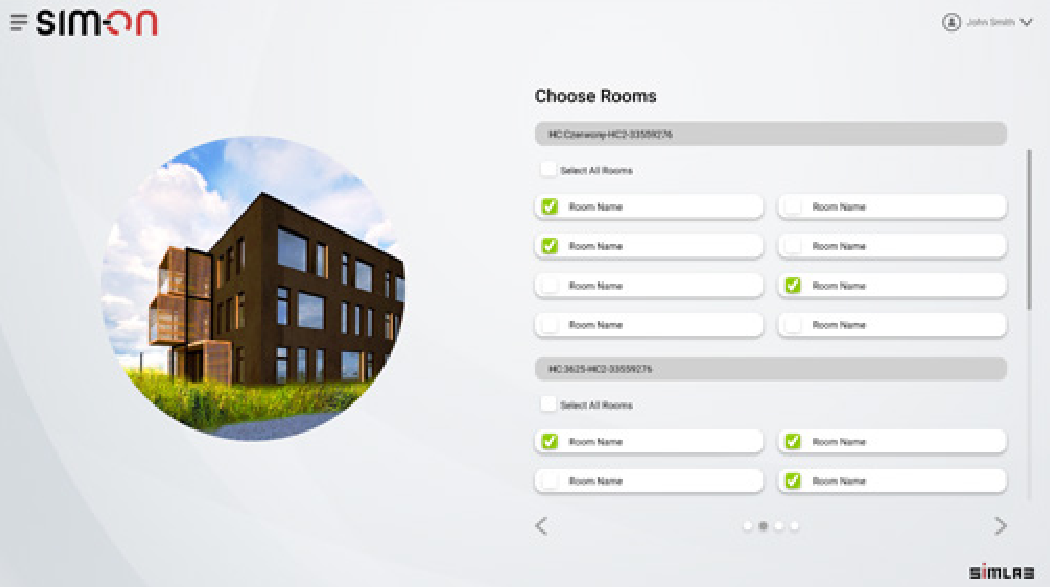 |
| **5.** At this point, the Digital Twin has information about the rooms and functions found in the real installation. It is time to offer this information over a 3D model, by using a 3D scanning carried out using Matterport: the outcome is a space representation with coordinates, similar to what is represented in Street View from Google Maps (but indoors). The scanning can be done by professionals, or by yourself with an app on your smartphone. | 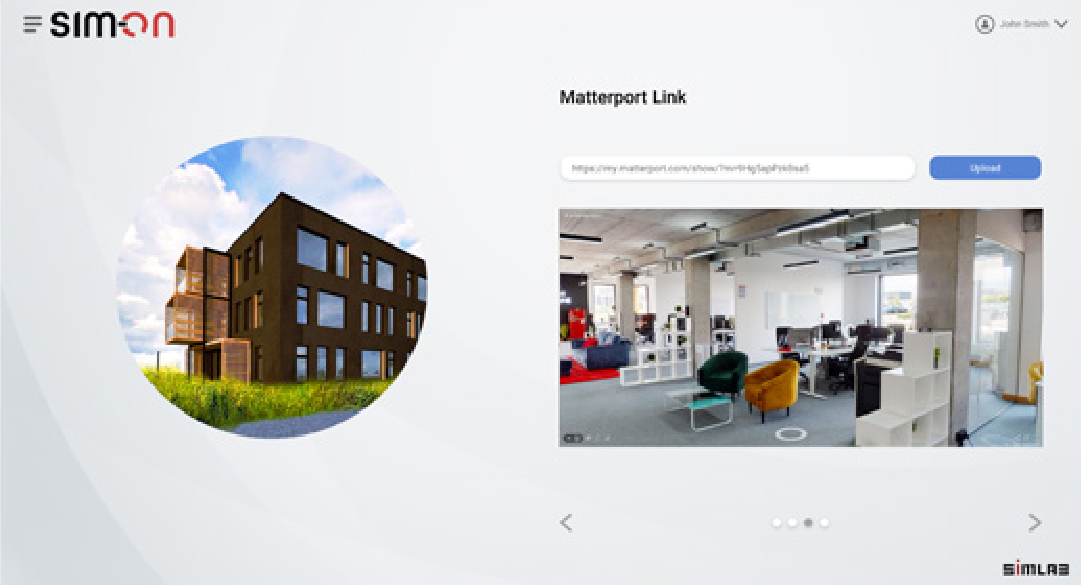 |
| **6.** Digital Twin is ready to be used: you can navigate in the 3D environment. The control is bidirectional, the feedback from KNX achieved by means of WebSockets (*instead of the more resource-intensive polling*). |  |
You can add a provider by selecting Providers in the side bar, and then clicking on button. The process will look exactly the same.
You can also delete a connection by clicking on button. Note that the devices imported from the selected hub will be also deleted.
# SmartThings| **1.**
To connect with **Samsung's SmartThings**, choose the option to Import rooms and select **SmartThings**. You will be redirected to the **Samsung Account** page.
See the [**list of smarthome providers**](https://docs.sim-on.com/books/2-getting-started/chapter/providers) in **detailed project setup**, to check which ones are supported | 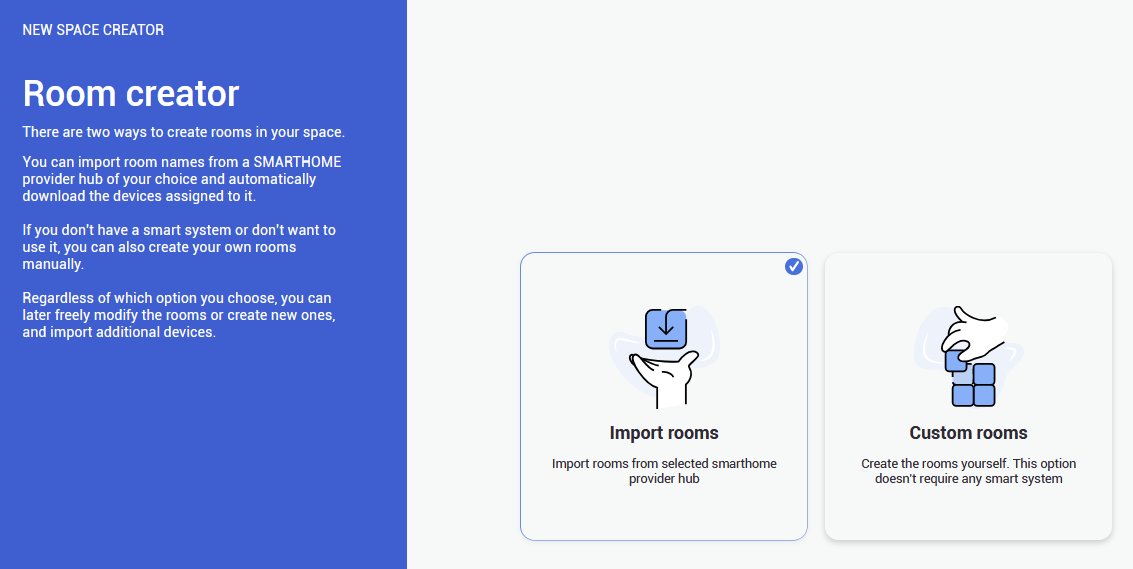 |
| **2.** On the **Samsung's Account page** you will be asked to log into your **Samsung Account**, to proceed. | 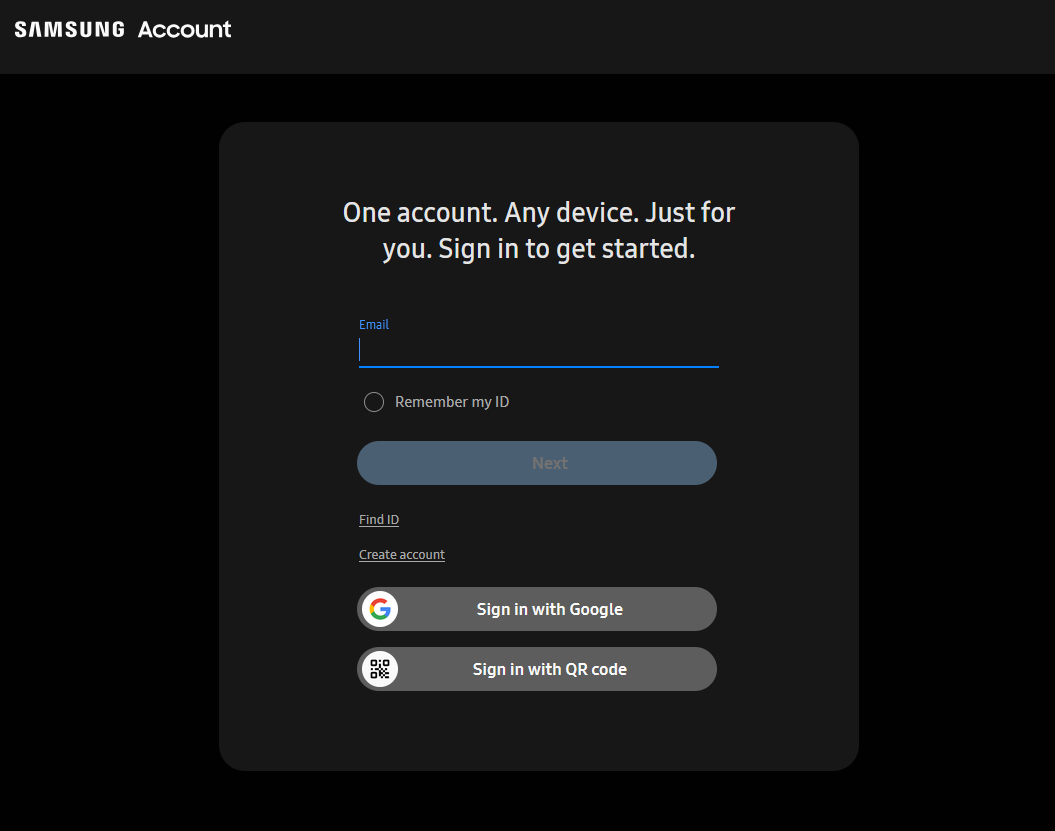 |
| **3.** After you log in, you need to allow access for **SIM-ON** to connect to the system. In the dropdown window you will see all of the available, connected hubs. | 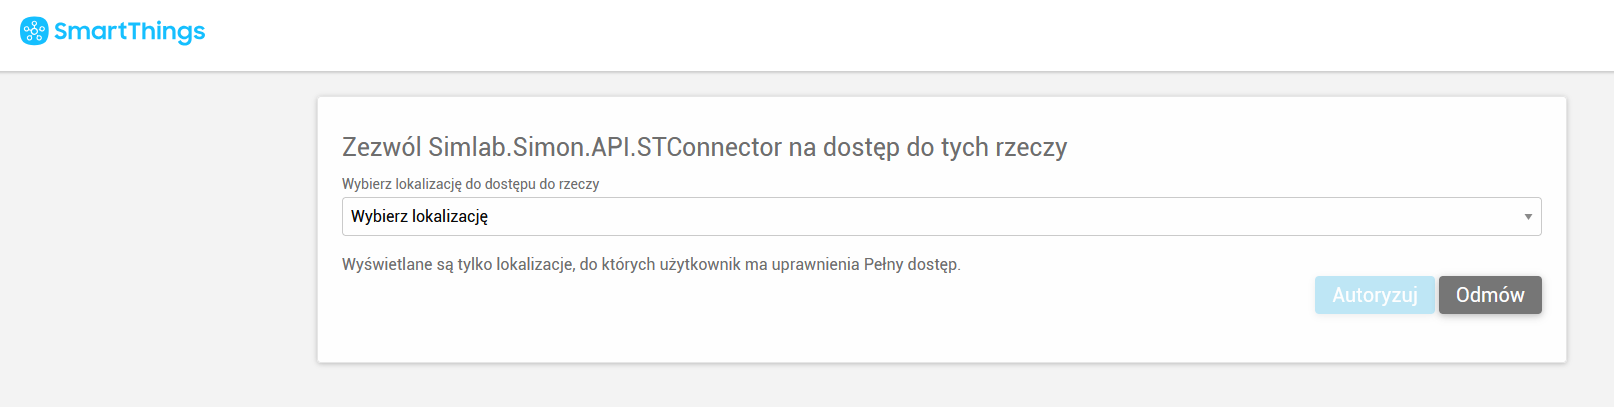 |
| **4.** After choosing the hub, you need to set all the privileges to authorize the connection. Repeat these two steps (3,4) to add multiple hubs. | 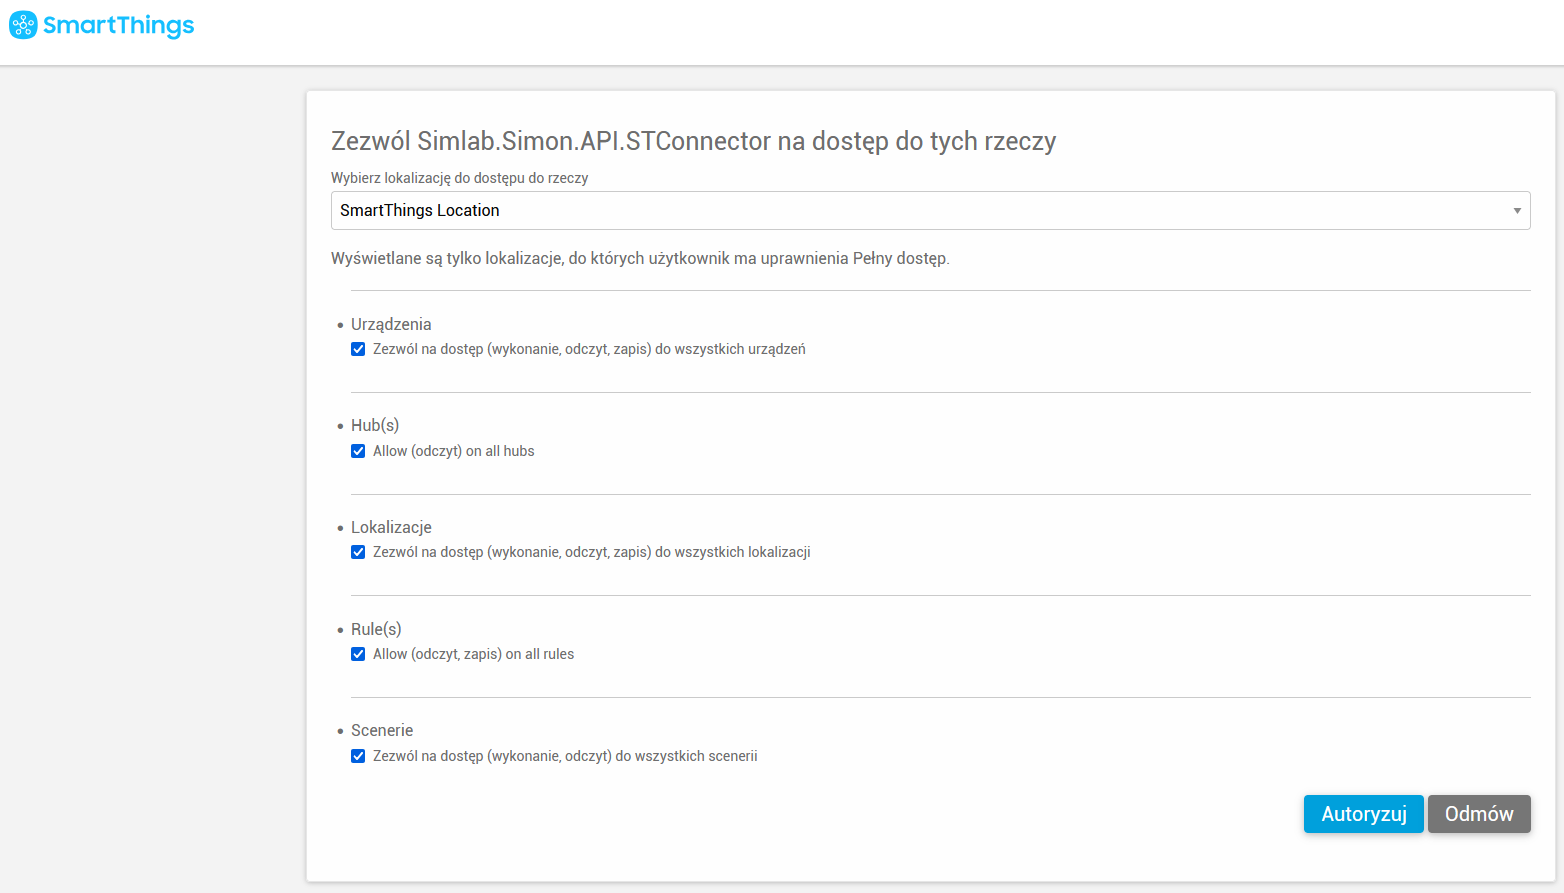 |
| **5.** After completing **Authorization**, you need to go back to the **SIM-ON** tab and the hub(s) you added will be now available. Now you can add room(s) from the hub for the project. | 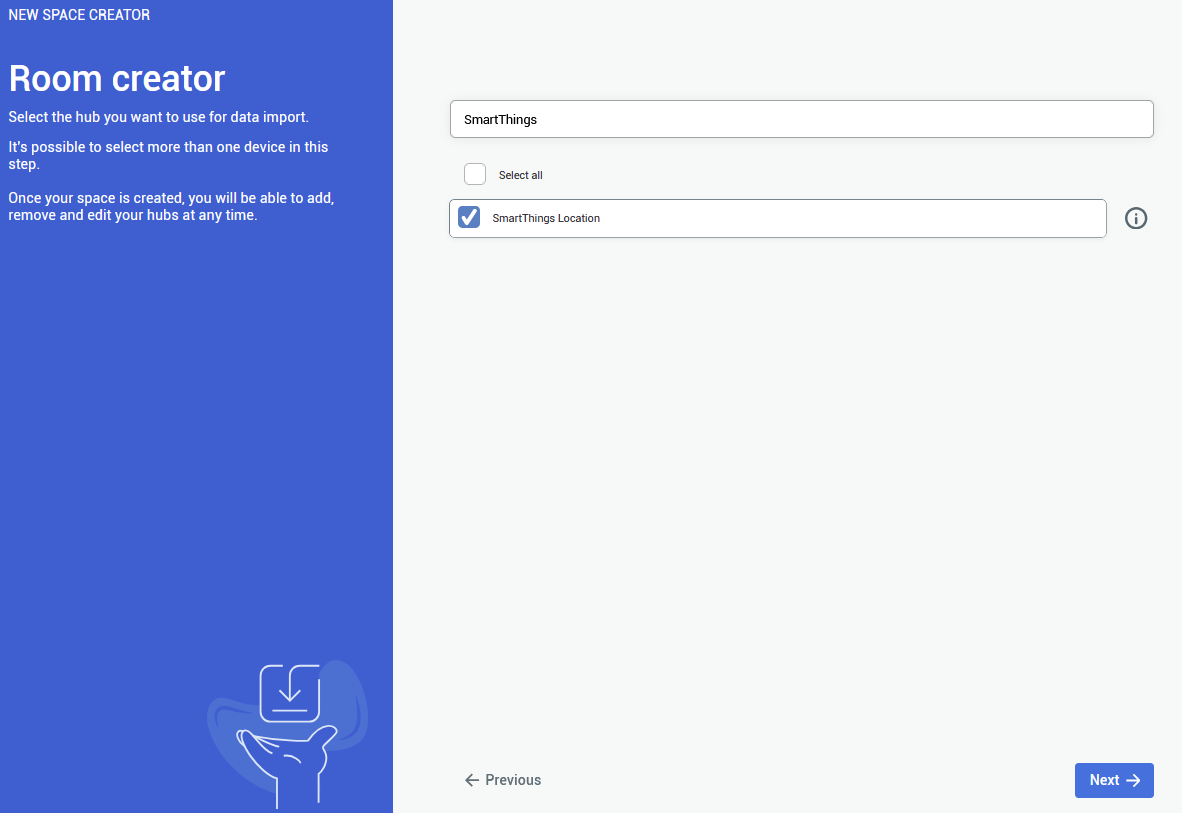 |
| **6.**
Here you will be presented with the list of already existing rooms in your **SmartThings** hub. Choose any number of the rooms to be imported to **SIM-ON** then proceed.
You are not required to import any of the rooms, although it is recommended - to keep the consistency between smarthome environments Rooms can be added and edited afterwards as well | 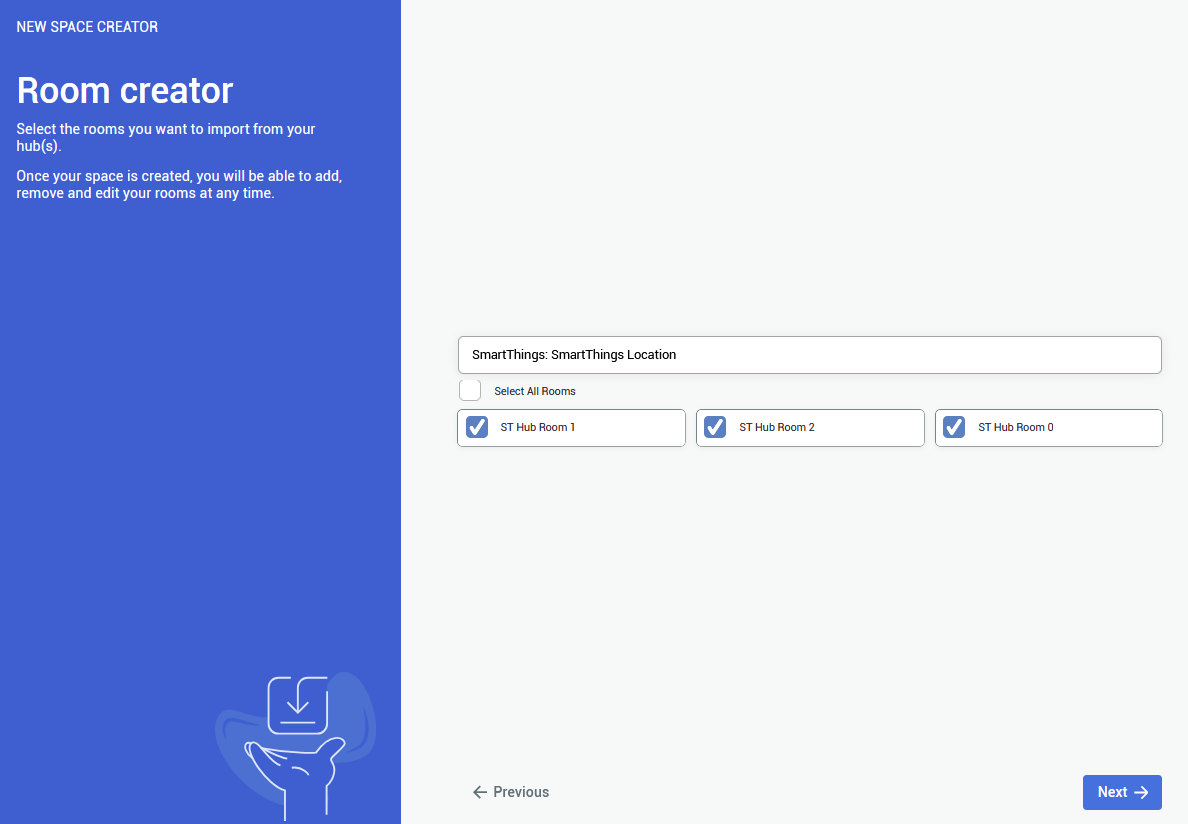 |
| **7.**
The last step is to choose the **Matterport virtual tour** for the project to be used, through the provided **Matterport link**.
To use a **private link** you will be asked to **log in** to appropriate **Matterport Account** | 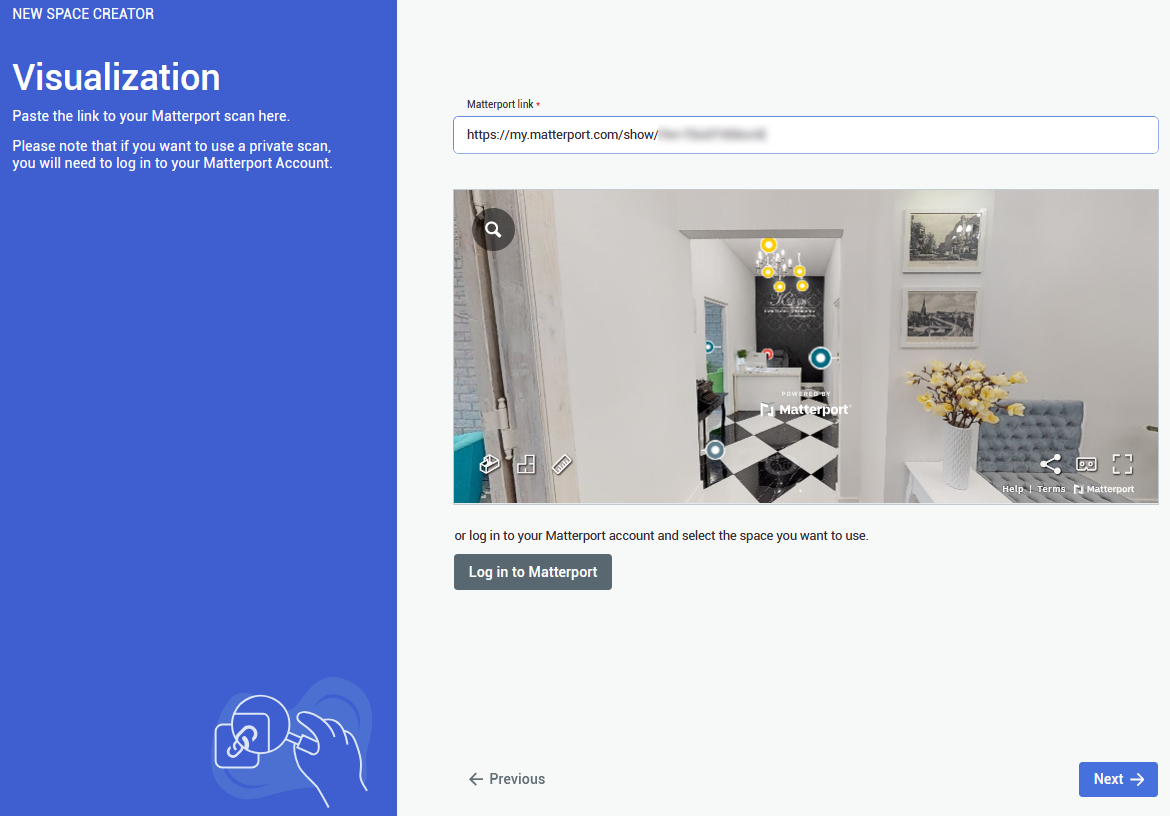 |
| **8.** **Congratulations!** You've successfully imported the devices from **Samsung SmartThings**. By clicking confirm, you will see your space with an access to all of the devices. |  |
You can add a provider by selecting Providers in the side bar, and then clicking on button. The process will look exactly the same
You can also delete a connection by clicking on button. Devices imported from the selected hub will be also deleted
# NETxTo learn how to setup **NETx** for SIM-ON integration, see **Official NETx** [**Integration with SIM-ON digital twin platform**](https://docs.sim-on.com/Integration%20with%20SIM-ON%20digital%20twin%20platform)
---| **1.**
In the provider selection window, choose **NETx** to proceed the project setup based on this home automation service provider.
See the [**list of smarthome providers**](https://docs.sim-on.com/books/2-getting-started/chapter/providers) in **detailed project setup**, to check which ones are supported | 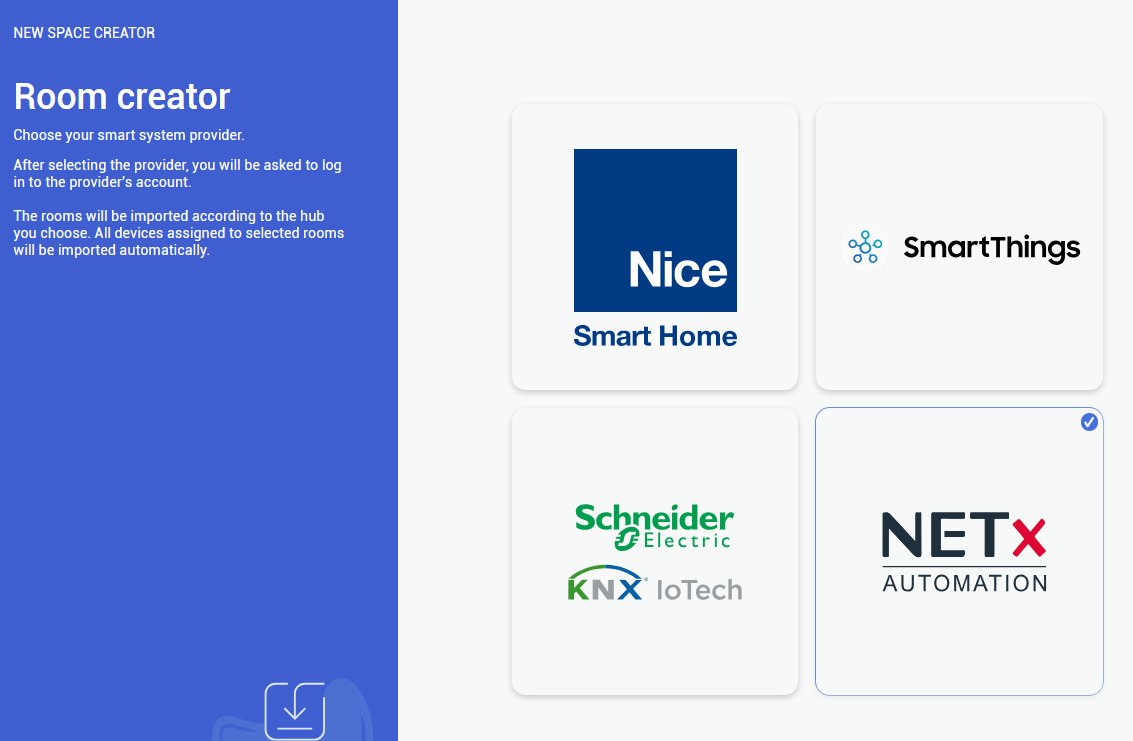 |
| **2.** In the next step, you need to provide all essential information, so Login, Password, Remote access ID and Remote access name (can be custom) | 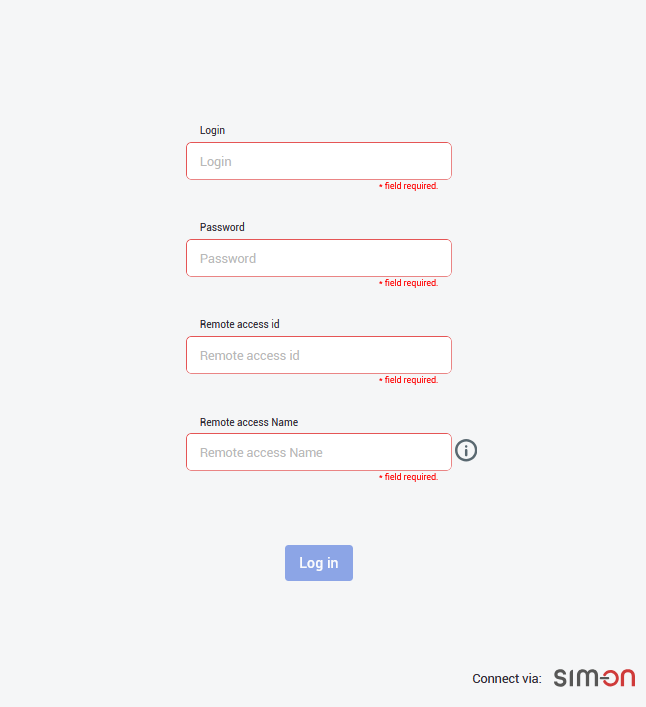 |
| **3.** After logging in, you need to choose the central smarthome hub, from which the available rooms will be displayed. | 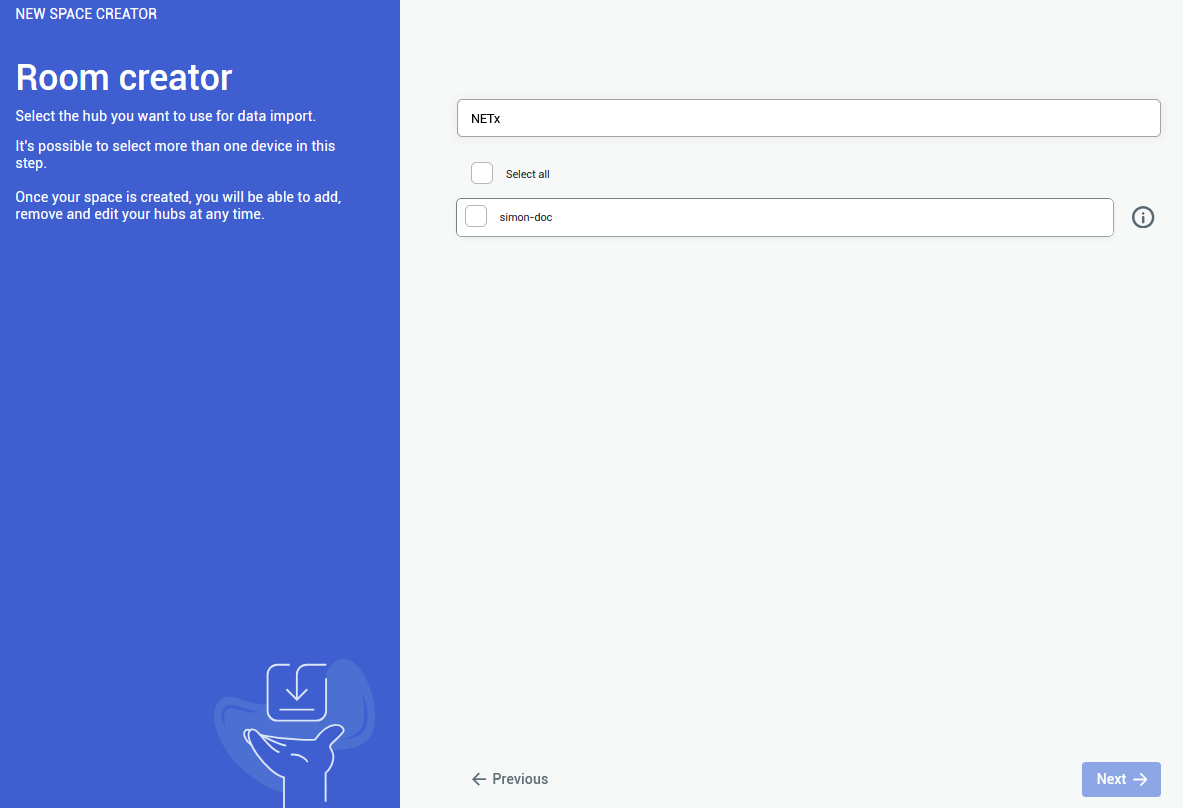 |
| **4.**
After selecting the central hub, you will be shown a list of all the available rooms, that were created in your NETx application.
Choose at least one room, to proceed further.
You are not required to import all of the rooms, although it is recommended - to keep the consistency between smarthome environments Rooms can be added and edited afterwards as well | 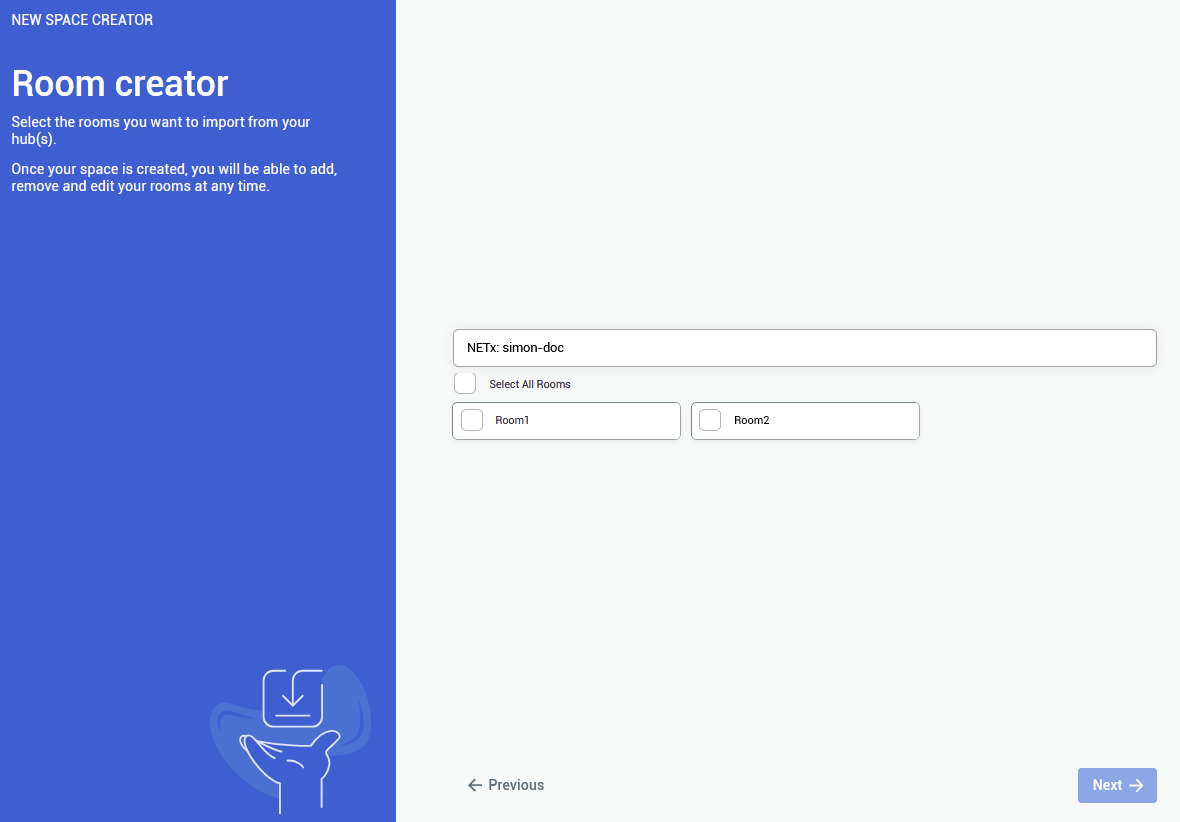 |
| **5.**
The last step is to provide a **Matterport Virtual Tour** link. Either public o private link is accepted.
To use **private link**, you are required to **log in** to an appropriate **Matterport Account** |  |
| **6.** At the end you will be shown a summary of your project setup. After making sure that everything is as it should be, **confirm** to finalize the project creation. |  |
You can add a provider by selecting Providers in the side bar, and then clicking on [](https://docs.sim-on.com/uploads/images/gallery/2024-08/add-connections.png)button. The process will look exactly the same.
You can also delete a connection by clicking on [](https://docs.sim-on.com/uploads/images/gallery/2024-08/remove-connections.png)button. Devices imported from the selected hub will be also deleted
# Fibaro| **1.**
In the provider selection window, choose **Fibaro** to proceed the project setup based on this home automation service provider.
See the [**list of smarthome providers**](https://docs.sim-on.com/books/2-getting-started/chapter/providers) in **detailed project setup**, to check which ones are supported You will be redirected to **Fibaro login page**. | 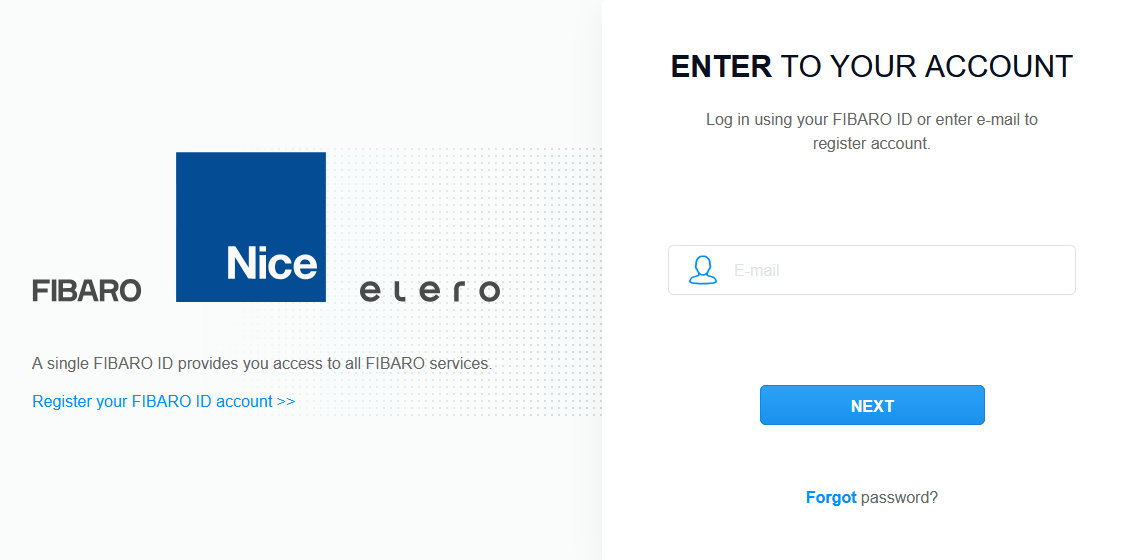 |
| **2.** After logging into your **Fibaro Account**, you will see the list of available **smarthome hubs**. Select the appropriate one(s) and proceed. | 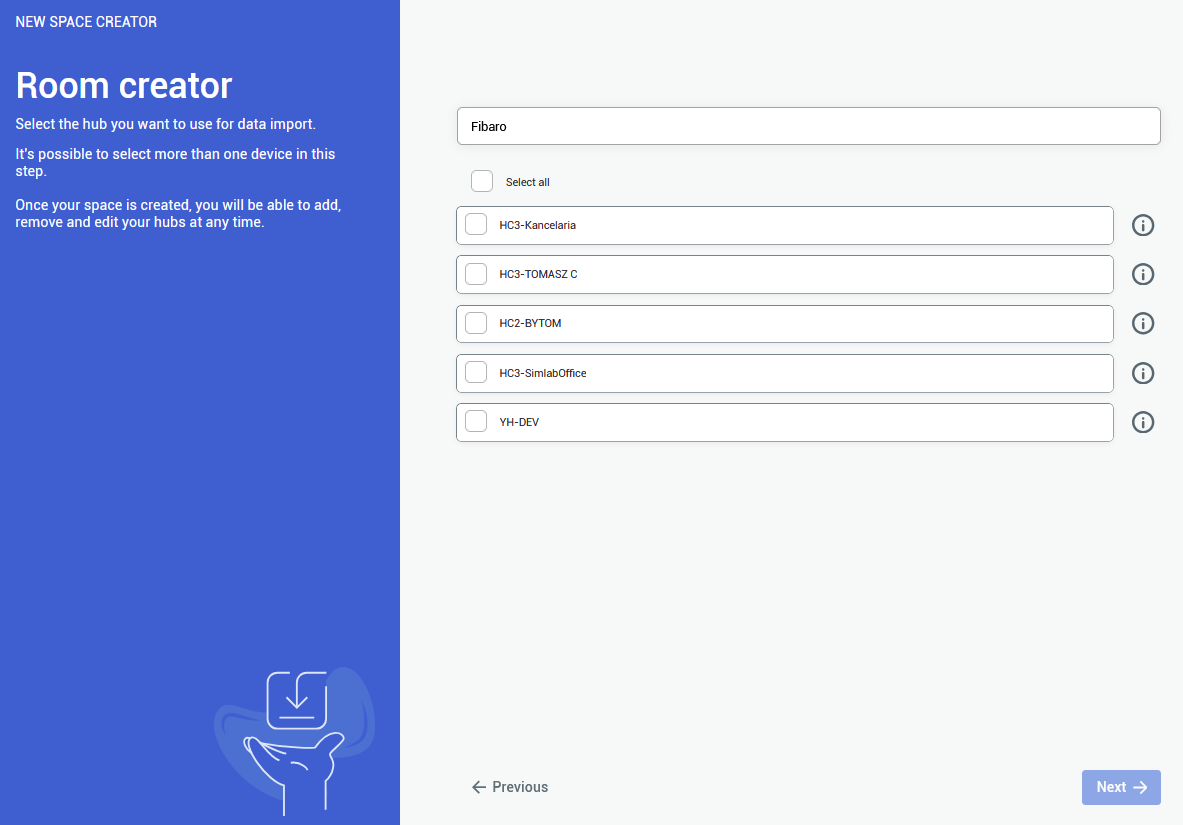 |
| **3.**
Here you can import the rooms. Pick at least a single room to be imported.
You are not required to import all of the rooms, although it is recommended - to keep the consistency between smarthome environments Rooms can be added and edited afterwards as well | 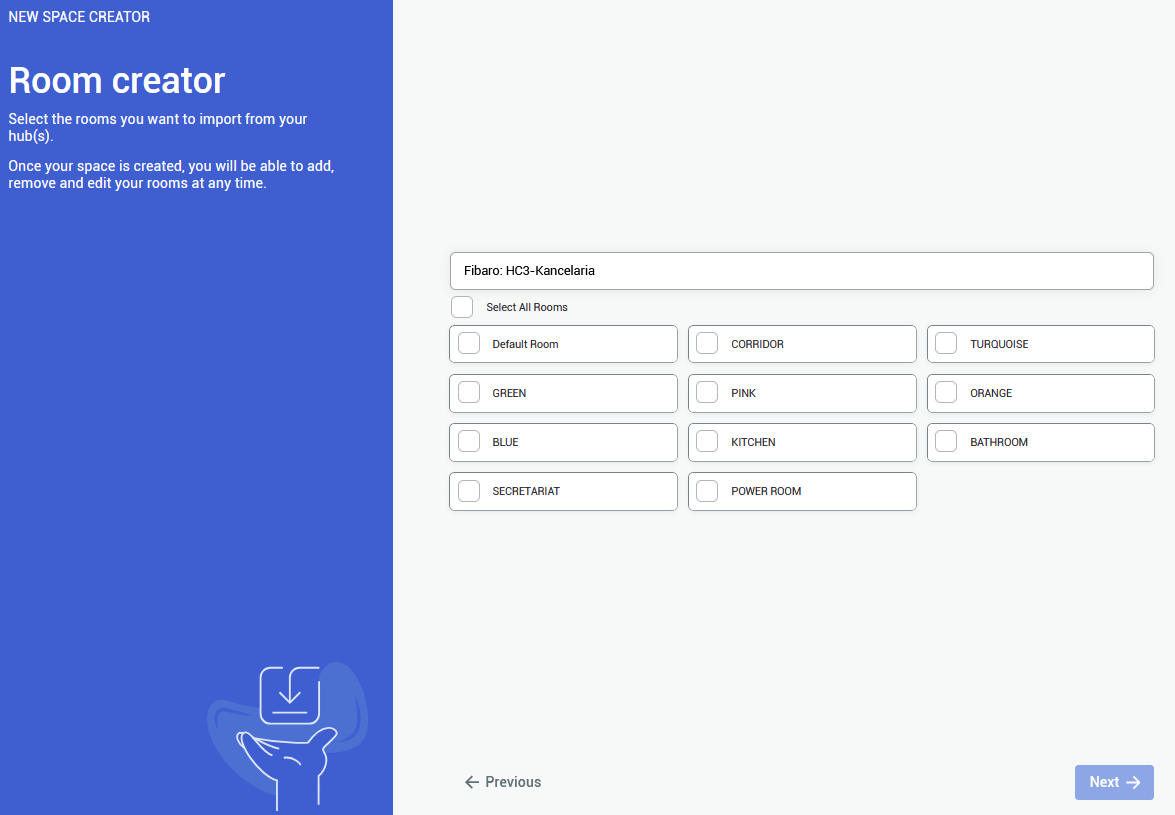 |
| **4.**
The last step is to provide a **Matterport Virtual Tour** link. Either public o private link is accepted.
To use **private link**, you are required to **log in** to an appropriate **Matterport Account** | 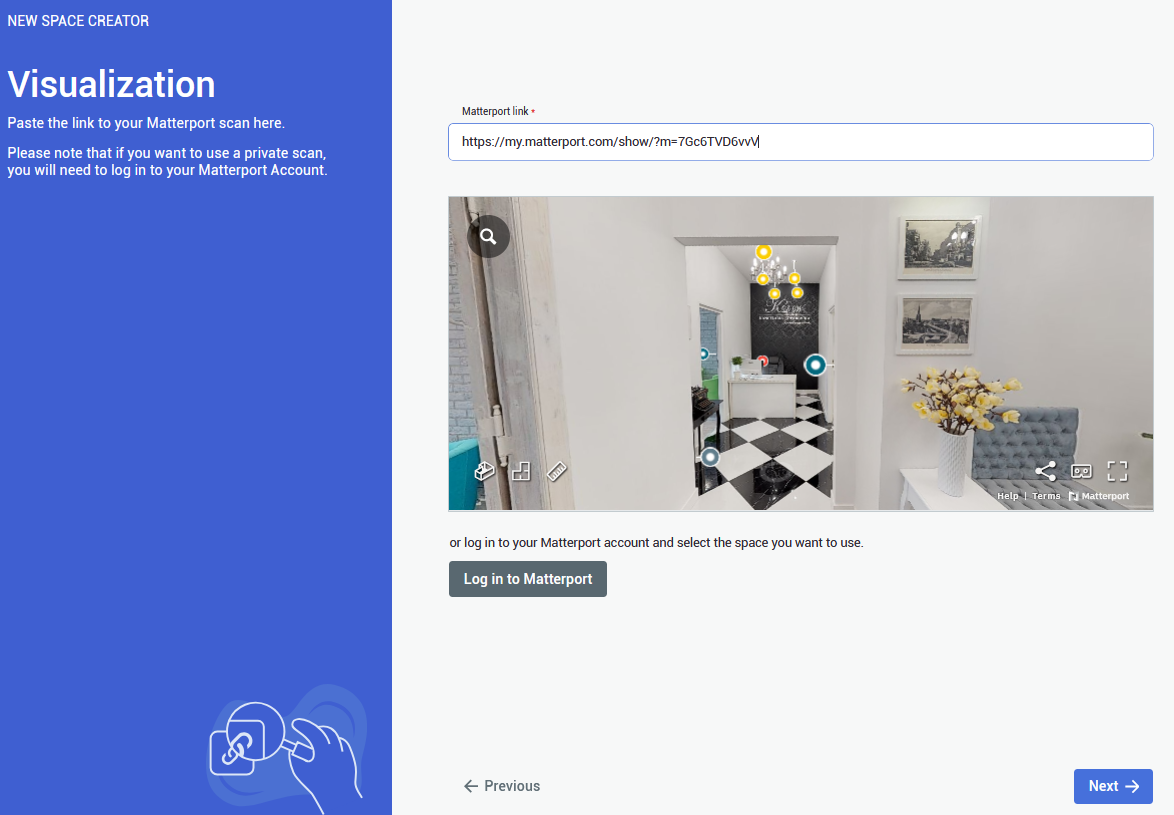 |
You can add a provider by selecting Providers in the side bar, and then clicking on button. The process will look exactly the same
You can also delete a connection by clicking on button. Devices imported from the selected hub will be also deleted
# IBM Maximo 1\. To connect an IBM Maximo provider, after [**creating a Project Space**](https://docs.sim-on.com/books/2-getting-started/chapter/project-setup) - navigate to the **[Providers](https://docs.sim-on.com/books/3-app-overview/chapter/providers)** view -> [**Connections**](https://docs.sim-on.com/books/3-app-overview/page/connections) page from the [**Left Side Panel**](https://docs.sim-on.com/link/147#bkmrk-). Click "Add connections" button and select **IBM Maximo** from available providers. You'll be then redirected to the following page: 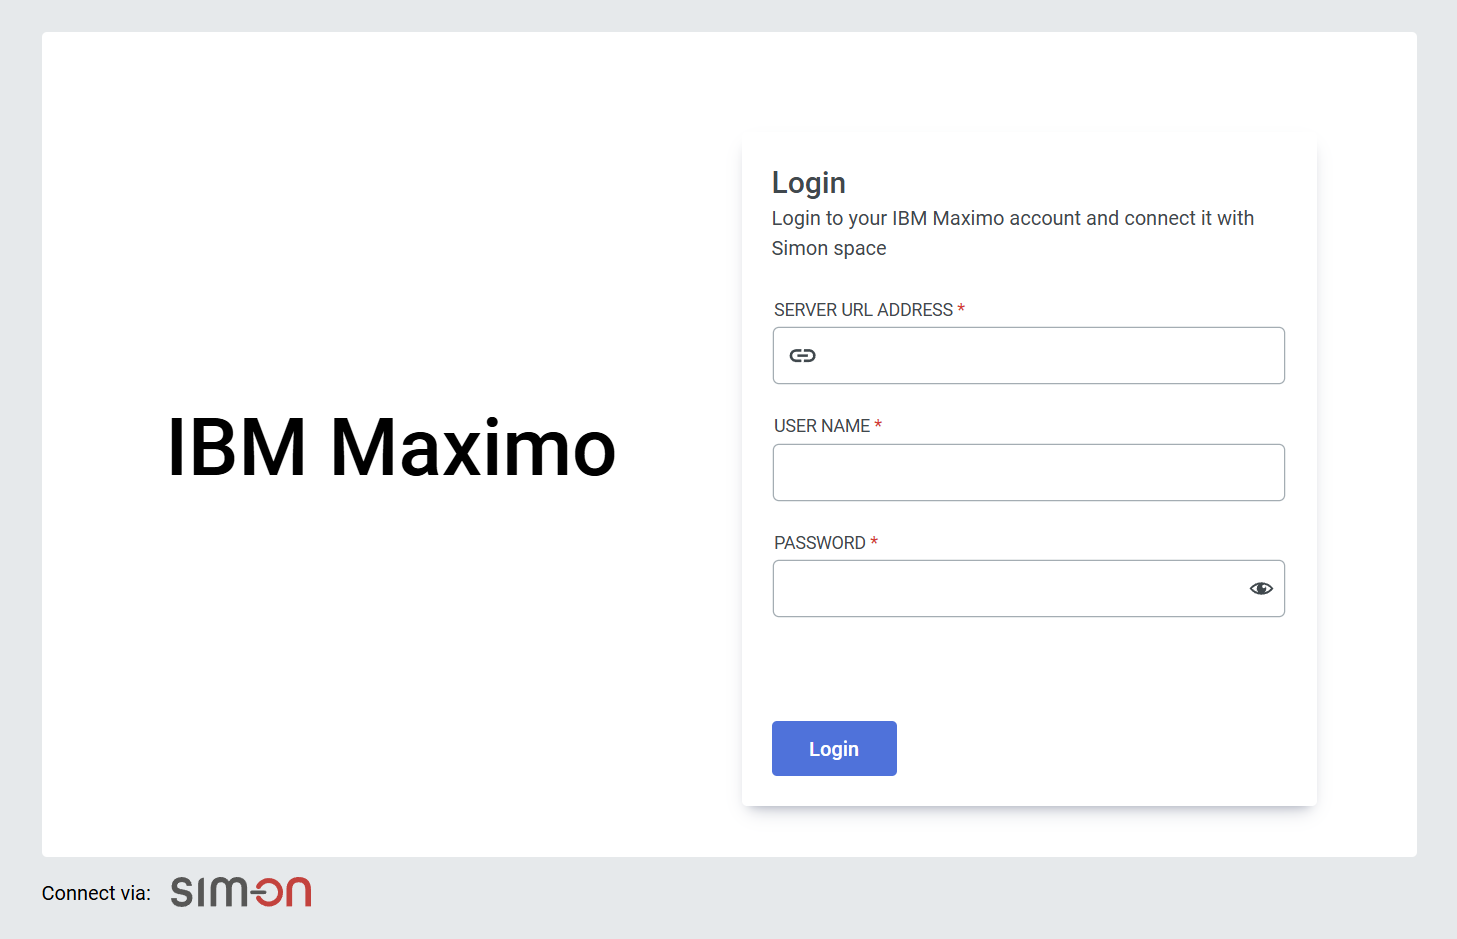 2\. Login with your IBM Maximo account 3\. Select the Organization and Site, then finalize with "connect" 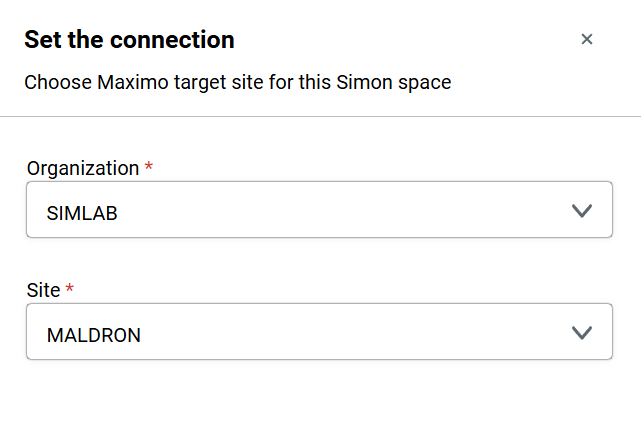 Connecting with Maximo lets you seamlessly link assets to the Sim-On environment. Browse these assets in the IBM Maximo specific [**Dashboard**](https://docs.sim-on.com/books/3-app-overview/chapter/dashboard) page: [**Resources**](https://docs.sim-on.com/books/3-app-overview/page/resources).  Additionally, with IBM Maximo comes a special feature for **Assets** in Sim-on: **linking** with IBM Maximo devices.See [**IBM Maximo Asset Link**](https://docs.sim-on.com/link/136#bkmrk--1) feature and [**Resources**](https://docs.sim-on.com/books/3-app-overview/page/resources) pages to learn more
# Homey 1\. To connect Homey provider, after [**creating a Project Space**](https://docs.sim-on.com/books/2-getting-started/chapter/project-setup) - navigate to the **[Providers](https://docs.sim-on.com/books/3-app-overview/chapter/providers)** view -> [**Connections**](https://docs.sim-on.com/books/3-app-overview/page/connections) page from the [**Left Side Panel**](https://docs.sim-on.com/link/147#bkmrk-). Click  button and select **Homey** from available providers (*you'll be redirected to the provider web page.*) 2\. Login with your Homey account: 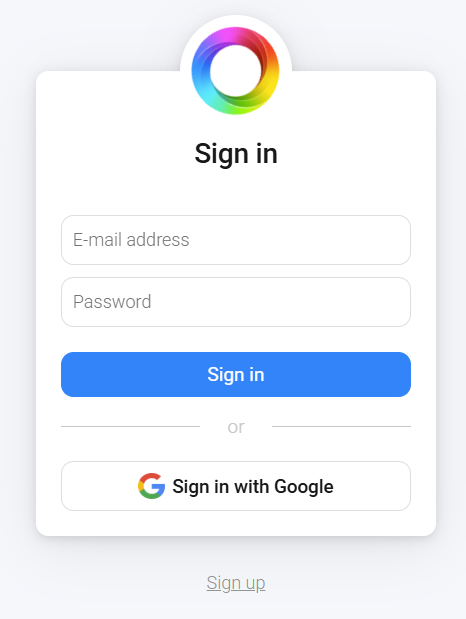 3\. Allow the following permissions for both apps: 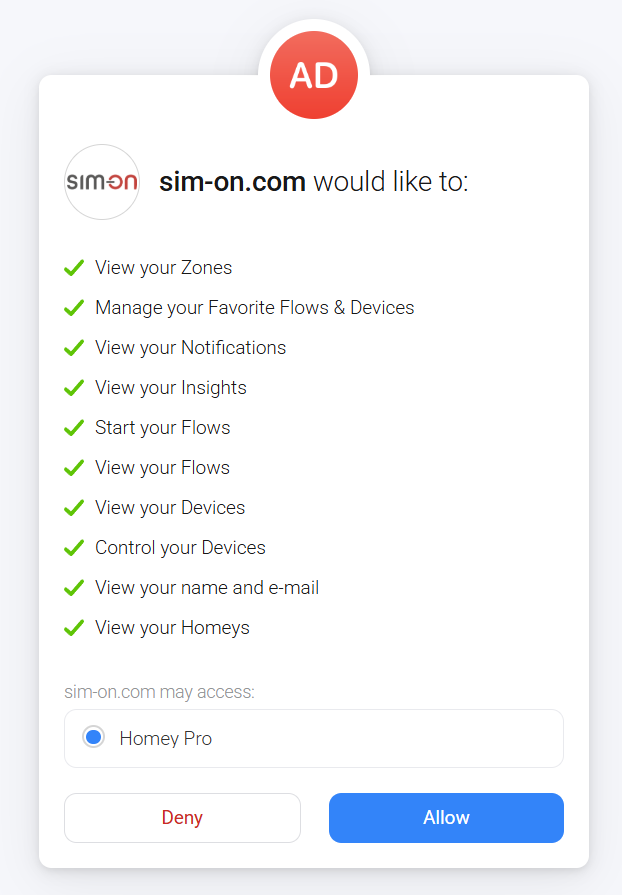 4\. Select your central unit for pairing: 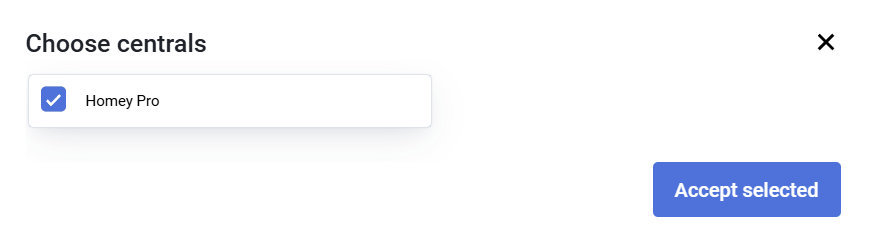 Now you can add and manage your Homey devices within the Sim-on