# NETx

<p class="callout success">To learn how to setup **NETx** for SIM-ON integration, see **Official NETx** [<span style="text-decoration: underline; color: rgb(53, 152, 219);">**Integration with SIM-ON digital twin platform**</span>](https://docs.sim-on.com/Integration%20with%20SIM-ON%20digital%20twin%20platform)</p>

---

<table border="1" id="bkmrk-first%2C-you-need-to-s" style="border-collapse: collapse; width: 100%; border-width: 0px; height: 2086.25px;"><colgroup><col style="width: 50%;"></col><col style="width: 50%;"></col></colgroup><tbody><tr style="height: 314.6px;"><td style="border-width: 0px; height: 314.6px;">**1.**

In the provider selection window, choose **NETx** to proceed the project setup based on this home automation service provider.

<p class="callout info">See the <span style="color: rgb(53, 152, 219);">[**list of smarthome providers**](https://docs.sim-on.com/books/2-getting-started/chapter/providers)</span> in **detailed project setup**, to check which ones are supported</p>

</td><td style="border-width: 0px; height: 314.6px;">![obraz.png](https://docs.sim-on.com/uploads/images/gallery/2024-08/scaled-1680-/Zqrobraz.png)</td></tr><tr style="height: 489.725px;"><td style="border-width: 0px; height: 489.725px;">**
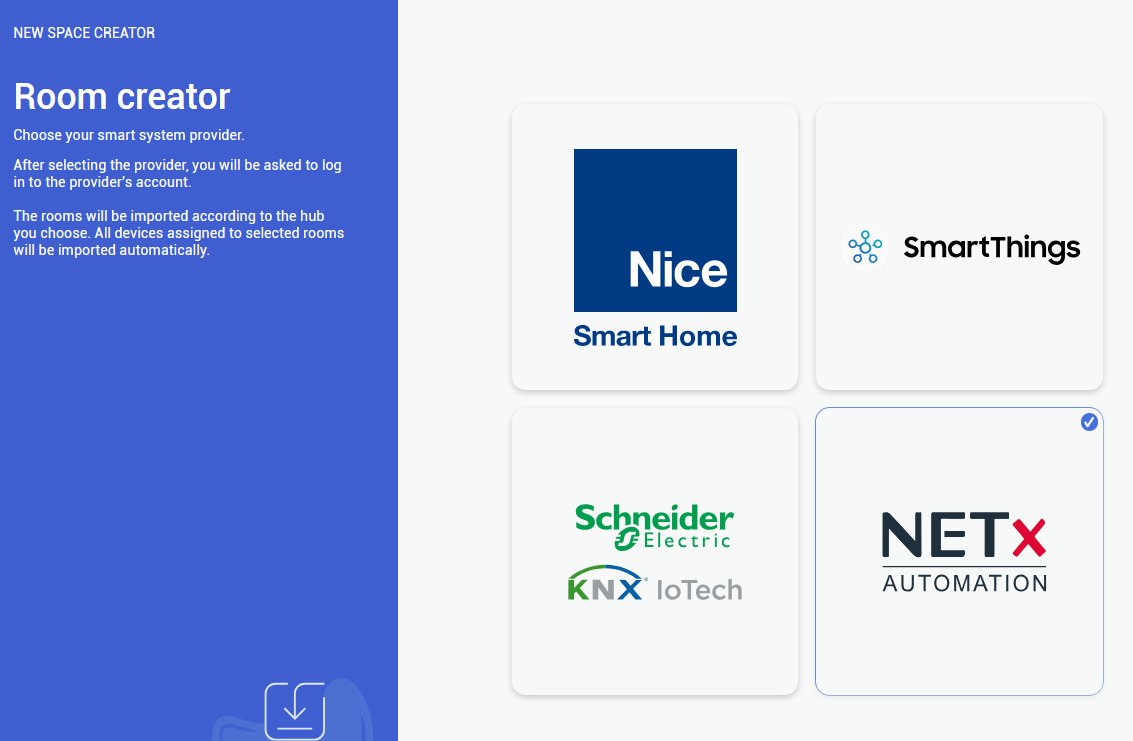
2.**

In the next step, you need to provide all essential information, so Login, Password, Remote access ID and Remote access name (can be custom)

</td><td style="border-width: 0px; height: 489.725px;">![obraz.png](https://docs.sim-on.com/uploads/images/gallery/2024-08/scaled-1680-/nU3obraz.png)</td></tr><tr style="height: 321.325px;"><td style="border-width: 0px; height: 321.325px;">**
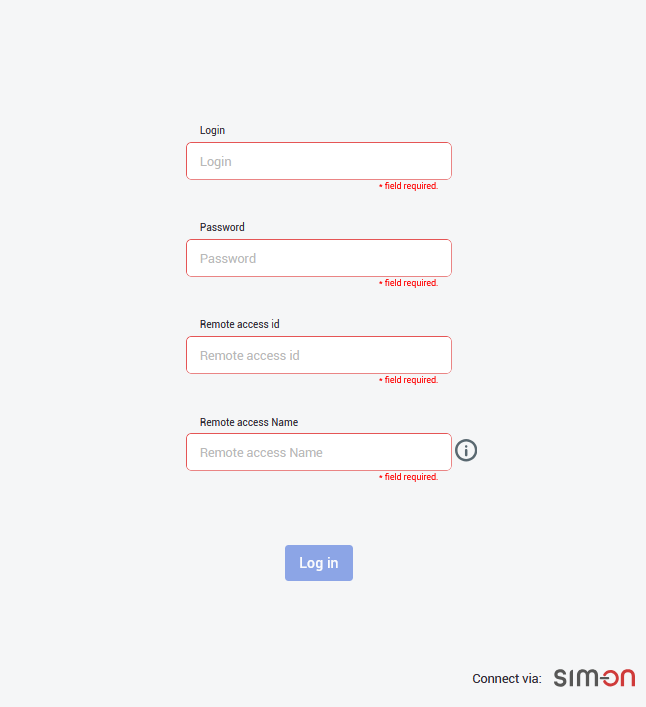
3.**

After logging in, you need to choose the central smarthome hub, from which the available rooms will be displayed.
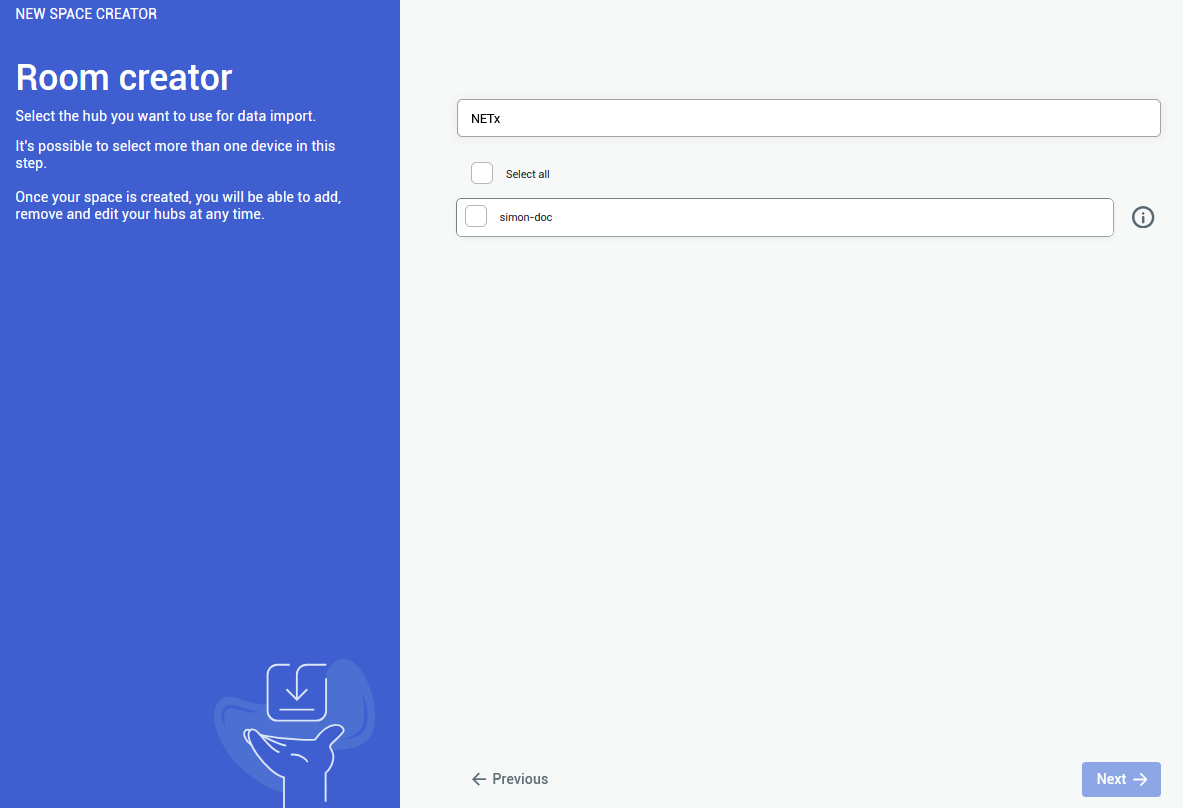
</td><td style="border-width: 0px; height: 321.325px;">![obraz.png](https://docs.sim-on.com/uploads/images/gallery/2024-08/scaled-1680-/qllobraz.png)</td></tr><tr style="height: 336.025px;"><td style="border-width: 0px; height: 336.025px;">**4.**

After selecting the central hub, you will be shown a list of all the available rooms, that were created in your NETx application.

Choose at least one room, to proceed further.

<p class="callout success">You are not required to import all of the rooms, although it is recommended - to keep the consistency between smarthome environments  
</p>

<p class="callout info">Rooms can be added and edited afterwards as well
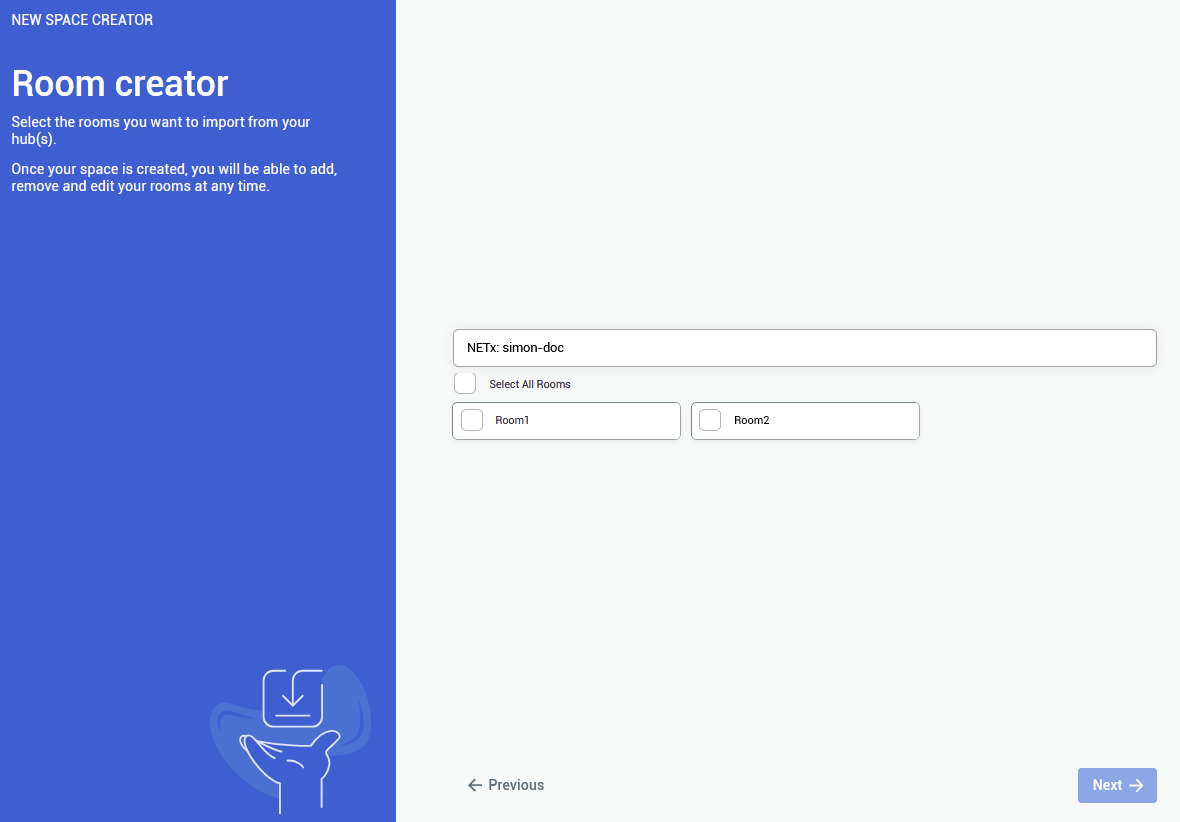
</p>

</td><td style="border-width: 0px; height: 336.025px;">![providers-netx_rooms.png](https://docs.sim-on.com/uploads/images/gallery/2024-08/scaled-1680-/providers-netx-rooms.png)</td></tr><tr style="height: 329.163px;"><td style="border-width: 0px; height: 329.163px;">**5.**

The last step is to provide a **Matterport Virtual Tour** link. Either public o private link is accepted.

<p class="callout warning">To use **private link**, you are required to **log in** to an appropriate **Matterport Account**</p>

</td><td style="border-width: 0px; height: 329.163px;">![matterport link paste.png](https://docs.sim-on.com/uploads/images/gallery/2024-08/scaled-1680-/matterport-link-paste.png)</td></tr><tr style="height: 295.413px;"><td style="border-width: 0px; height: 295.413px;">**
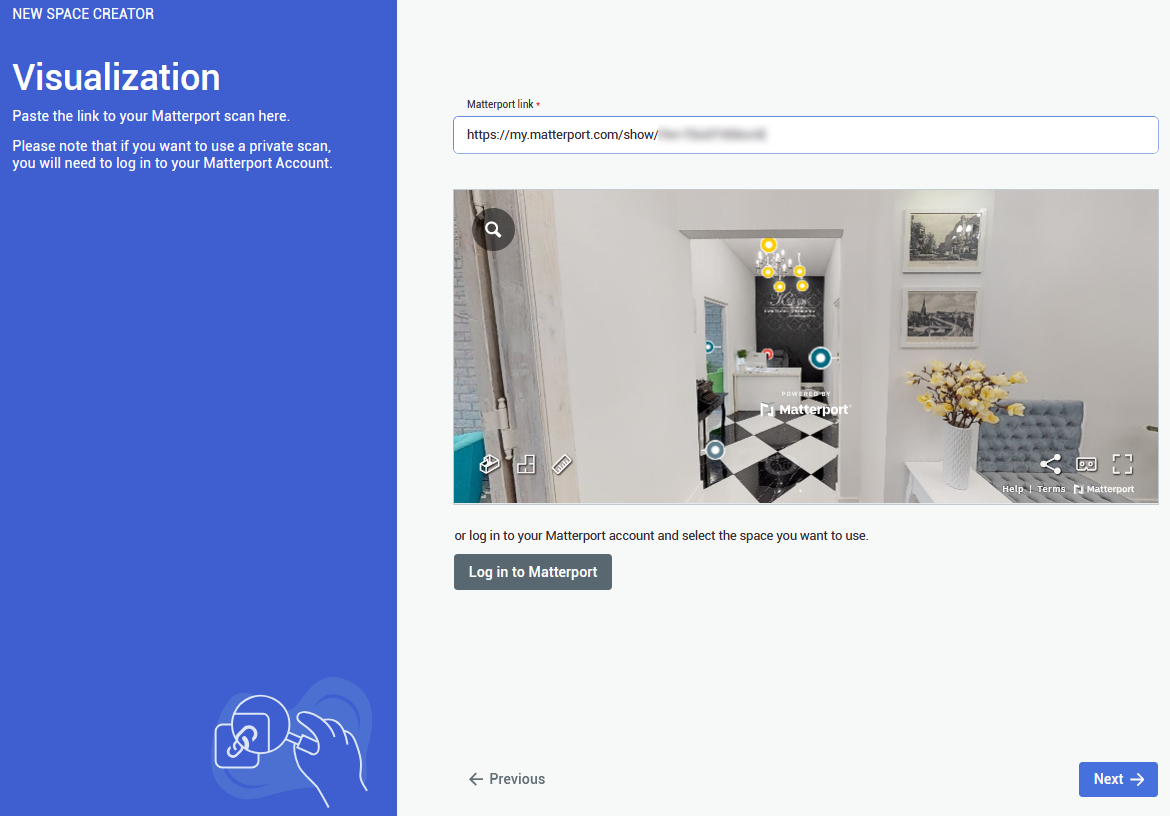
6.**

At the end you will be shown a summary of your project setup. After making sure that everything is as it should be, **confirm** to finalize the project creation.

</td><td style="border-width: 0px; height: 295.413px;">![obraz.png](https://docs.sim-on.com/uploads/images/gallery/2024-08/scaled-1680-/GFjobraz.png)

</td></tr></tbody></table>

<span style="color: rgb(53, 152, 219);">[**Continue to project setup**](https://docs.sim-on.com/link/130#bkmrk-step-4%3A-assigning-sw)</span>

---

<p class="callout info">You can add a provider by selecting Providers in the side bar, and then clicking on [![Add connections.png](https://docs.sim-on.com/uploads/images/gallery/2024-08/scaled-1680-/add-connections.png)](https://docs.sim-on.com/uploads/images/gallery/2024-08/add-connections.png)button. The process will look exactly the same.</p>

<p class="callout warning">You can also delete a connection by clicking on [![remove connections.png](https://docs.sim-on.com/uploads/images/gallery/2024-08/scaled-1680-/remove-connections.png)](https://docs.sim-on.com/uploads/images/gallery/2024-08/remove-connections.png)button. Devices imported from the selected hub will be also deleted</p>