Space Settings
Space Settings allow you to manage your spaces.
General info
In the General info tab you can see the most basic information about your space, such as address, cloud space limit usage, space components and space owner.
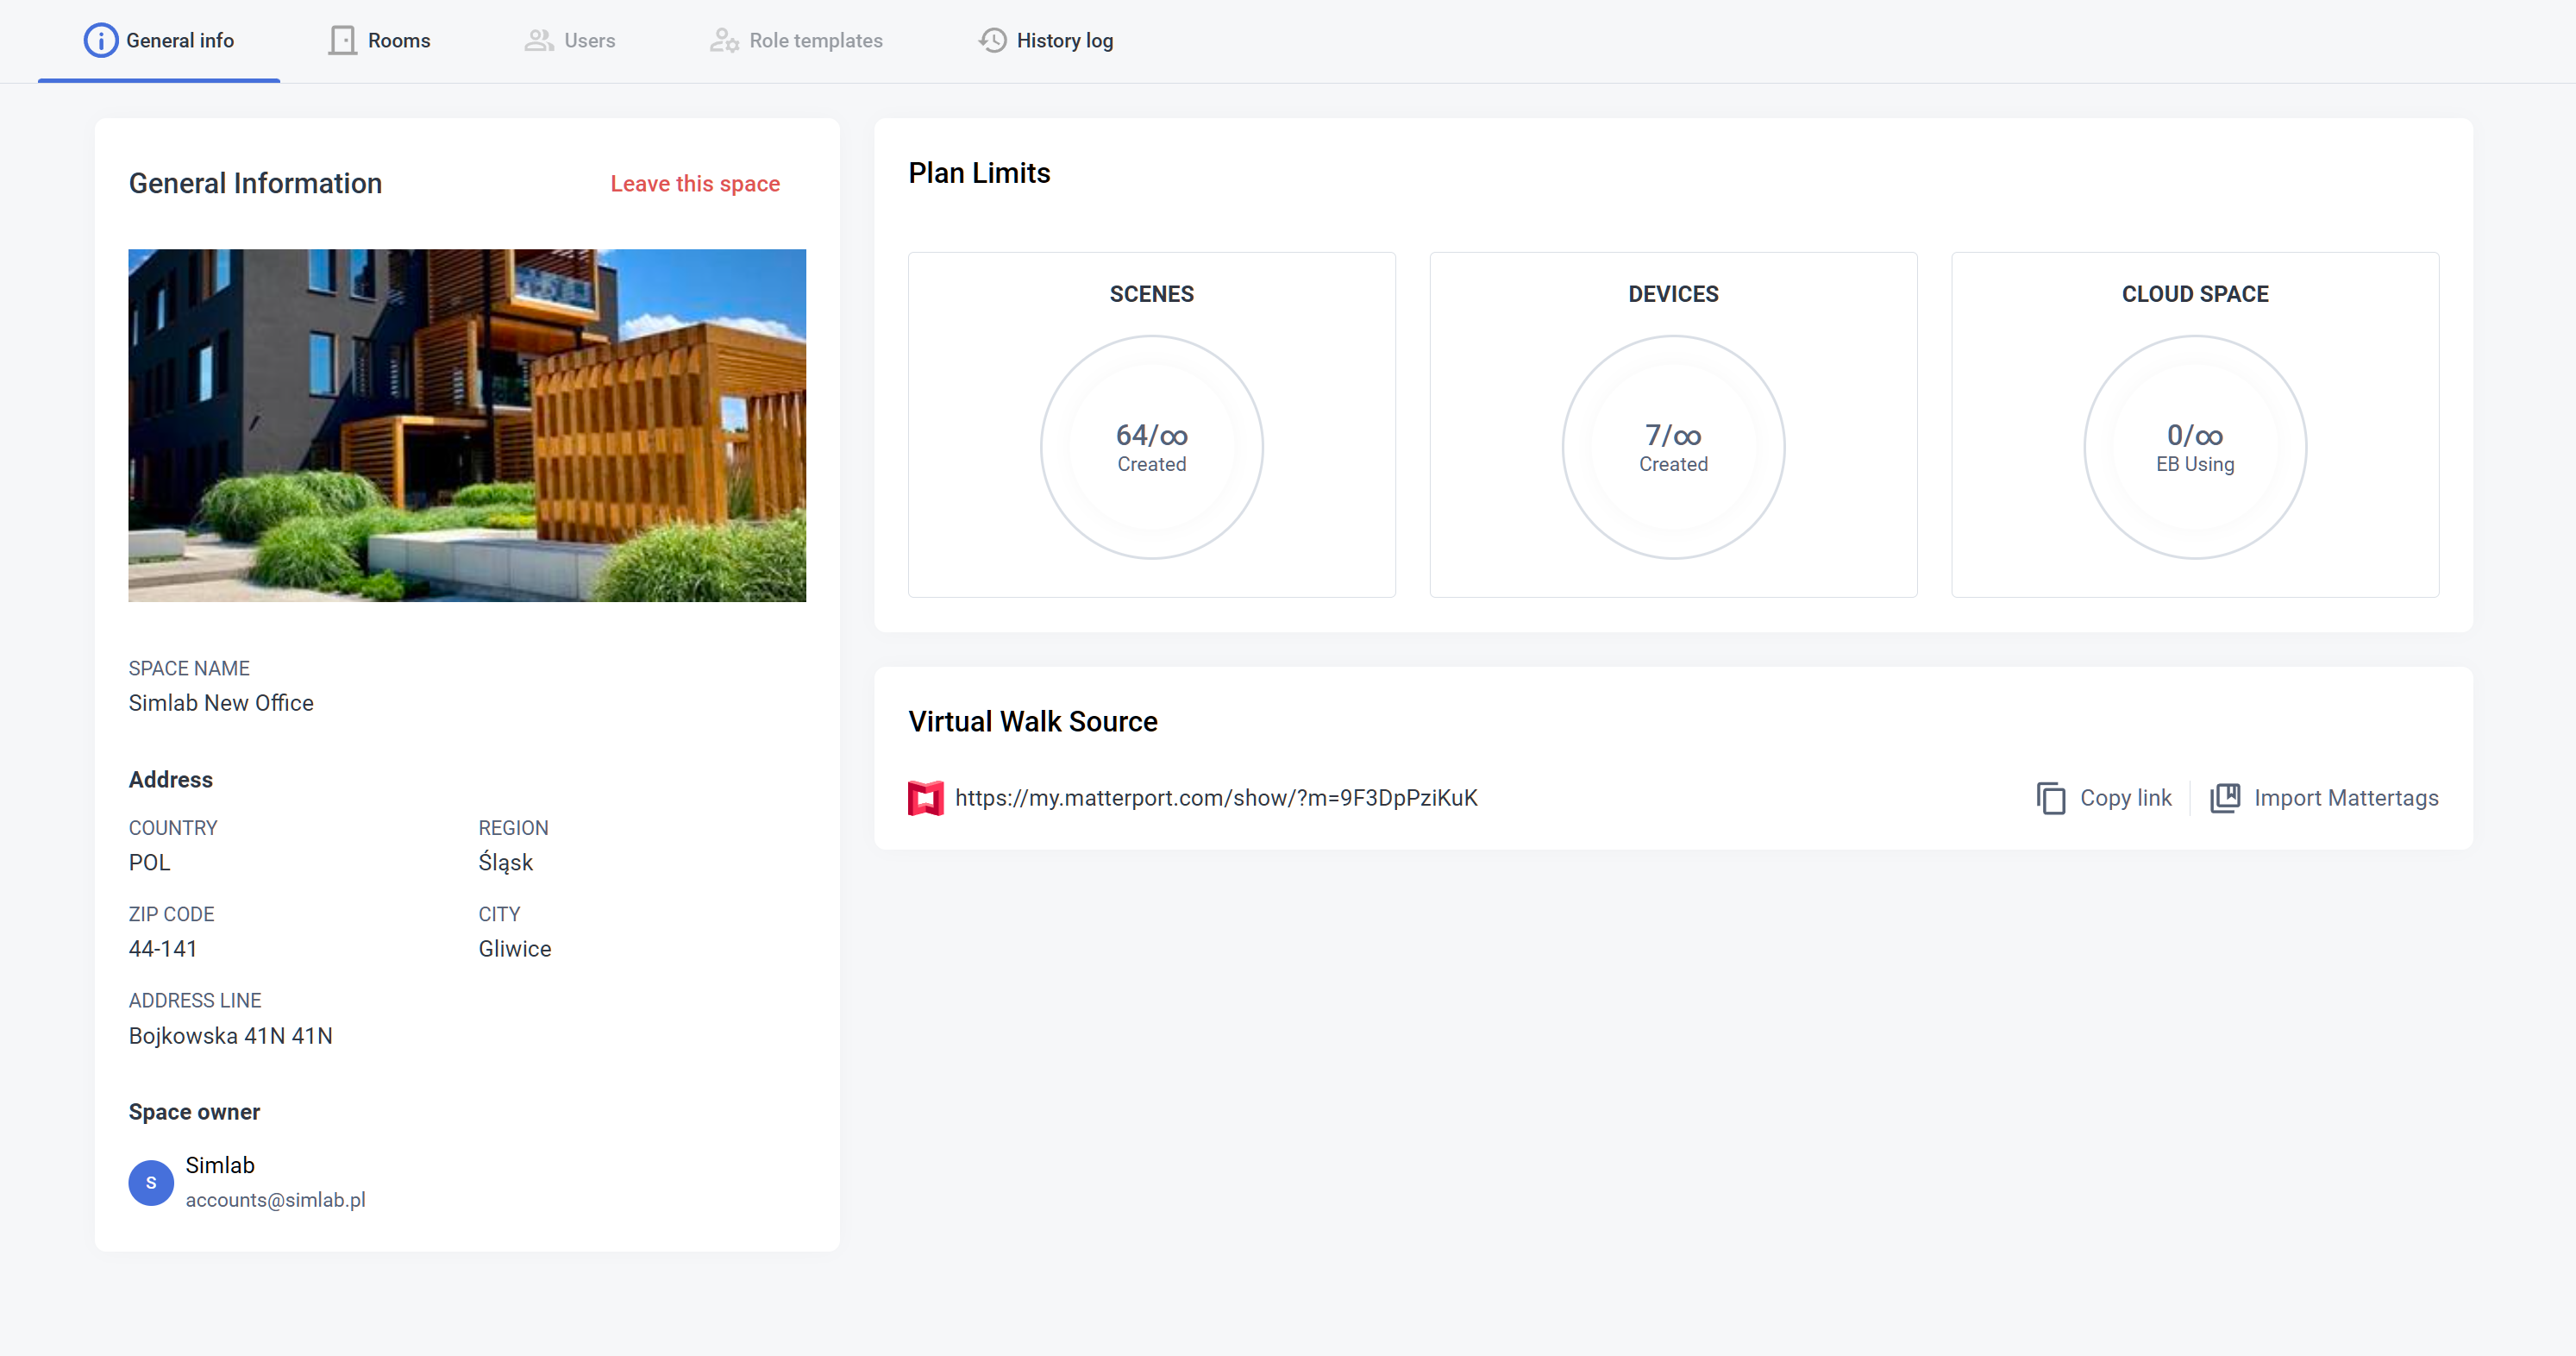
- General Information
Check your space basic information: name, street, house number, apartment number, town, region, zip code and country, space owner. You can also Leave the space from here.
With appropriate permissions you can Edit General info from here as well as delete the space itself
- Plan Limits
Check your scene limits usage: you can see how many devices and scenes you used in your project as well as how much cloud space is being used.
Remember that the cloud space limit usage depends on the subscription plan and might vary from the information above
- Virtual Walk Source
In here you can change the link to your Matterport Virtual Tour Scan.
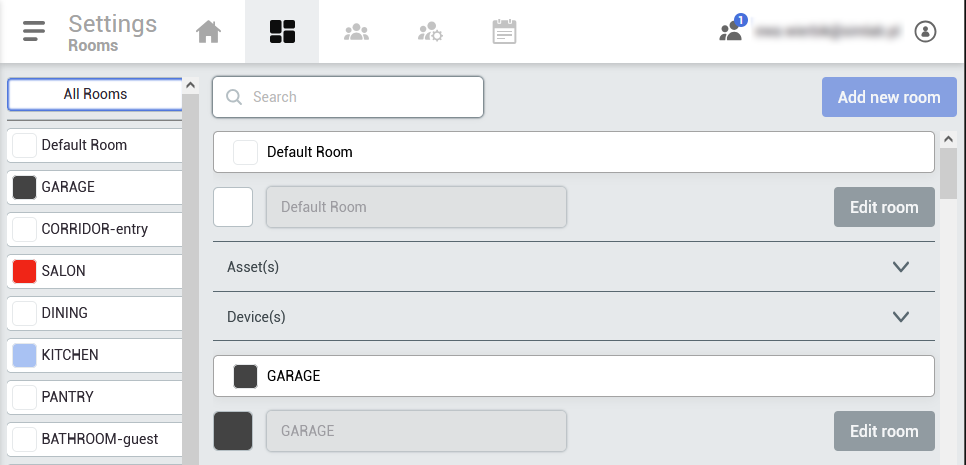
Rooms
By clicking on one of the existing rooms on the list on the left you can isolate it to see details about this one selected room only
|
 |
|
|
Users
In the User tab you can manage the users in your space, edit their roles, remove them from the project or add new users.
|
 |
Keep in mind, that the access to the Users tab requires appropriate permissions
Role Templates
In the Role templates tab you can add or change role permissions.
|
|
There are a few tabs that you can change privileges in: General privileges, Rooms, Devices, Assets, Scenes, Tickets. |


 |
 |
You can create multiple roles with different privileges depending on who you share the project with. If you want to share it with subcontractors, you may want to give them roles to edit assets or devices. If you want, you may want to give separate roles to plumbers, electricians, people controlling the project, your closest associates, etc.
If you set some general privileges (eg. to create rooms), the privileges on the other categories will change too.

In the example above, the Designer has some privileges to manage Interior Designer, Create tickets and view providers. Automatically some of the privileges was created as you can see in the image below, but you can revoke the access to specific rooms, devices or other options (in this example the Designer role allows to manage the Interior editor, create tickets and view providers excluding TURQUOISE, GREEN and PINK rooms).

Keep in mind, that the access to the Role templates tab requires appropriate permissions
Activity log
In the Activity log tab you will find the latest activity in the project and its type, time and the user it was triggered by.
|
 |