For this tutorial you will be **provided with a Matterport scan** of an office, but **we recommend you to use your own scan**, together with a **Smarthome provider** if possible
Provided tutorial material: - **[Matterport Scan](https://my.matterport.com/show/?m=KnmwKwMaj4s)**At any time, in this tutorial, you can access the provided link from the **Attachments** section. (*located in the top left corner of the screen*)
--- #### **New Space Creation** After [**Logging into SIM-ON**](https://identity.simlab.pl/Account/Login), you will first see the **browser view.** Here you will find **news** and your **available spaces.** 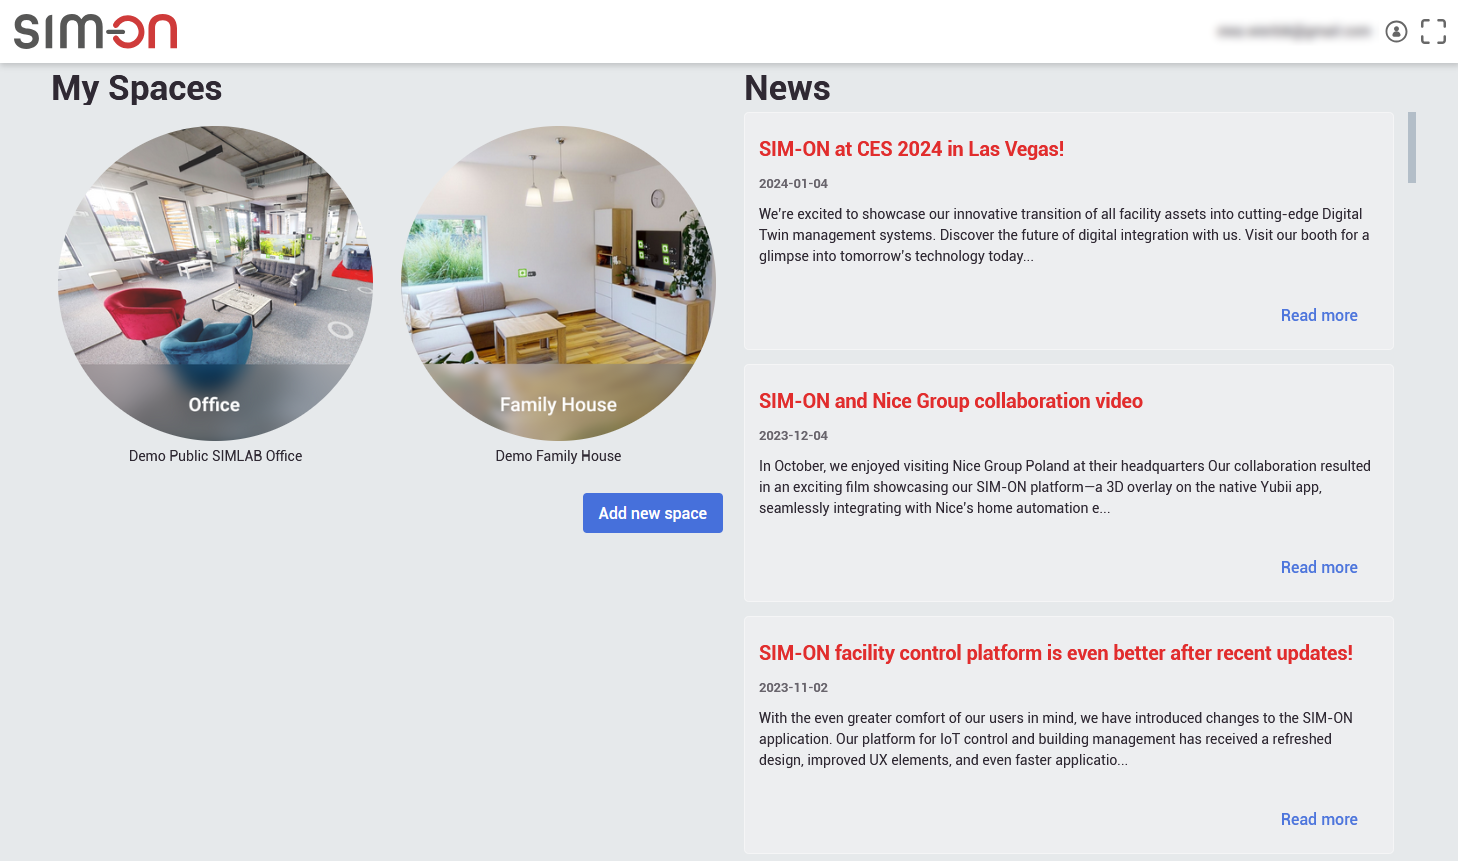 - Press  button to begin the **space creation** process. 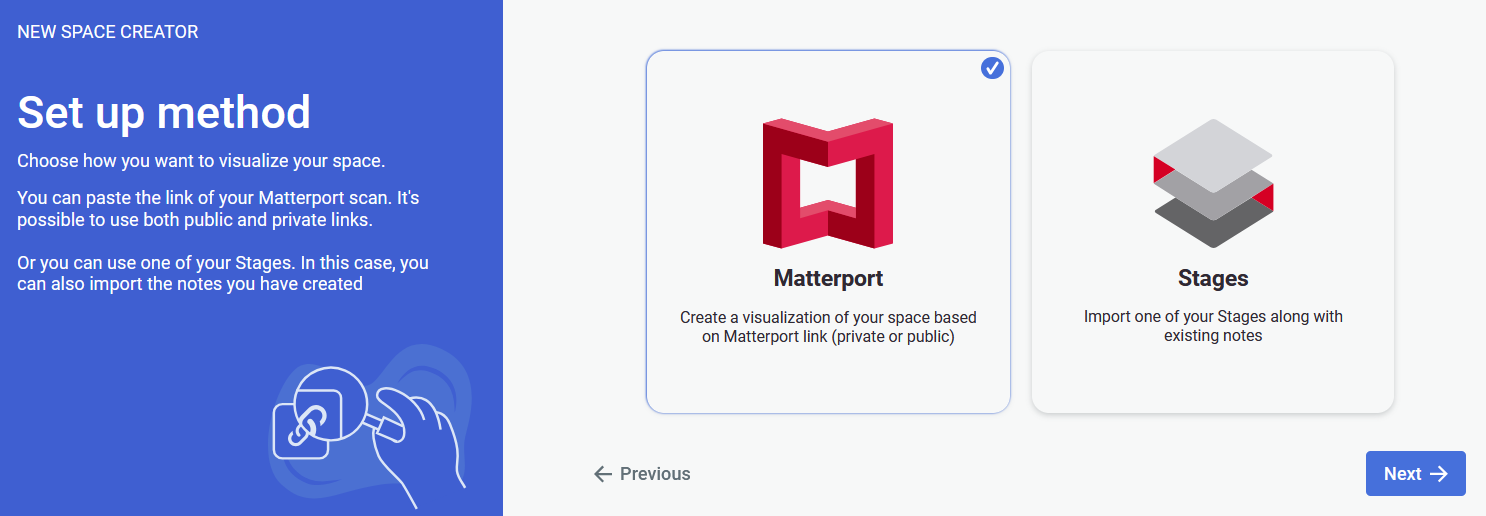 - Select **Matterport** set up method as we will be using the provided **Matterport link** in this tutorial. - Press  to proceed. #### Room creator 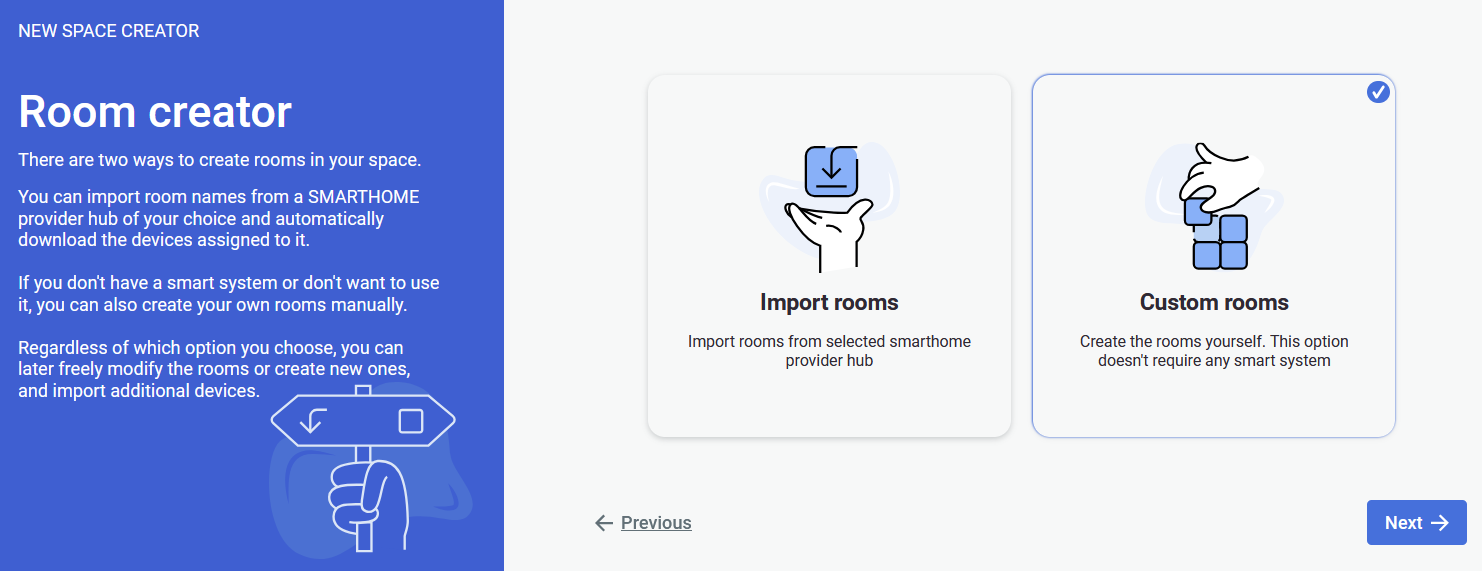 Next, we will create starter rooms. - Select **Custom rooms** option, as it allows to proceed **without linking** a smarthome provider. - Press  to proceed. 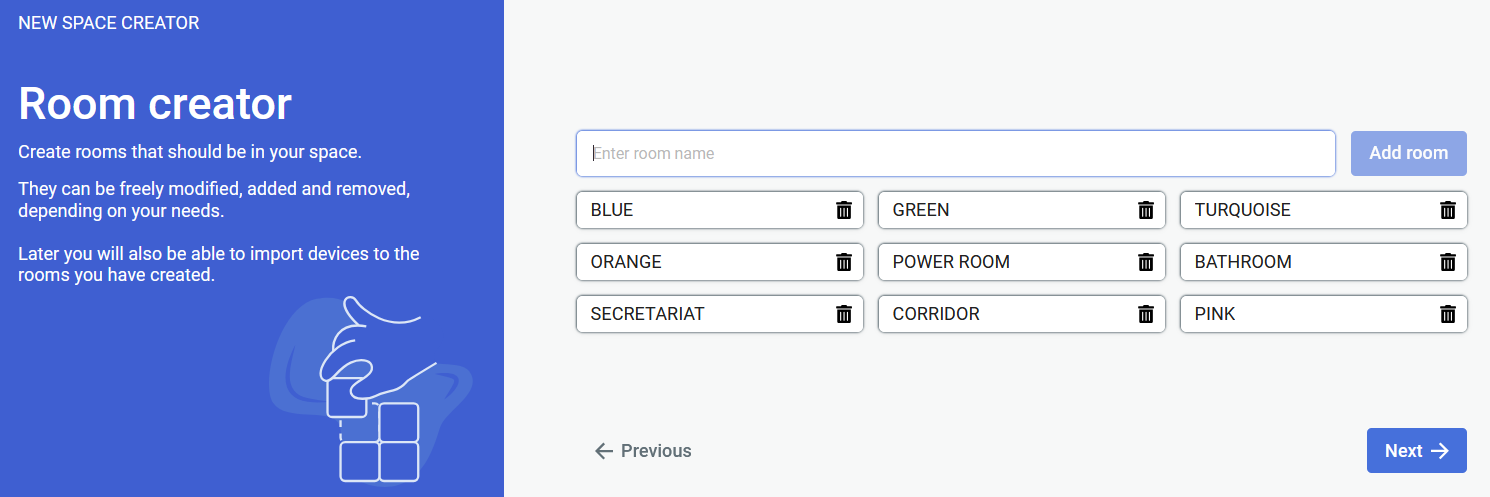 We need **at least one** **room** to proceed with project creation. Here we will only create a **placeholder room** to create the project. Proper room creation will be handled at a later stage, within the project. This way you will be creating rooms at the fly, while assigning them to the sweeps in the project.If you are following this tutorial with **your own Matterport Scan**, and know the rooms beforehand - feel free to include them in this step. Otherwise keep following this tutorial
- Create a single, placeholder room (We will change its name later.) - Press  to proceed. #### Linking Matterport scan 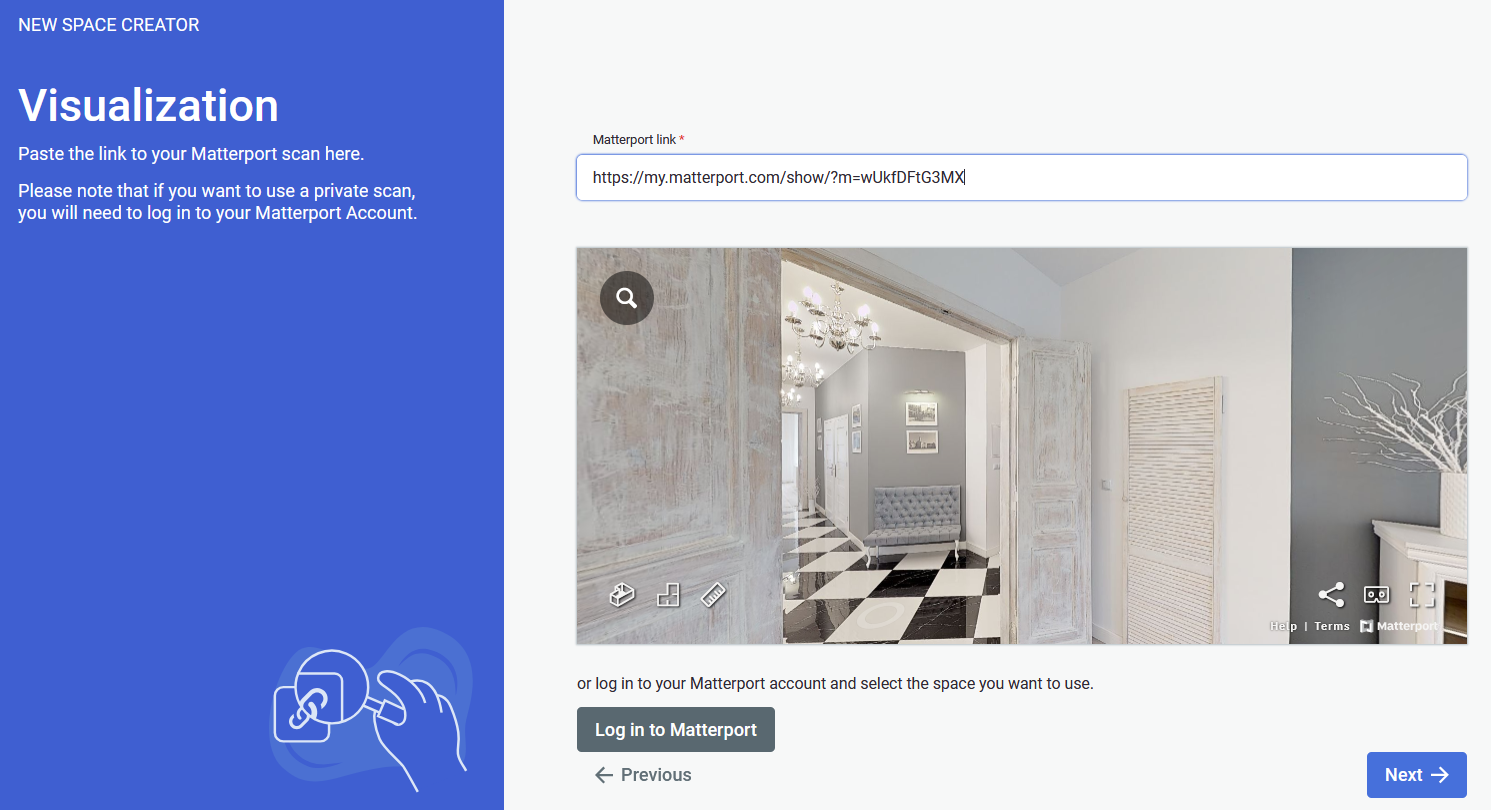 Now we to provide a **Matterport link** to be used as a 3D space for the project. - Paste the **Provided Matterport Link** into the required field. - Press  to finalize the space creation. You've successfully created a new SIM-ON space! Proceed to next page of the tutorial where you'll learn how to further set up the scene. # Setting up Rooms After entering the space for the first time, by default you will appear in the 3D Walk view. You may notice that the environment is desaturated. This is an indication that the current position (sweep) we are on is unassigned. It is understandable, since the project has just been created and needs to be set up. 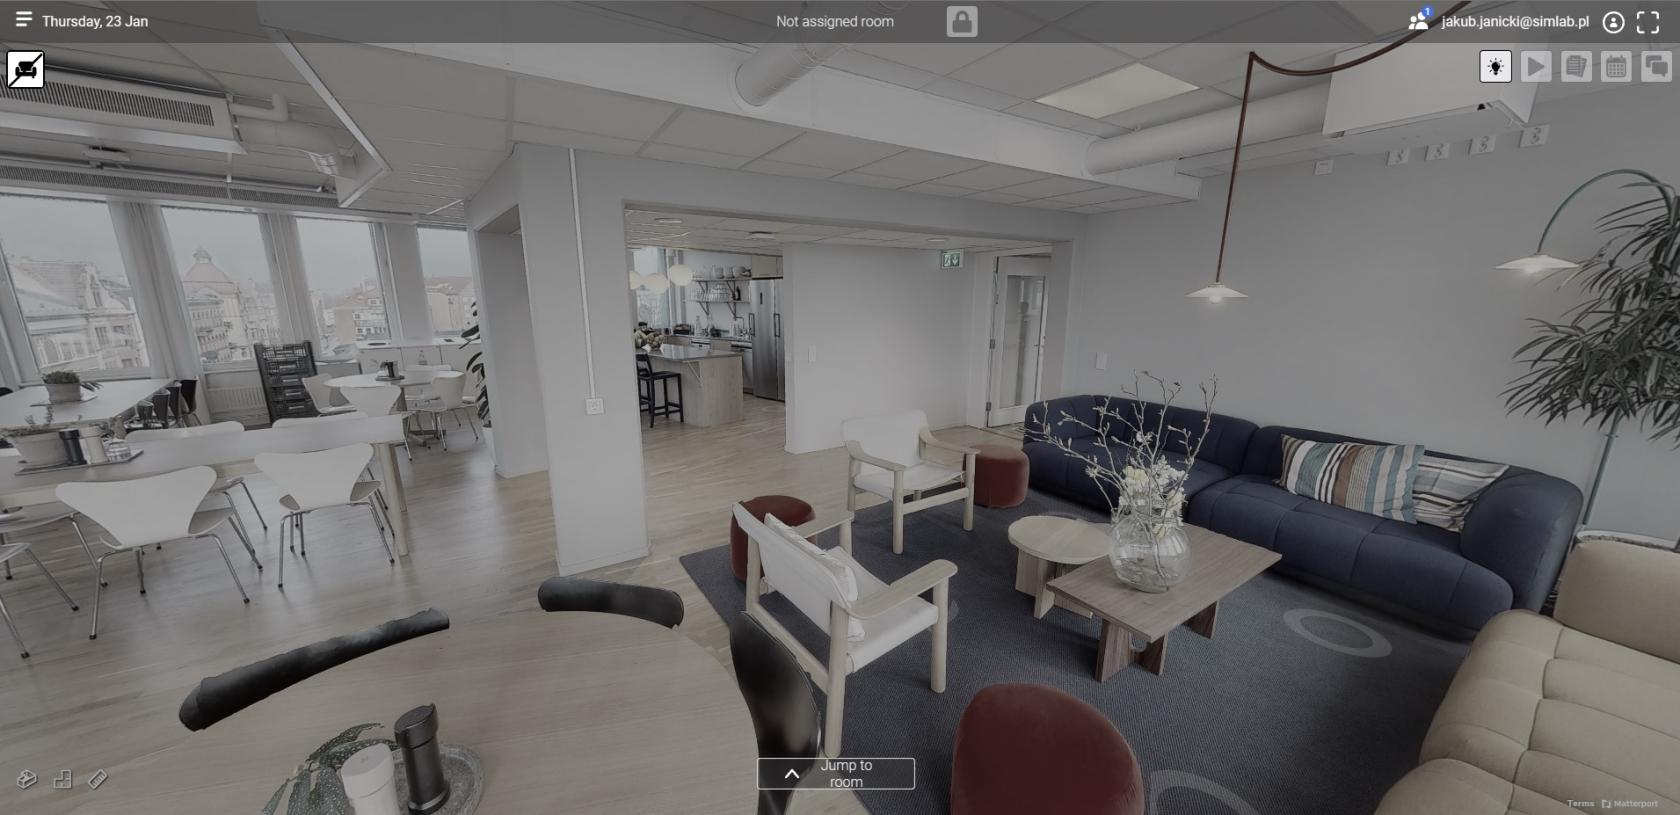 #### **Room creation** First step before setting up sweeps is to prepare rooms to choose from later. You might have noticed that we skipped this step in the project scene creation. It's because we will use the **Matterport** **Dollhouse** feature to get the general view of the space that will help us decide what rooms to create. - To enter the **dollhouse view** (or any other type of view): select it from the bottom left corner of the screen: 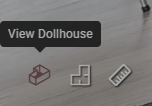 With the **Dollhouse view** enabled a 3D scan model of the entire scanned place will appear: 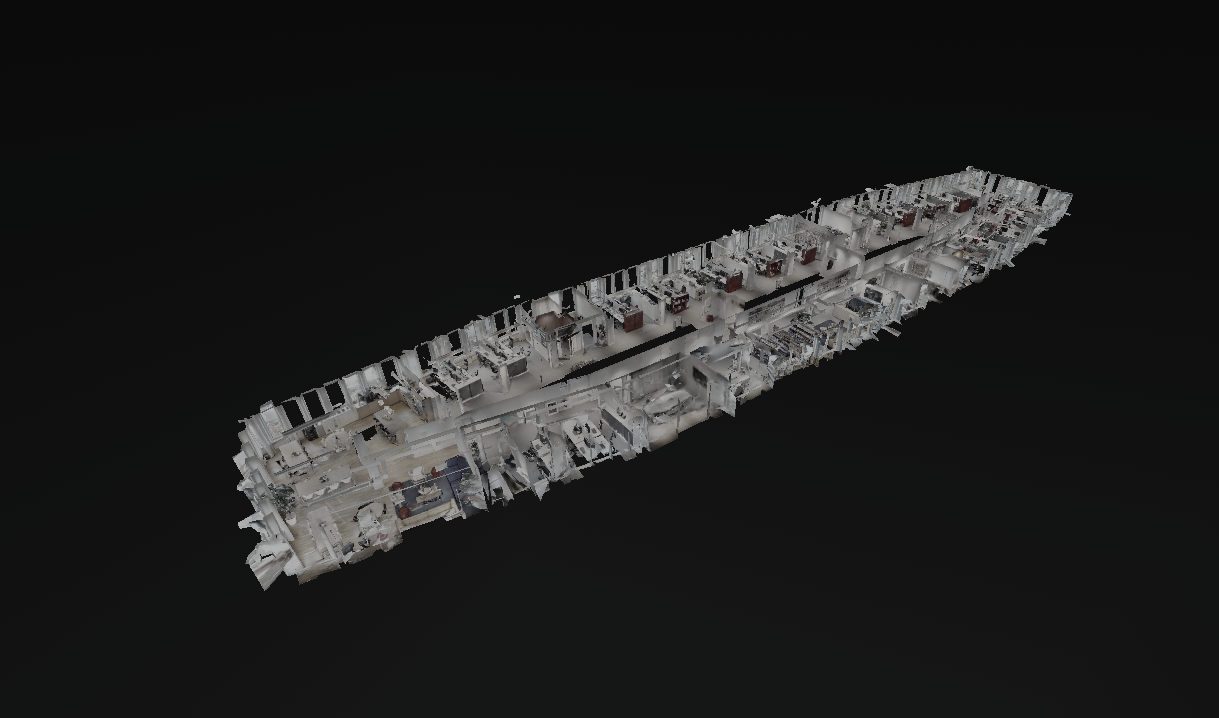 This lets us navigate the environment unobstructed and explore the given space to decide the amount and names of the rooms. - Explore the office and think about what rooms need to be created Here is an example, using the  **floorplan view** of how the provided space could be divided into rooms: 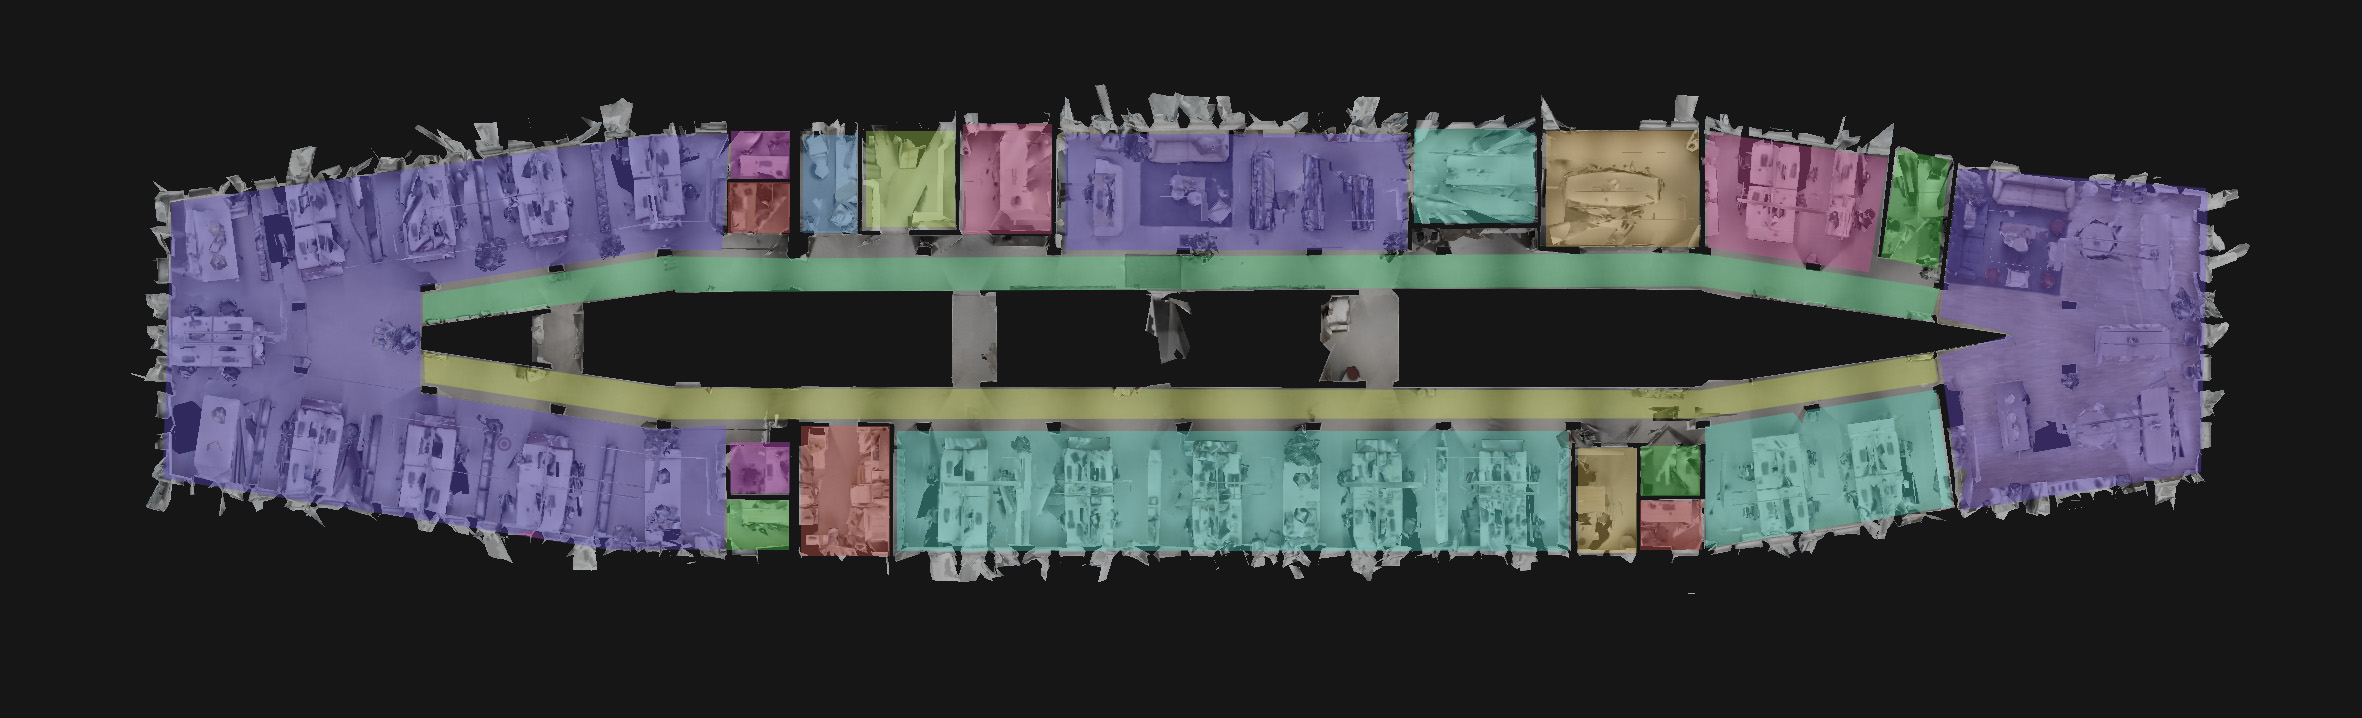The screenshot was colored in an image editing software for easier visualization of the concept
With the general idea for the room layout, head to **Space settings** > **Rooms** accessed from the burger menu located in the top left corner of the screen. And create room(s) you will use to start assigning sweeps with. - Go to the **Rooms** view in **Space settings** - Create rooms for the space 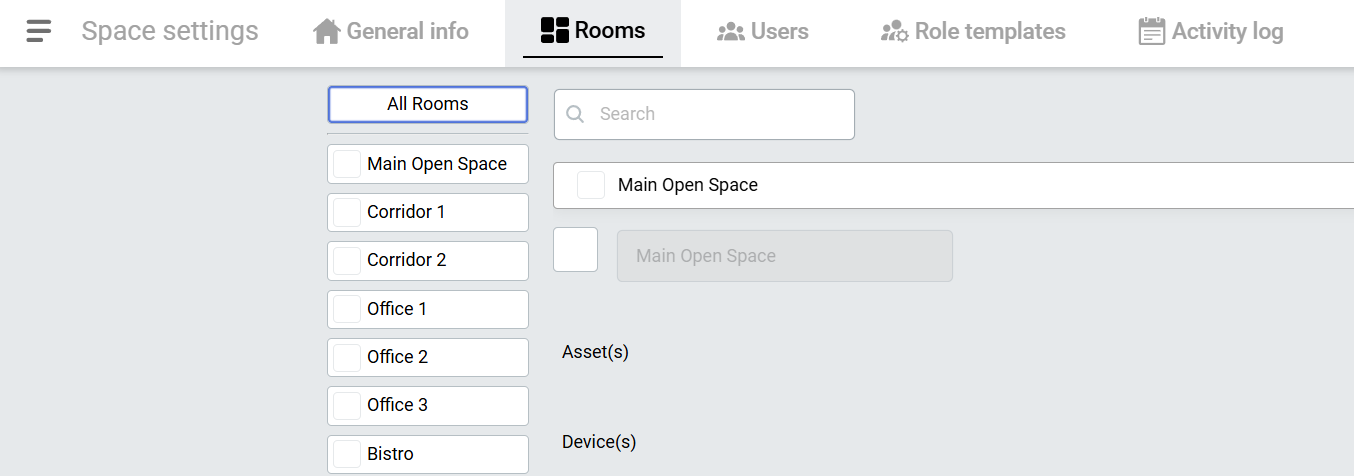Use neutral/general naming scheme for the first time (*as seen in the screenshot above*) to setup all the spaces without worrying too much about "proper" room names, especially since the rooms can be edited later on.
#### **Sweep assignment** With (some *starting*) rooms created, now we need to assign them within the space to "**sweeps**".| > To place **devices** within the 3D space of **Virtual Tour**, first we need to **define** **the rooms** within the 3D space by assigning them to "**sweeps**".
>
> ‘**Sweep**’ as in a full Matterport camera rotation - **A spot** in the **Matterport Space** where a user can **stand** and **look around** (*This includes 3D scan locations and 360º Views*) > > > ~[***Sweeps***](https://docs.sim-on.com/~Sweeps) |
While assigning sweeps, If there is a room you are missing/haven't prepared before: don't worry, you can always go to the **Rooms** in **Space Settings** to add new room and return back to the **3D View.** The last place you left the view from will be remembered and you will start where you left.
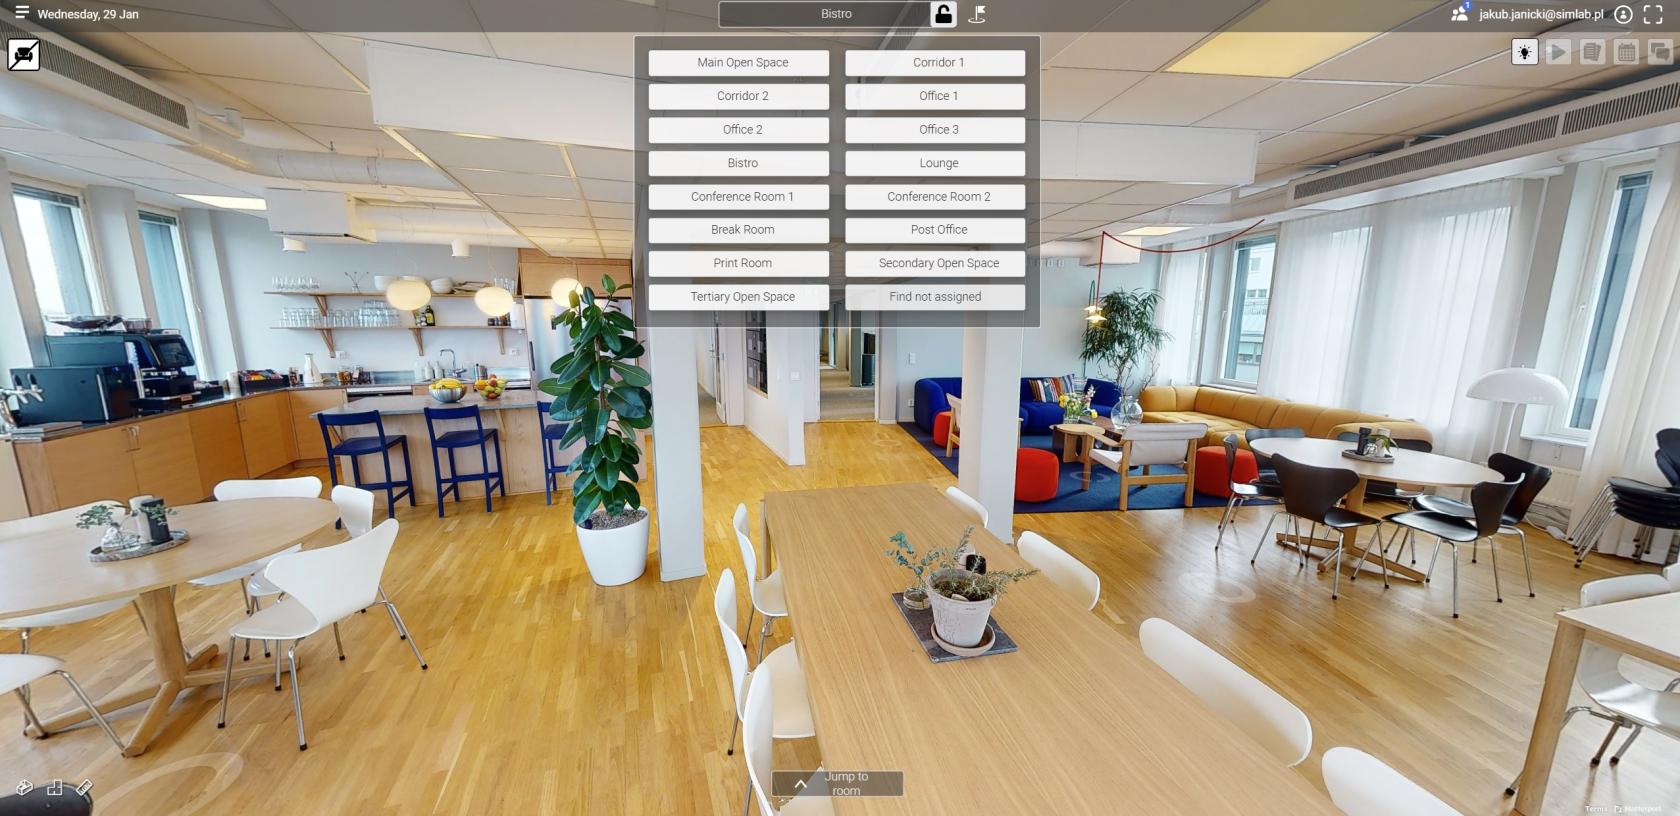After going through the swpies, check if the option  is still available. If so, that means some of the sweeps are still unassigned. - Use "Find not assigned" to be automatically transported to one of the unassigned sweeps and assign it. - Repeat until the option is no longer available, indicating that all of the sweeps are now assigned. With the rooms set up, the project space is now ready for all of the SIM-ON features to be used. --- **This concludes the core setup of the SIM-ON project space setup tutorial. In the following, last page, you will learn how to create an asset and an event within the created space.** # Asset creation With the rooms assigned, assets can now be included within the space. > Defined as an "**asset**" is any object or an item you wish to keep track of in your SIM-ON space. The main difference between an "**asset**" and a "**device**" is the lack of smart connectivity of the former one. 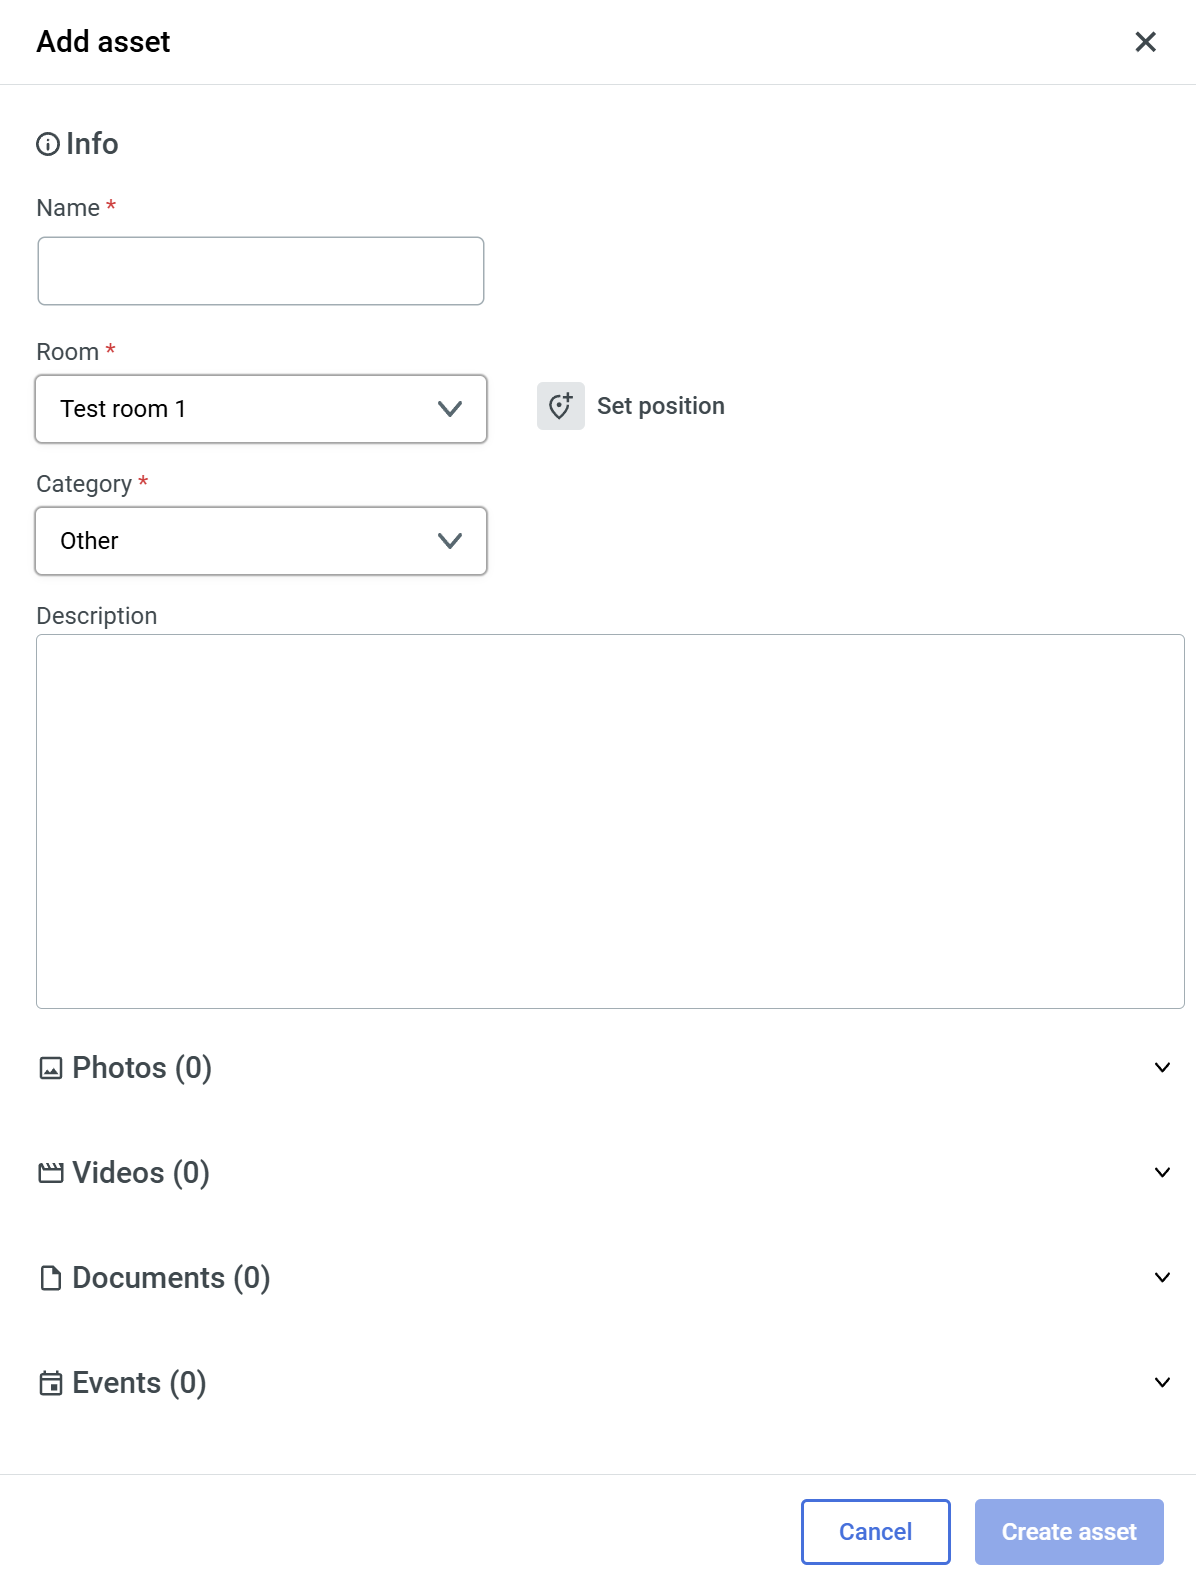To add an asset, navigate to **[Quick Access Menu](https://docs.sim-on.com/link/148#bkmrk-assets "Top Menu")** located on the right side of the viewport, select **Assets**  icon and hover over  icon, to reveal "**Add Asset**" button and then press it. The following window will appear on the right side of your screen> To create an asset, you need to fill out the necessary fields, marked with " **\*** ", then the  button will become available to finalize the asset creation. As an example, we will create an asset for a **Printer** located in the **Printing room** in the **project space**. - Fill the necessary fields as seen here: 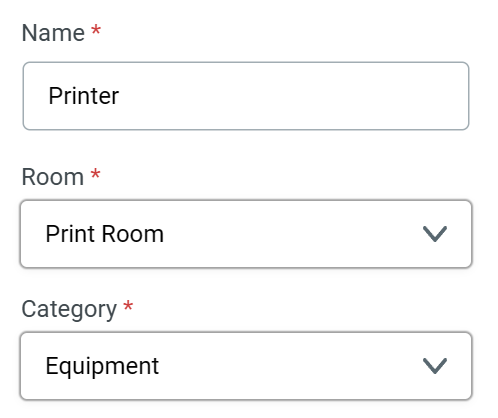 With basic Asset info, now we will set position for the asset. - Click the  **Set position** button 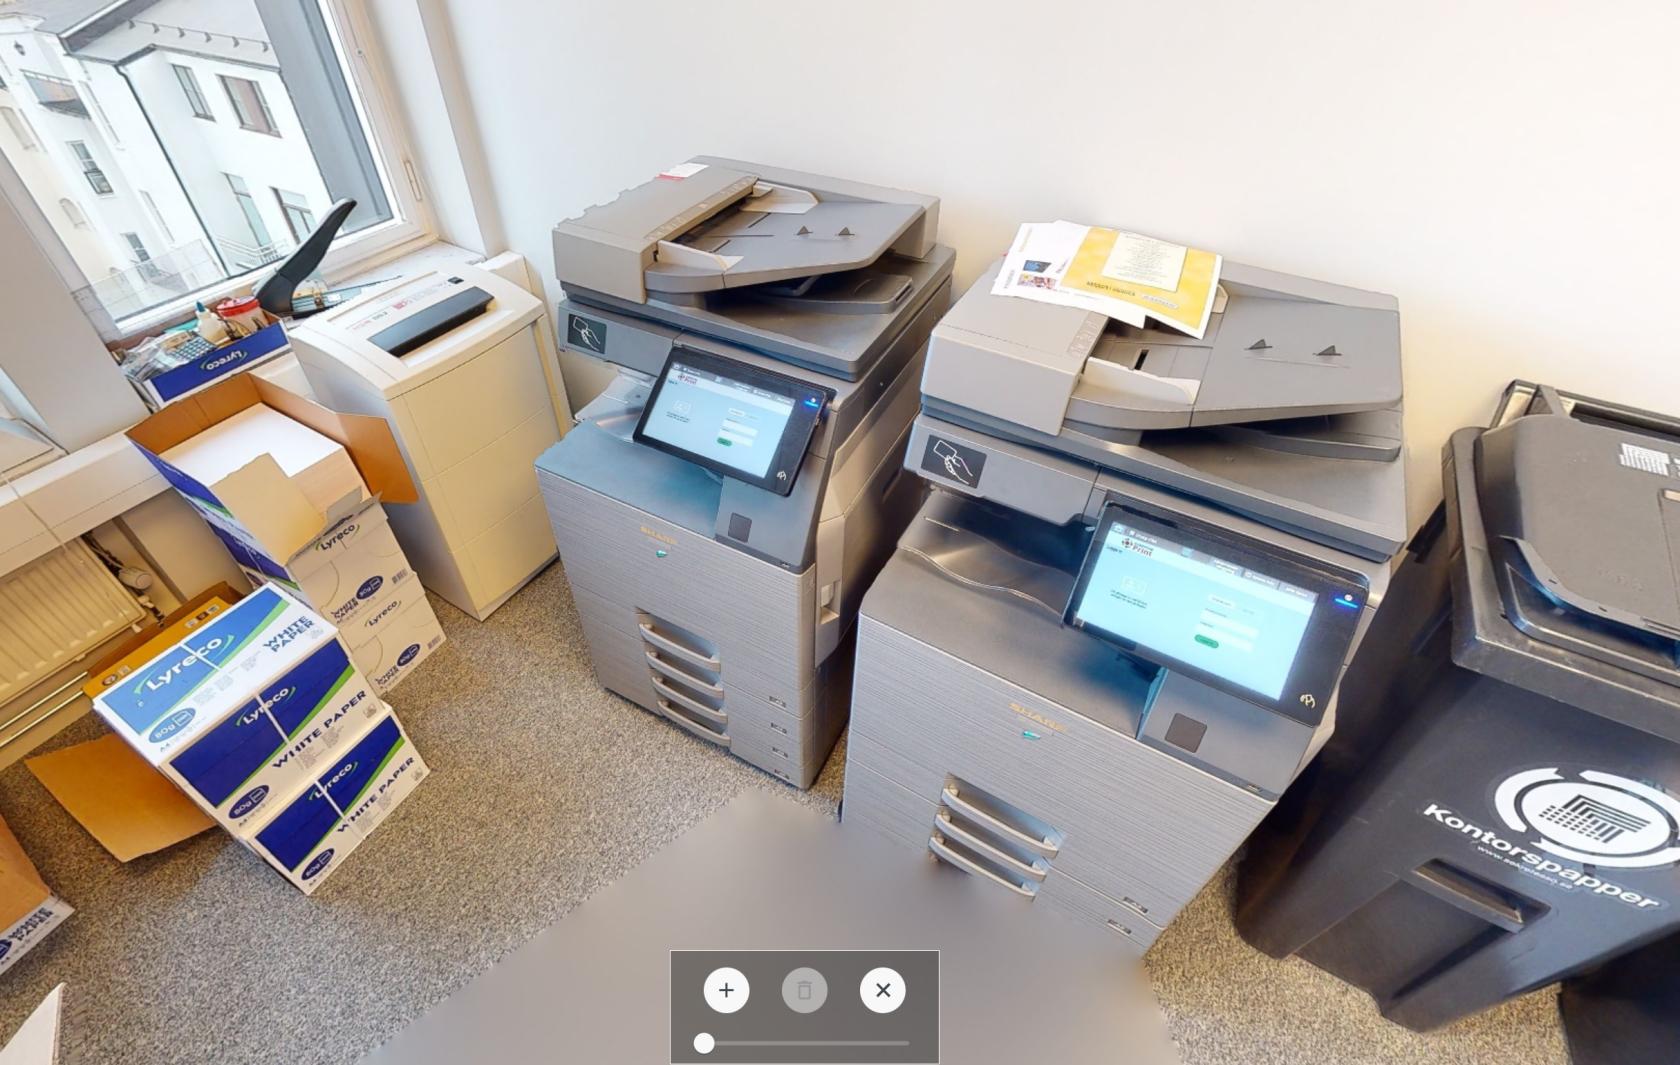 We will be putting the position marker on the left printer. Press the " **+** " button from the new window that appeared on the bottom of the view. - Place the Pin on the printer 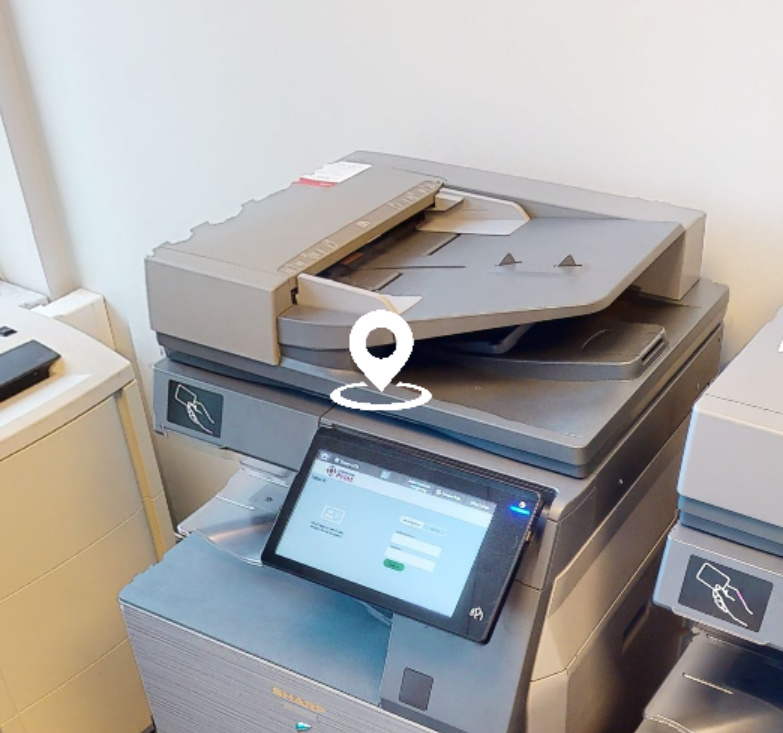 - Exit Position placement by pressing " **x** " buttonYou can edit/delete Asset location at any time from the **Asset Panel**
With the basic **Info** and **location** set, asset can be created. There are more options that can be used to store information within an asset such as: **Description,** **Photos**, **Videos** and **Documents.** You can use these to further complete asset information. Here is an Event section filled as an example: 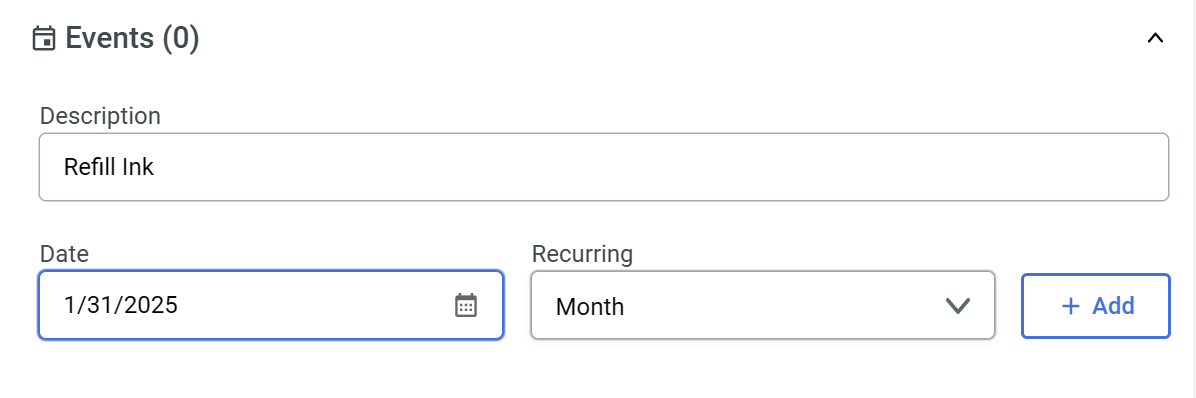 After creating an asset, it will appear on the right side of the viewport, under the **[Quick Access Menu](https://docs.sim-on.com/link/148#bkmrk-assets "Top Menu")**, as well as in the [**assets list**](https://docs.sim-on.com/books/3-app-overview/page/assets) in the [**Dashboard**](https://docs.sim-on.com/books/3-app-overview/chapter/dashboard). **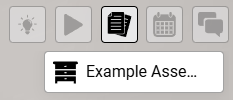** --- To learn more about other Aspects of the Software, check the rest of our [**SIM-ON Documentation.**](https://docs.sim-on.com/shelves/sim-on)