# Asset creation
With the rooms assigned, assets can now be included within the space.
> Defined as an "**asset**" is any object or an item you wish to keep track of in your SIM-ON space. The main difference between an "**asset**" and a "**device**" is the lack of smart connectivity of the former one.
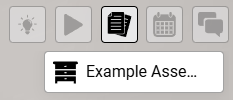
To add an asset, navigate to **[Quick Access Menu](https://docs.sim-on.com/link/148#bkmrk-assets "Top Menu")** located on the right side of the viewport, select **Assets**  icon and hover over  icon, to reveal "**Add Asset**" button and then press it.
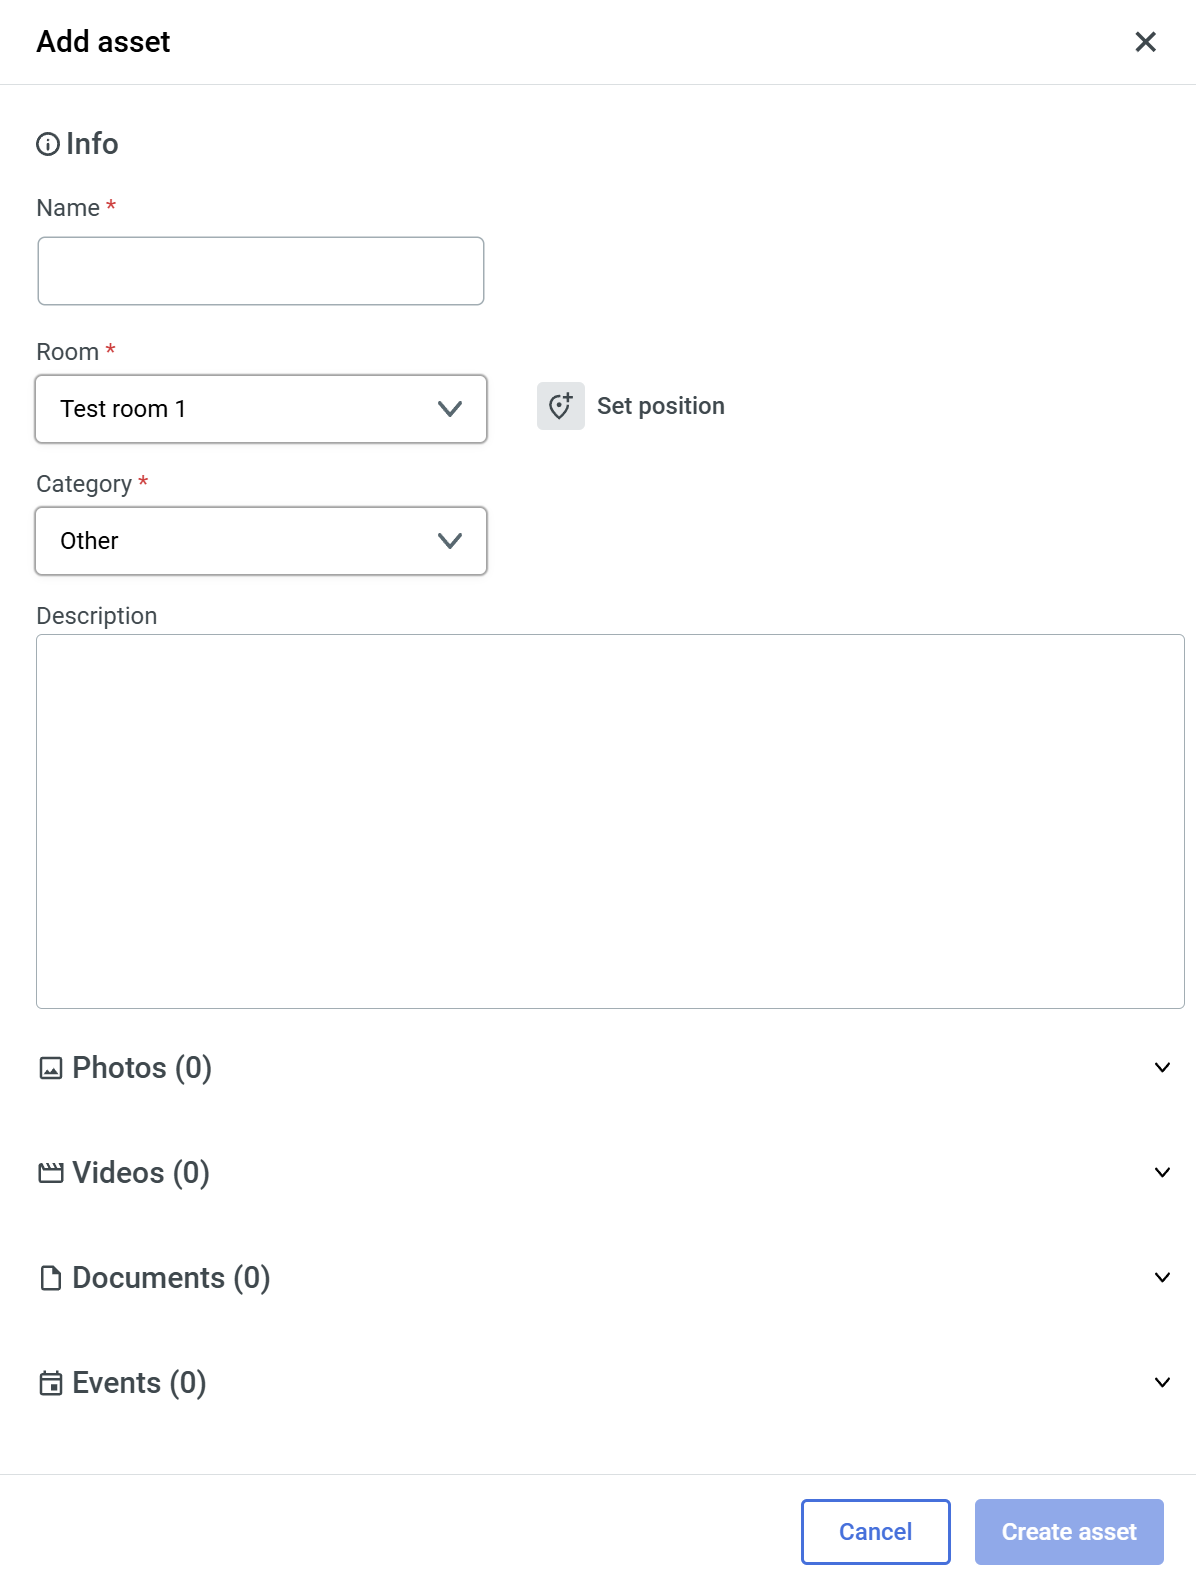
The following window will appear on the right side of your screen>
To create an asset, you need to fill out the necessary fields, marked with " **\*** ", then the  button will become available to finalize the asset creation.
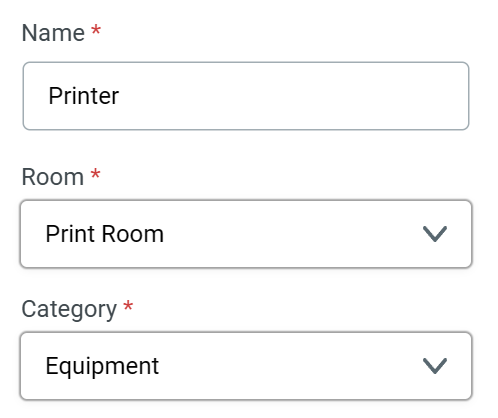
As an example, we will create an asset for a **Printer** located in the **Printing room** in the **project space**.
- Fill the necessary fields as seen here:
With basic Asset info, now we will set position for the asset.
- Click the  **Set position** button
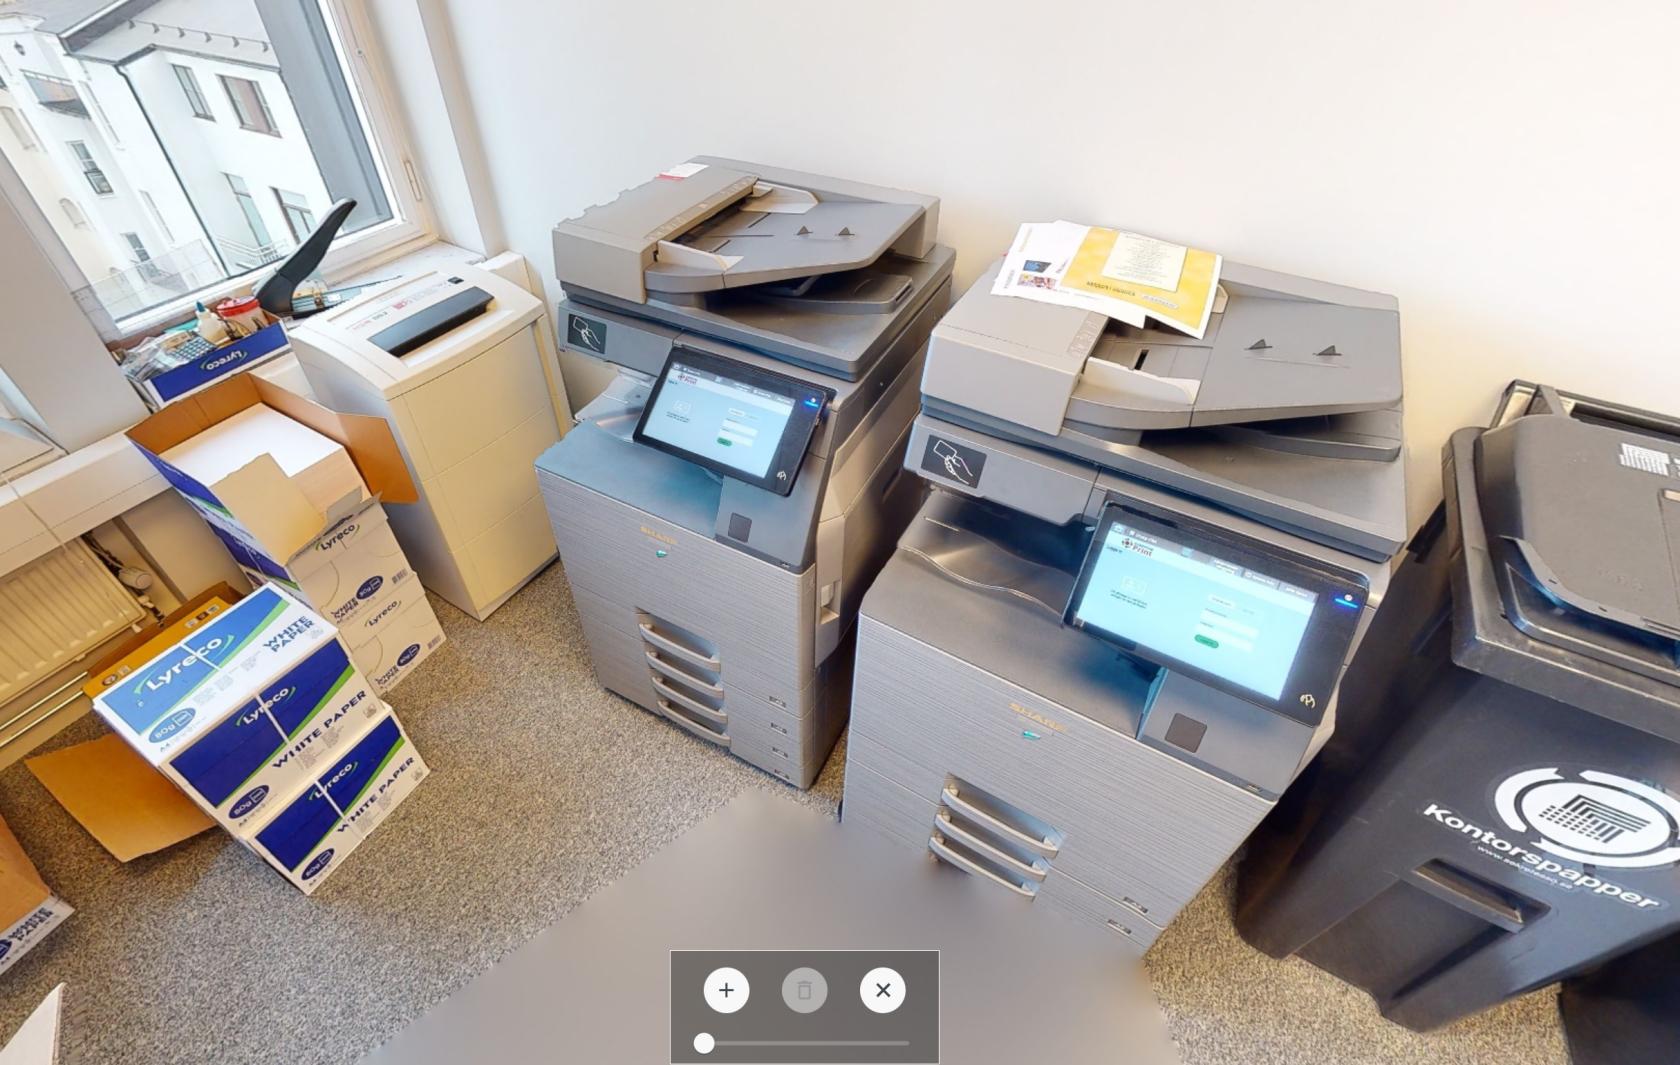
We will be putting the position marker on the left printer. Press the " **+** " button from the new window that appeared on the bottom of the view.
- Place the Pin on the printer
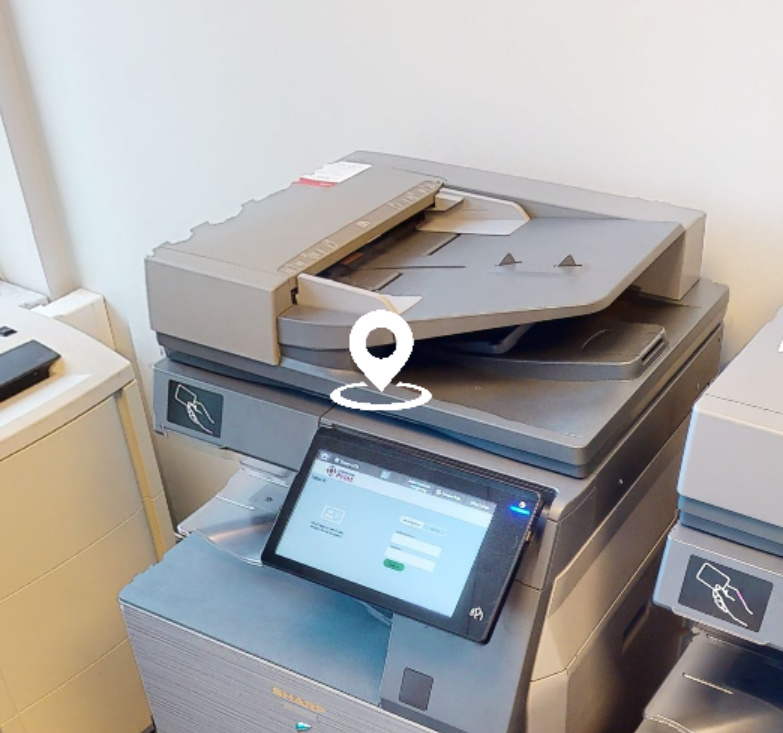
- Exit Position placement by pressing " **x** " button
You can edit/delete Asset location at any time from the **Asset Panel**
With the basic **Info** and **location** set, asset can be created.
There are more options that can be used to store information within an asset such as: **Description,** **Photos**, **Videos** and **Documents.** You can use these to further complete asset information.
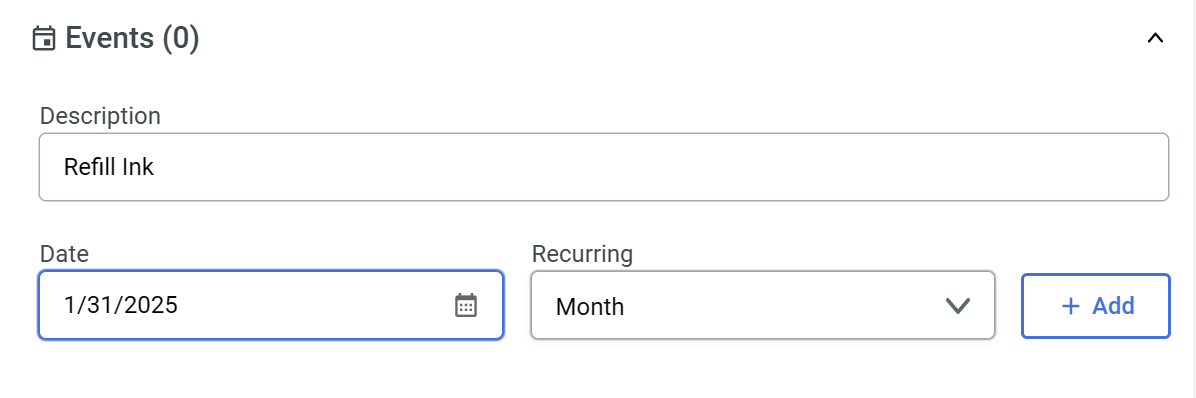
Here is an Event section filled as an example:
After creating an asset, it will appear on the right side of the viewport, under the **[Quick Access Menu](https://docs.sim-on.com/link/148#bkmrk-assets "Top Menu")**, as well as in the [**assets list**](https://docs.sim-on.com/books/3-app-overview/page/assets) in the [**Dashboard**](https://docs.sim-on.com/books/3-app-overview/chapter/dashboard).
****
---
To learn more about other Aspects of the Software, check the rest of our [**SIM-ON Documentation.**](https://docs.sim-on.com/shelves/sim-on)