# Interior Editor Guide
Here you will learn how to use the Interior Editor in your projects. To see a complete overview of the tool UI and features see [**Interior Editor**](https://docs.sim-on.com/books/3-app-overview/page/interior-editor) page in **App Overview**.
During this tutorial a project space created during **Manual Project Creation Tutorial** will be used. To **follow this tutorial** you can either use the **tutorial project** or **your own project** (*if available.*)
---
To start using the **Interior Editor** and place **Virtual Models** within your space you need to enter the **Interior Editor View** as well as create a **Layout** for the models (*even though it is not technically required because of a default layout, it is a good habit to follow since creating layouts not only enables you to prepare multiple "visualizations", but group the models and manage their visibility.*)
##### **Layout manager**
| - Enter the Interior Editor through the **Burger  Menu.**
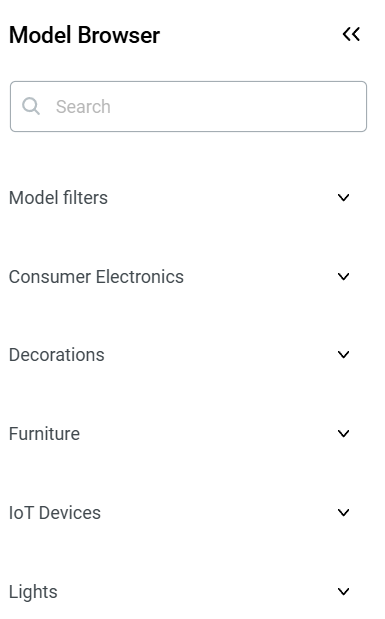
A **Model Browser** will open automatically, here you will find all the available models, grouped into categories.
Before Adding Virtual Models into the space, first we will create a new **layout** (*to group and categorize the models.*)
- Press the **Layout  Button** *(located in the top right corner)* to reveal the **Layout manager** side window.
- Open the **Layout list** and **Add new Layout**.
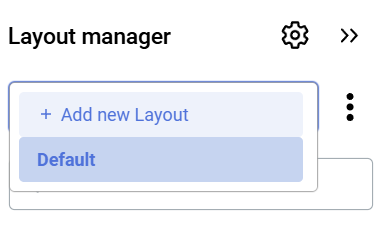
- Name the layout "**Bistro Preview**"
| | 
|
##### **Model placement**
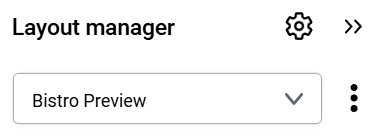
With new Layout created, it is automatically selected. You can hide the Layout manager to free up space from the viewport.
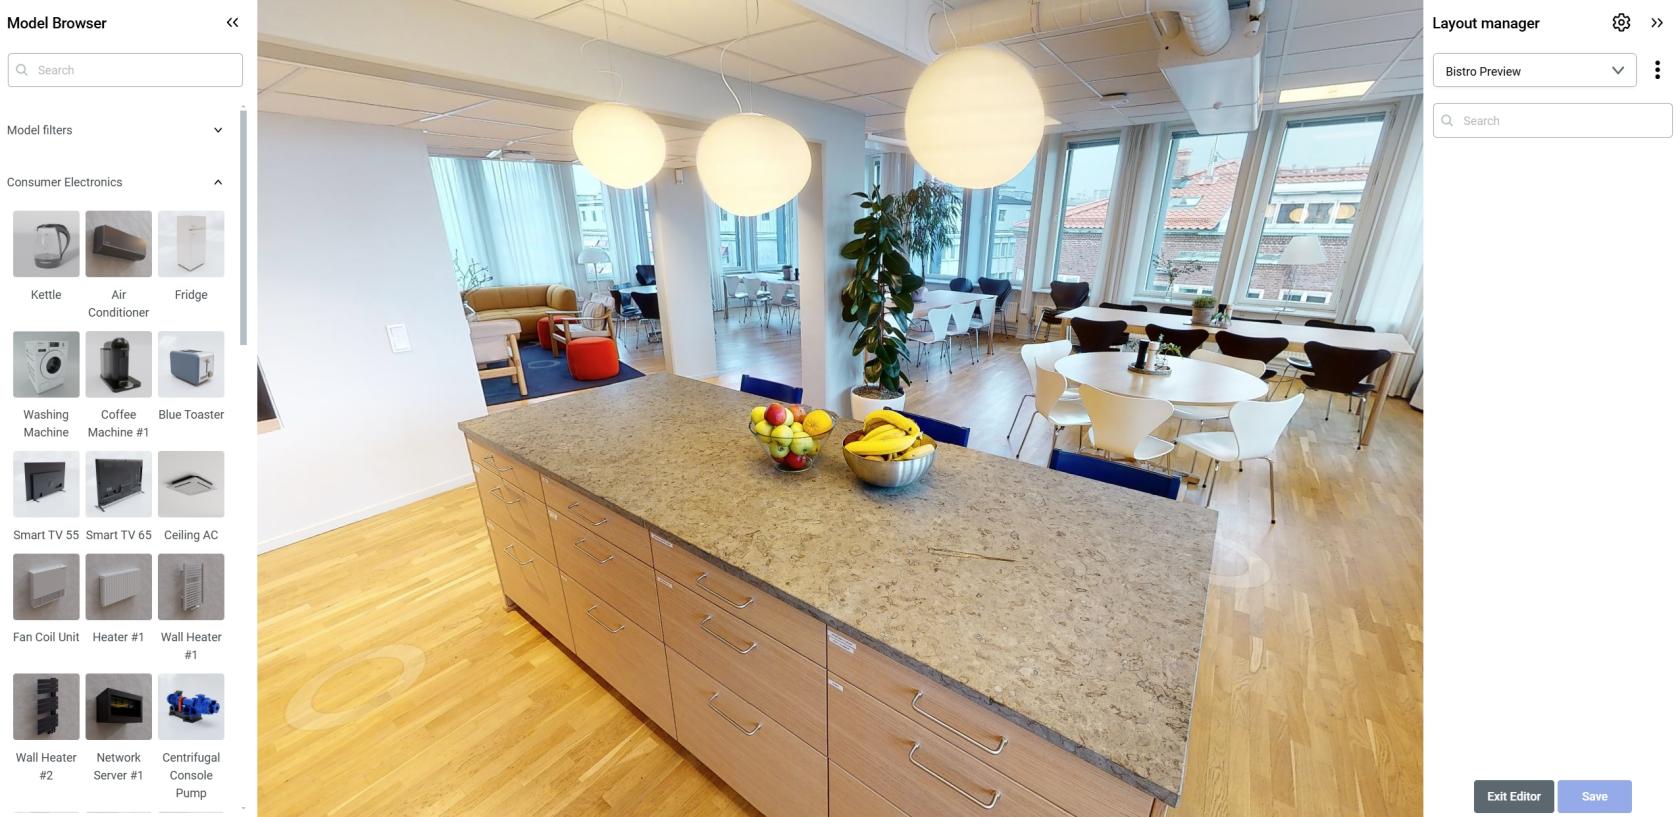
Now we will place a few models in the **Bistro room** in the tutorial project space. Let's start with the "**Blue Toaster**" in the "Consumer Electronics" section (*which should be opened by default*)
- **Hover over** the **Thumbnail** of the model and **click it.**
You will notice two things:
1. **The model** is now **following your cursor** and tries to **align itself** to the space.
2. A new "**options window**" appeared in the bottom section of the viewport.
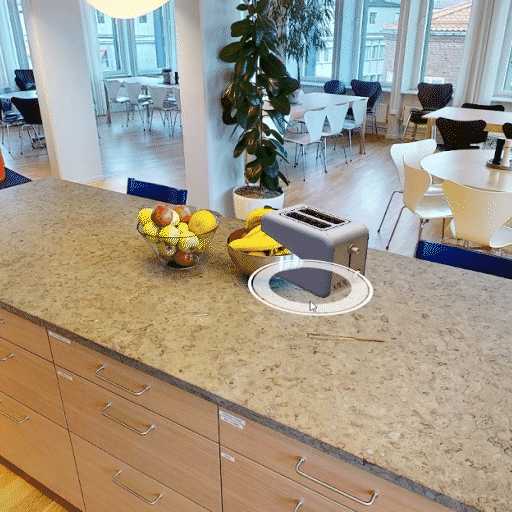
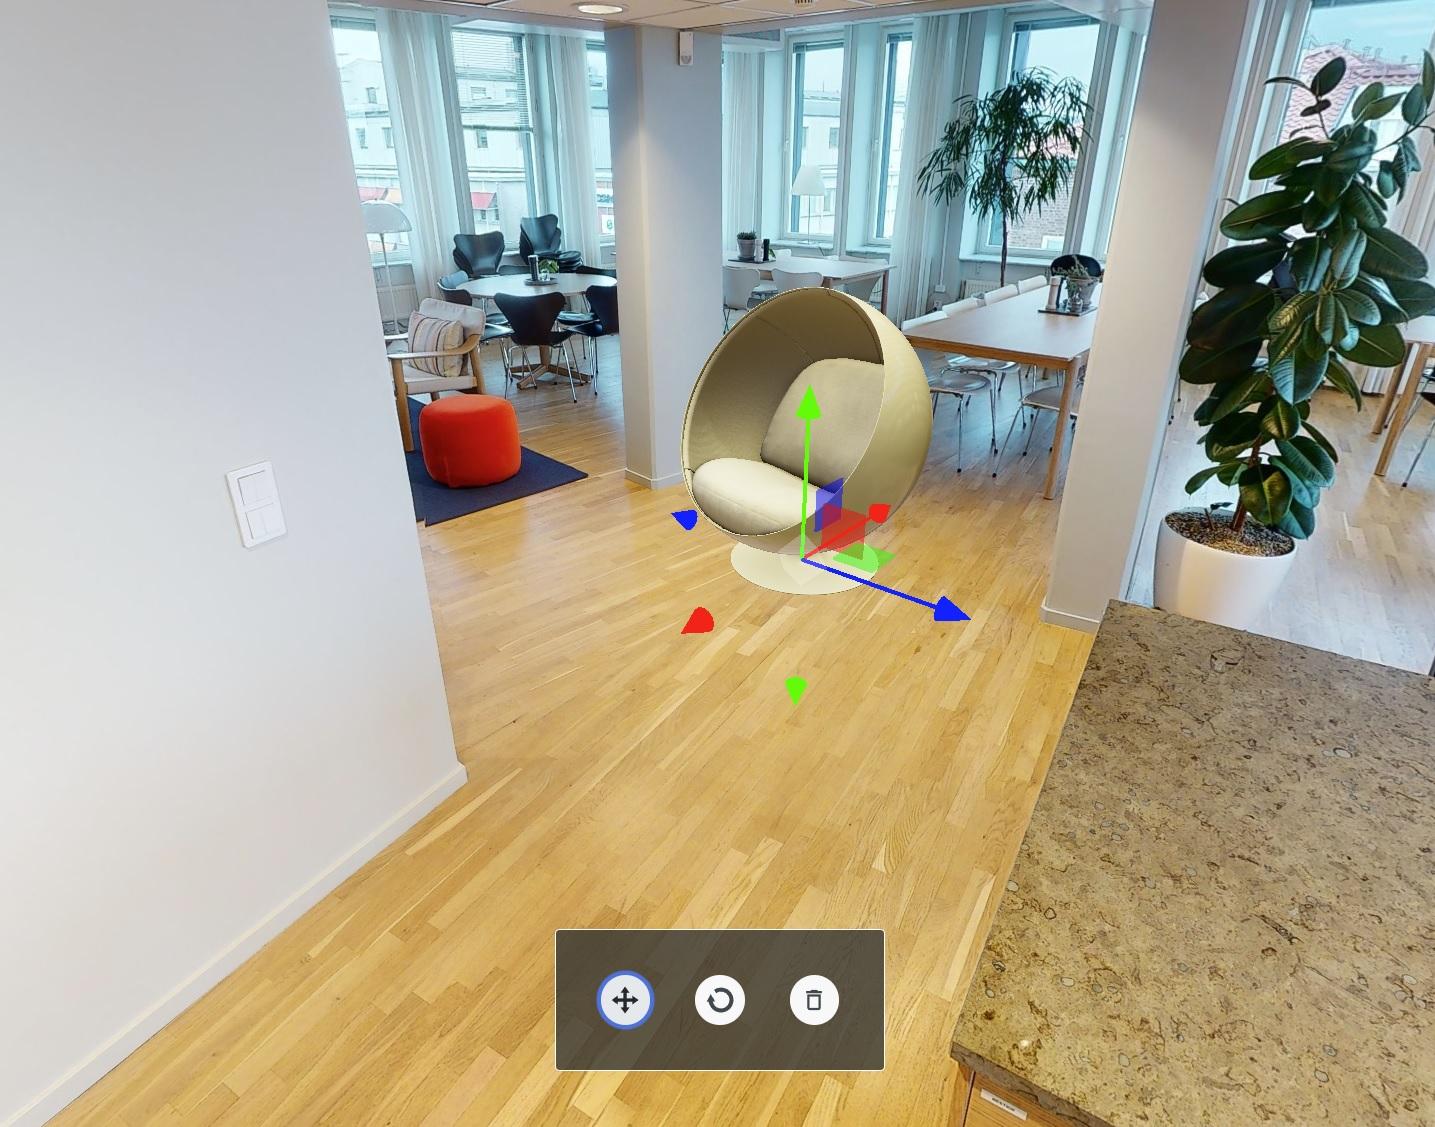
First, let's place the model on some steady surface. Right to the fruit bowls, on the kitchen counter seems ideal. **Left Click** to place the model. With the model placed, **colored Arrows and Squares** will appear (*as seen below.*) What you see is a standard 3D Software "**Transformation gizmo**" (*color coded transformation manipulator,*) in our case the "**Move**" version.
> The Transformation gizmo allows mouse controlled translation, rotation and scaling in the 3D View. There are separate gizmos for each operation. *~Blender documentation*
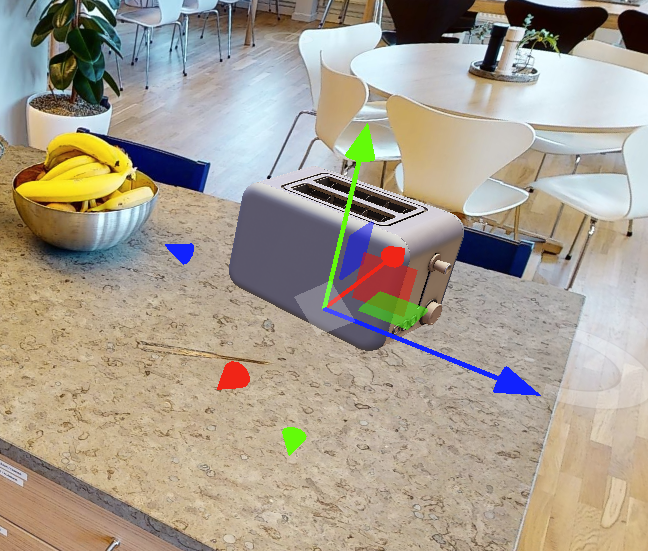
It is one of the **two** transformations available to you in the **Interior Designer**, second one being **Rotation**. Now is the perfect time to use it. Select the **Rotation transformation** (*middle button*) through the "**options window.**"
We would like to turn the toaster to face our camera view and be aligned with the counter edge. This requires us to turn it horizontally. Knowing this, we will use the **Y axis handle** which is color coded to **green.**
- **Hover over** the **Y axis handle** (*green arch)* so it turns **yellow.**
- **Left Click** and **hold** to turn the model.
- **Move** your cursor to the **Left** until the model is in the desired place.
- **Release** the **Left Click.**
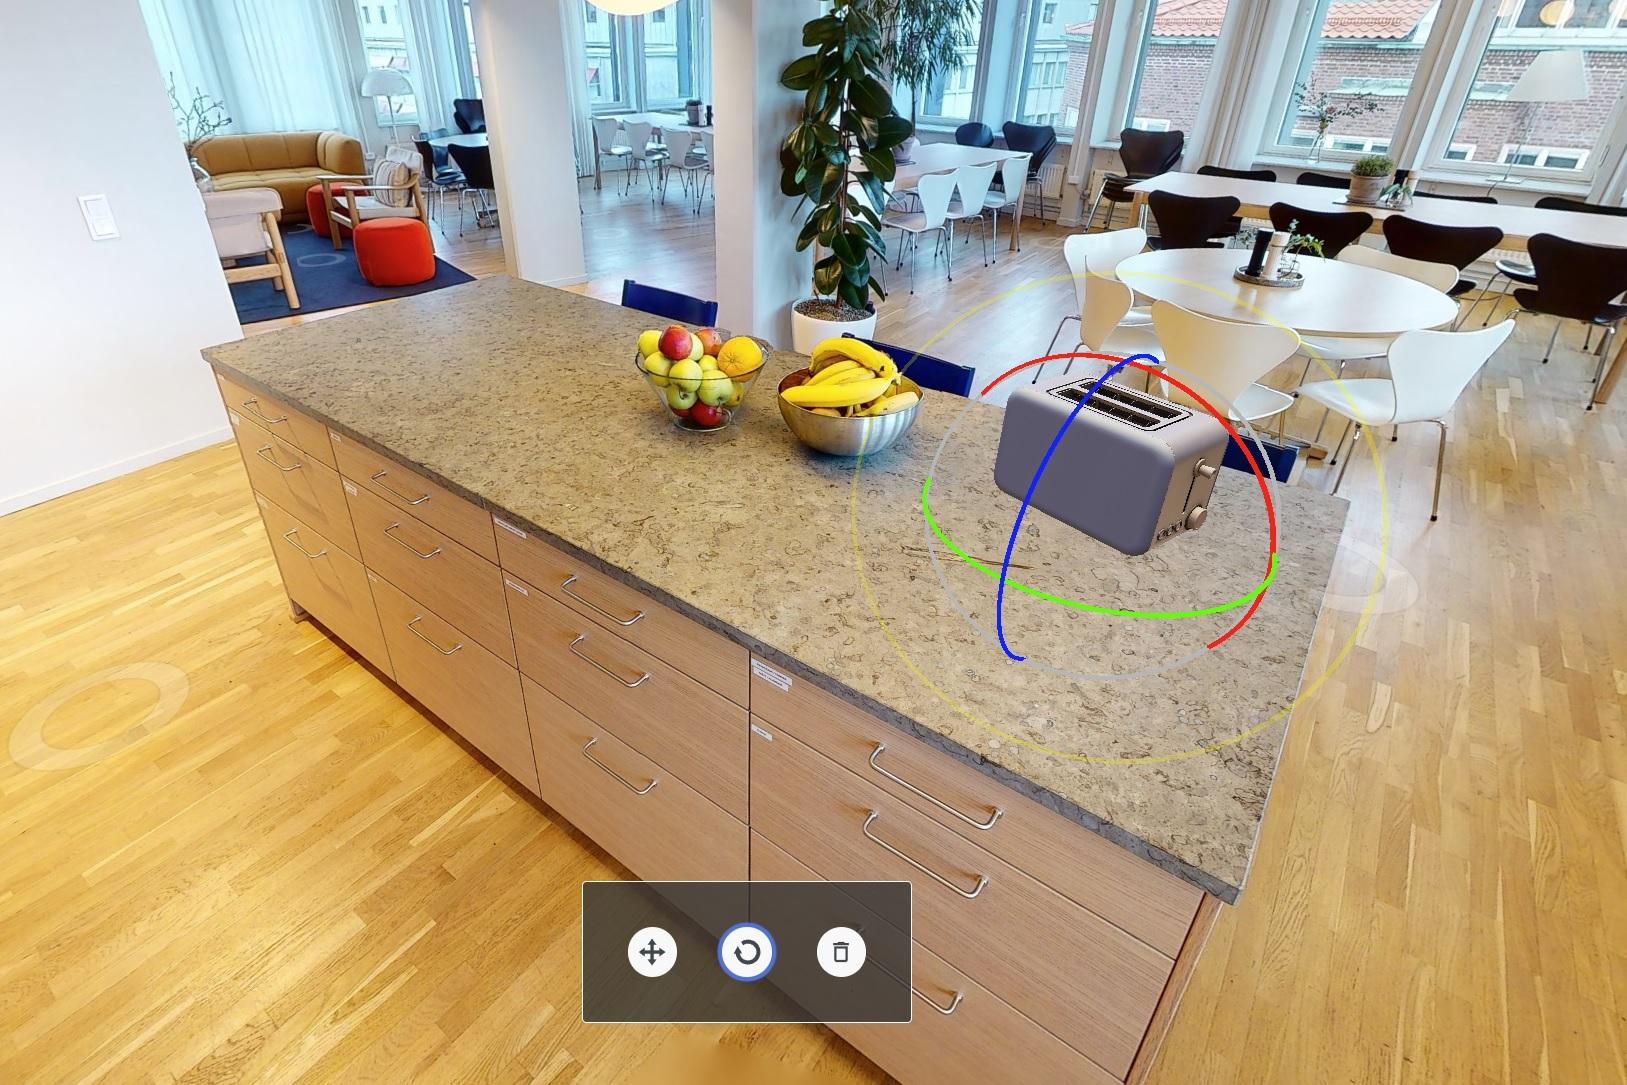
Apply the changes (*adding model to the space*) by clicking the "**Save**" button in the **bottom right corner** of the screen.
---
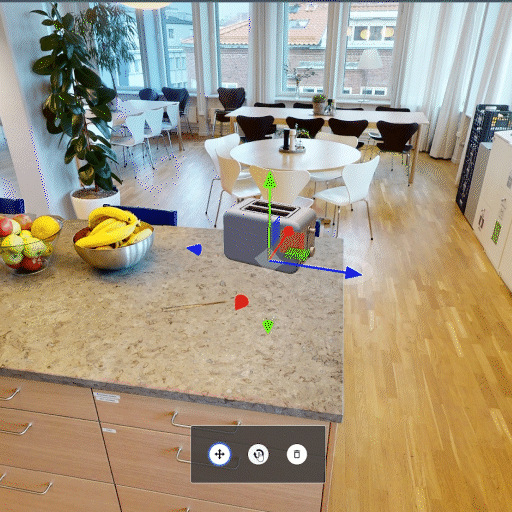
Let's add a second model to the scene.
- In the **Model Browser**, collapse the **Consumer Electronics** section and open **Furniture**.
- Scroll down the list until you find "**Egg shaped chair**"
- Place the model in the open space, on the floor, between two columns
Repeat the process as you see fit. You may also create another Layout and populate it with different models in different places. This way you could switch between them and compare the different visions.
With space populated with models, we can now return to the **3D View** and toggle on the **Interior Designer** models visibility (*Armchair icon located in the top left corner.)* We can then choose different layouts to display inside our space.
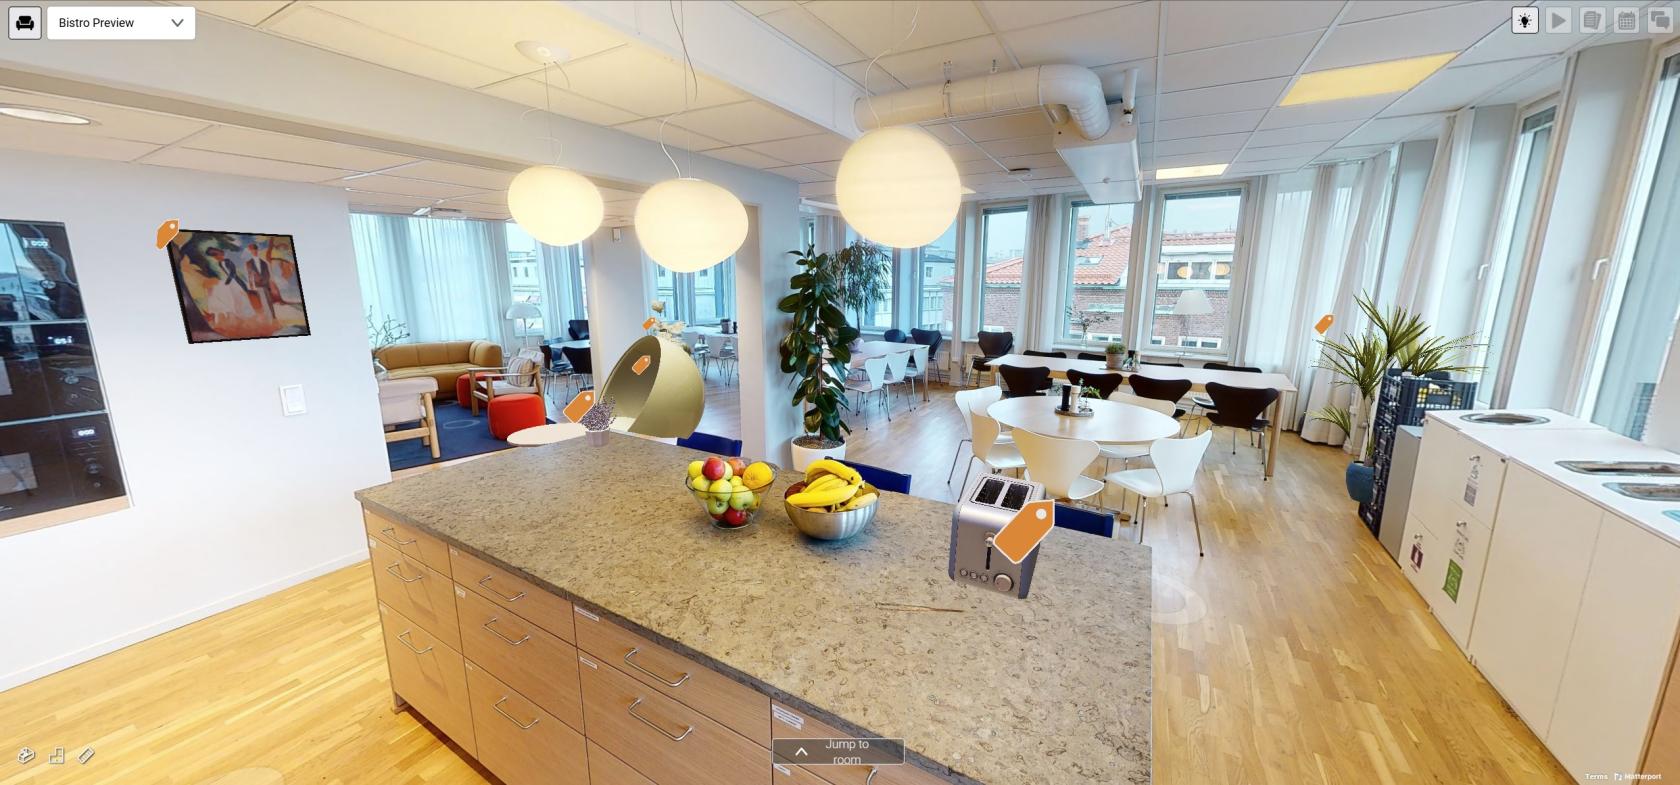
*~Space populated with Virtual Models*
A great way to use **Interior Designer** is coupling it with **Matterport Defurnish** feature. Giving your space a twist by visualizing it with custom, virtual furniture. To learn more about this option, see the official [**Matterport Defurnish Documentation**](https://support.matterport.com/s/article/Defurnish-your-Space?language=en_US)
You can upload your own models as well, it's explained in [**Interior Designer**](https://docs.sim-on.com/books/3-app-overview/page/interior-editor) page, **[Custom Models](https://docs.sim-on.com/link/146#bkmrk-uploading-custom-mod)** part
We recommend checking our **Guide** to [**Best Practices in 3D Graphics**](https://docs.sim-on.com/books/4guides/page/best-practices-in-3d-graphics) before uploading your first models
---
This concludes the Interior Designer tutorial. To learn more about it, see [**Interior Designer**](https://docs.sim-on.com/books/3-app-overview/page/interior-editor) page.