Asset creation
With the rooms assigned, assets can now be included within the space.
Defined as an "asset" is any object or an item you wish to keep track of in your SIM-ON space. The main difference between an "asset" and a "device" is the lack of smart connectivity of the former one.
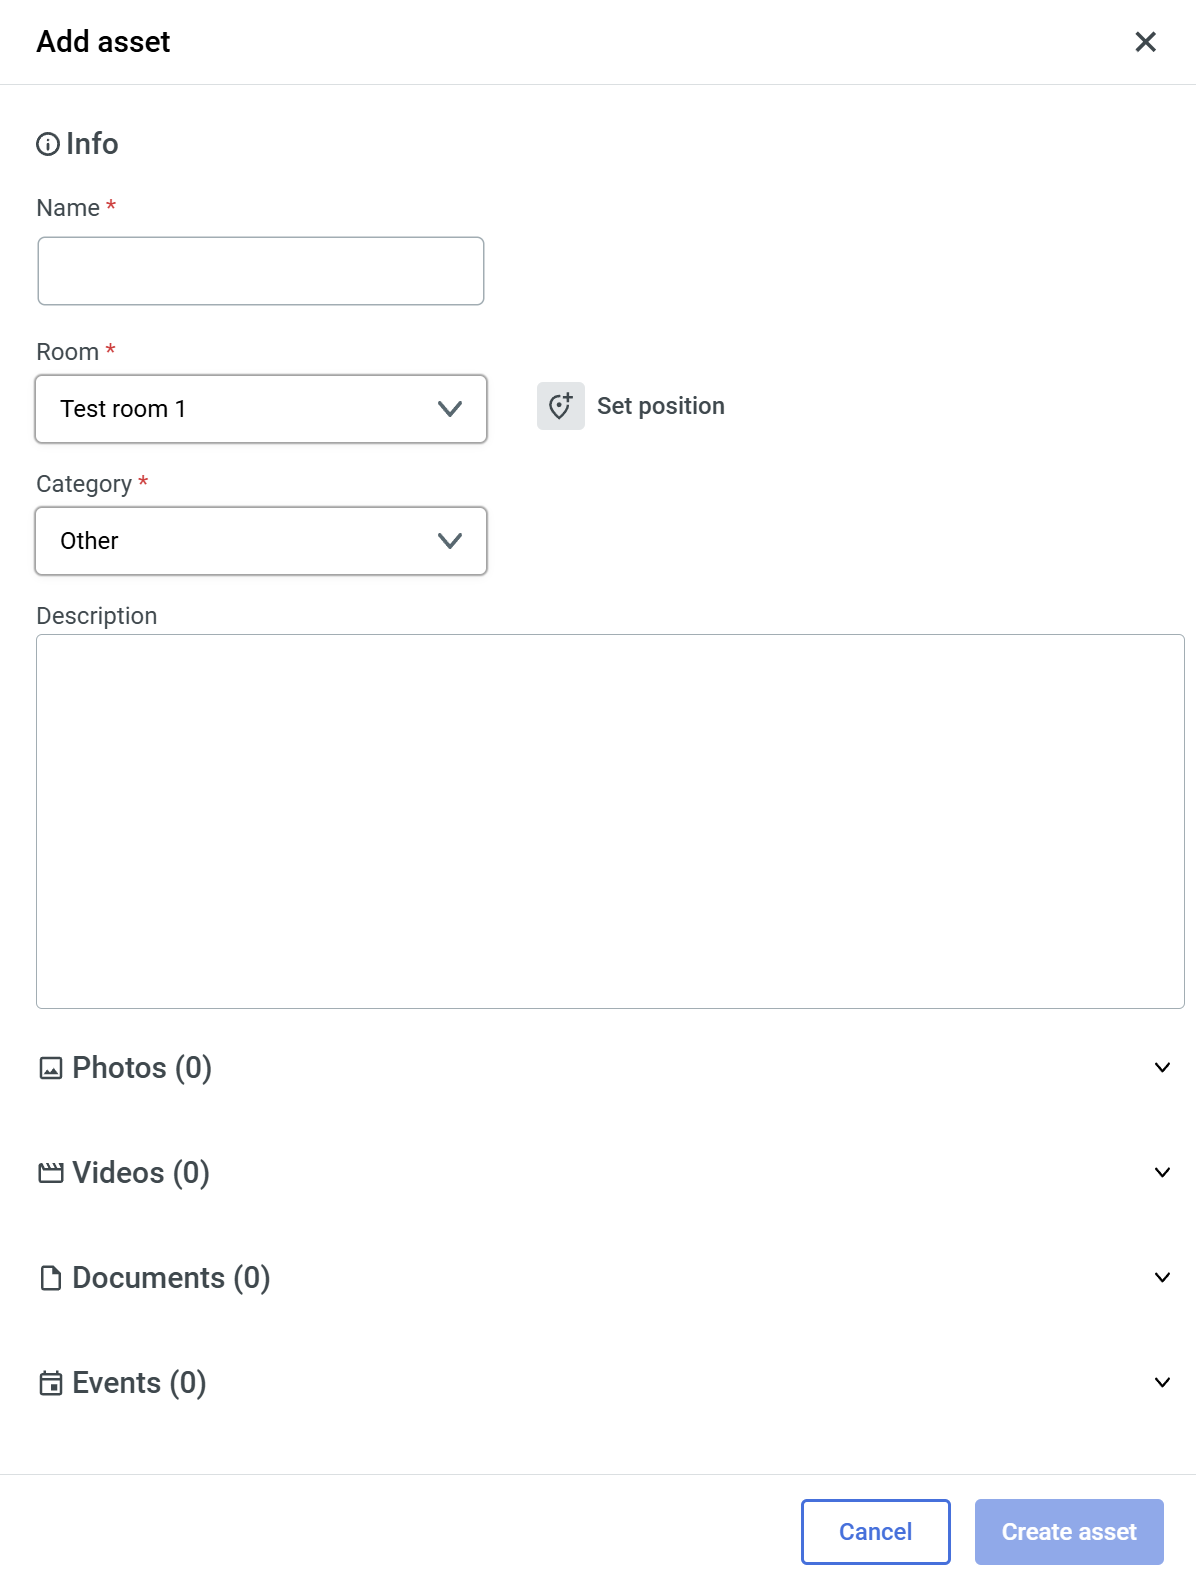
The following window will appear on the right side of your screen>
To create an asset, you need to fill out the necessary fields, marked with " * ", then the ![]() button will become available to finalize the asset creation.
button will become available to finalize the asset creation.
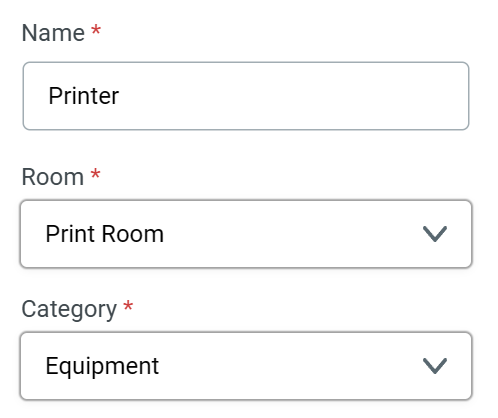
As an example, we will create an asset for a Printer located in the Printing room in the project space.
- Fill the necessary fields as seen here:
With basic Asset info, now we will set position for the asset.
- Click the
 Set position button
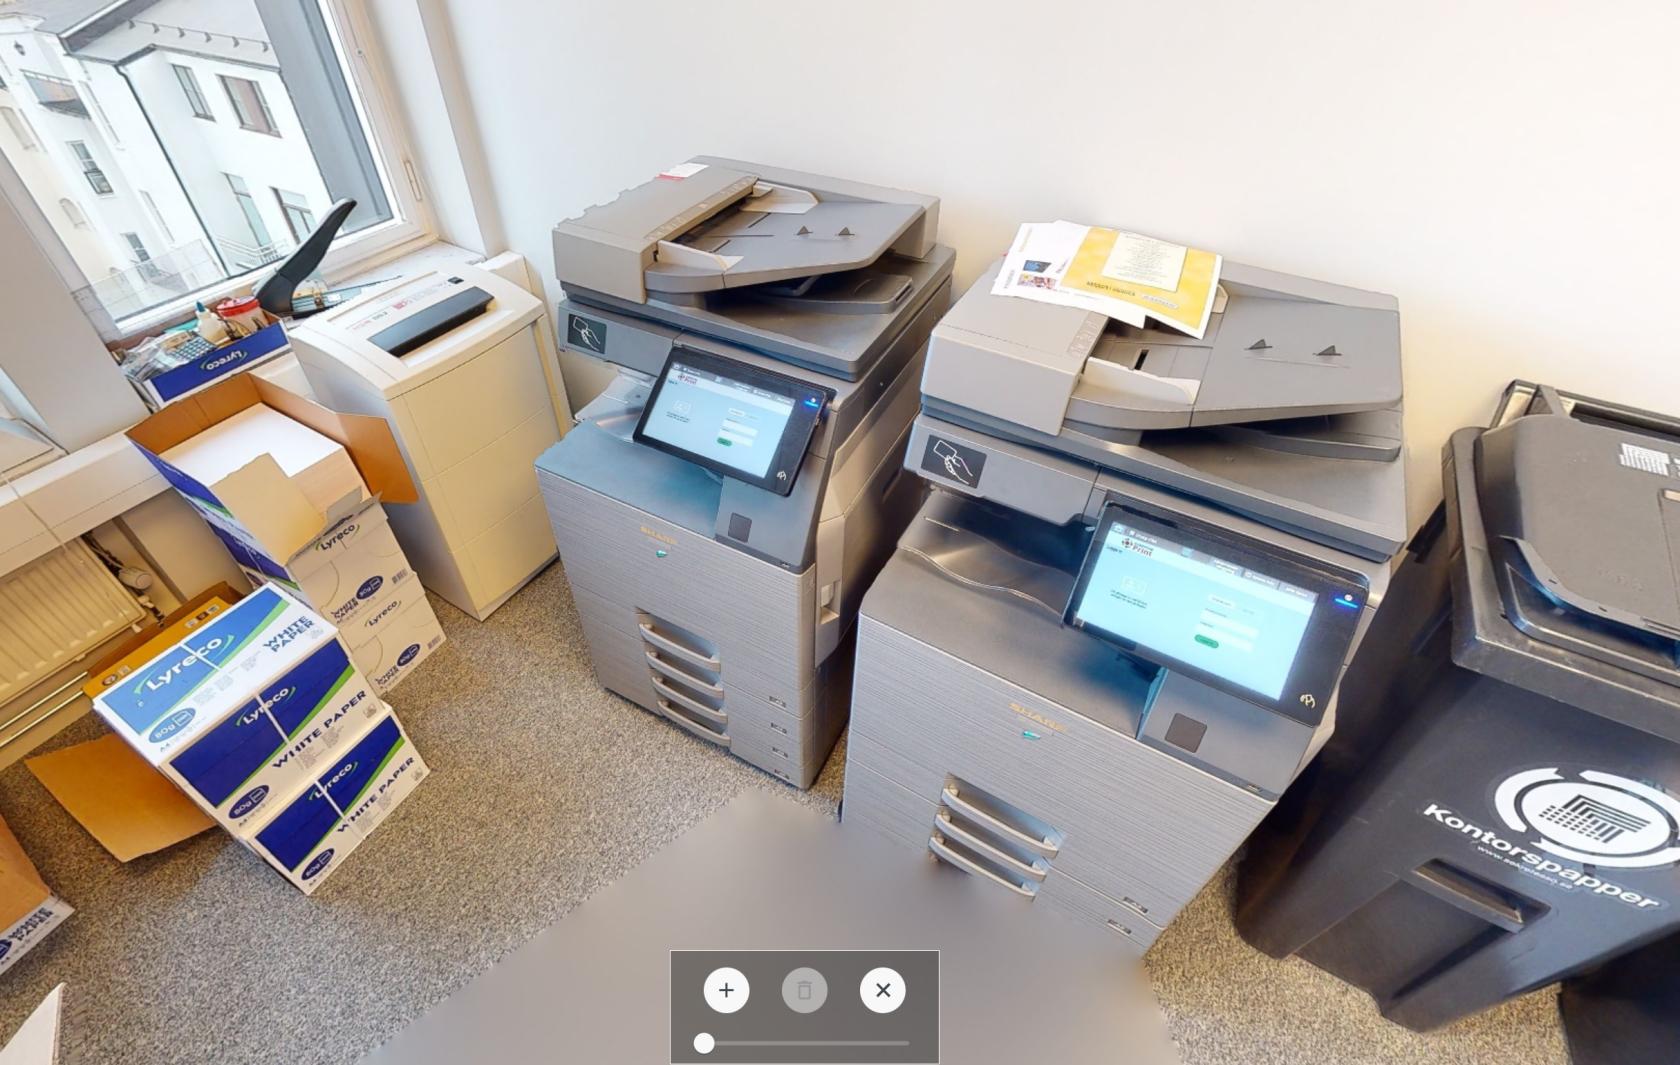
We will be putting the position marker on the left printer. Press the " + " button from the new window that appeared on the bottom of the view.
- Place the Pin on the printer
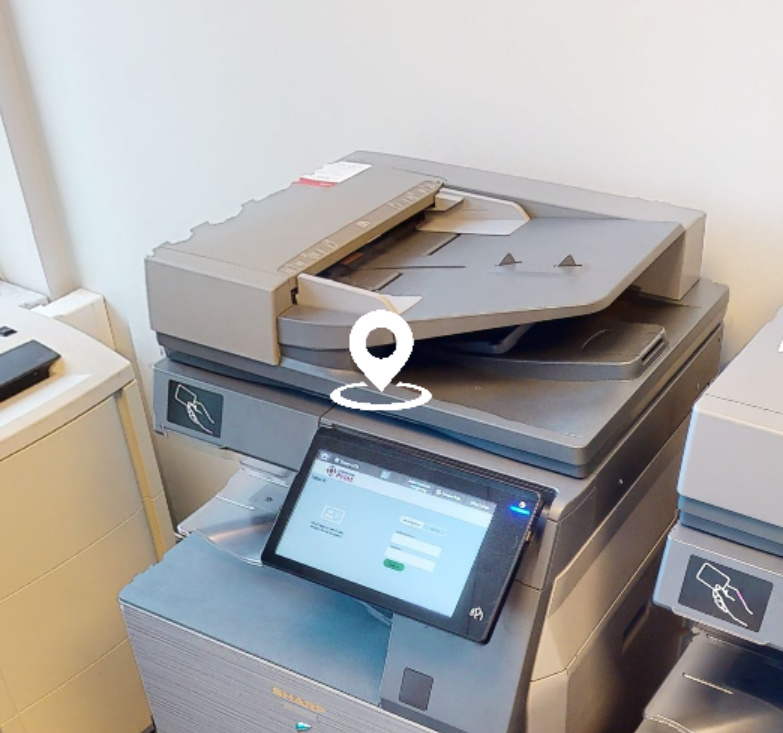
- Exit Position placement by pressing " x " button
You can edit/delete Asset location at any time from the Asset Panel
With the basic Info and location set, asset can be created.
There are more options that can be used to store information within an asset such as: Description, Photos, Videos and Documents. You can use these to further complete asset information.
Here is an Event section filled as an example:

After creating an asset, it will appear on the right side of the viewport, under the Quick Access Menu, as well as in the assets list in the Dashboard.
To learn more about other Aspects of the Software, check the rest of our SIM-ON Documentation.

 To add an asset, navigate to