NETx
To learn how to setup NETx for SIM-ON integration, see Official NETx Integration with SIM-ON digital twin platform
|
1.
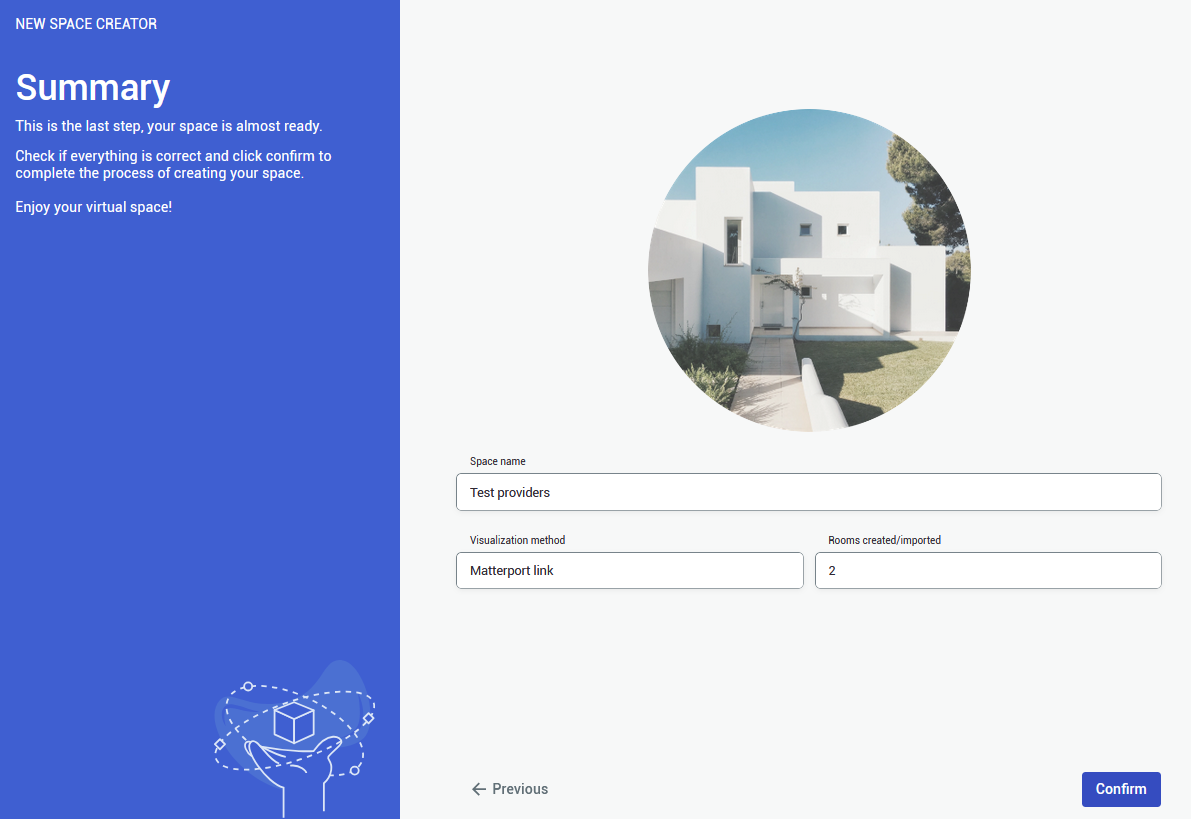
In the provider selection window, choose NETx to proceed the project setup based on this home automation service provider.
See the list of smarthome providers in detailed project setup, to check which ones are supported |
 |
|
2.
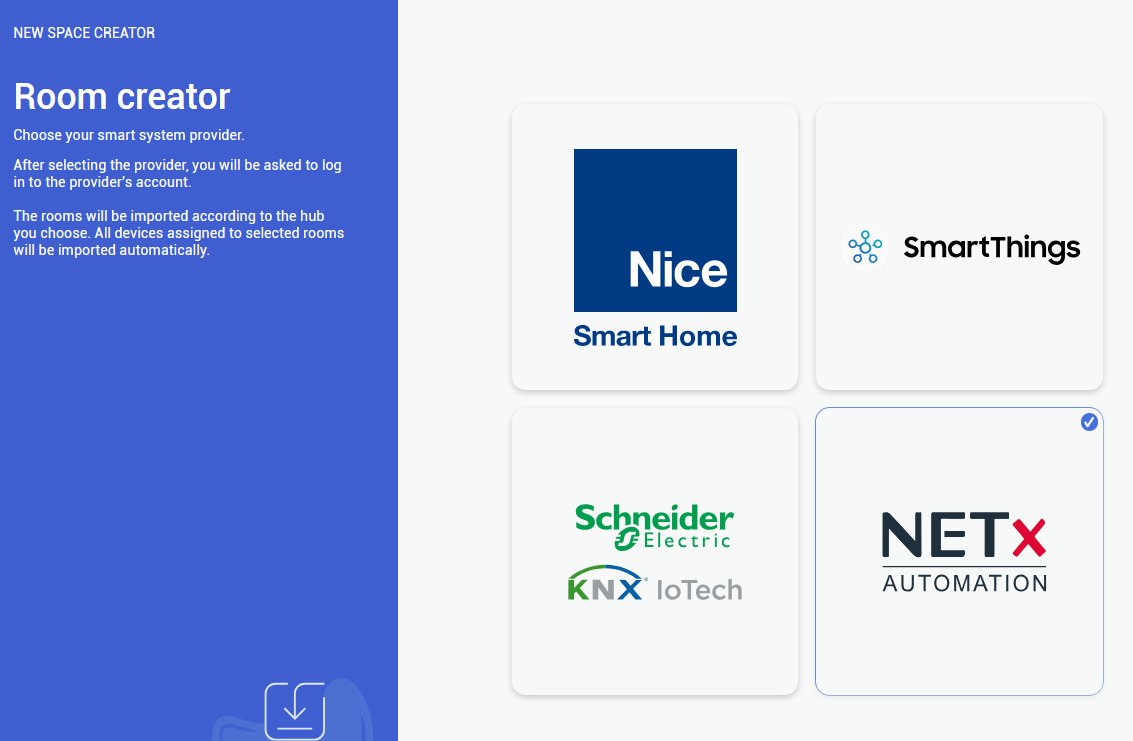
In the next step, you need to provide all essential information, so Login, Password, Remote access ID and Remote access name (can be custom) |
 |
|
3.
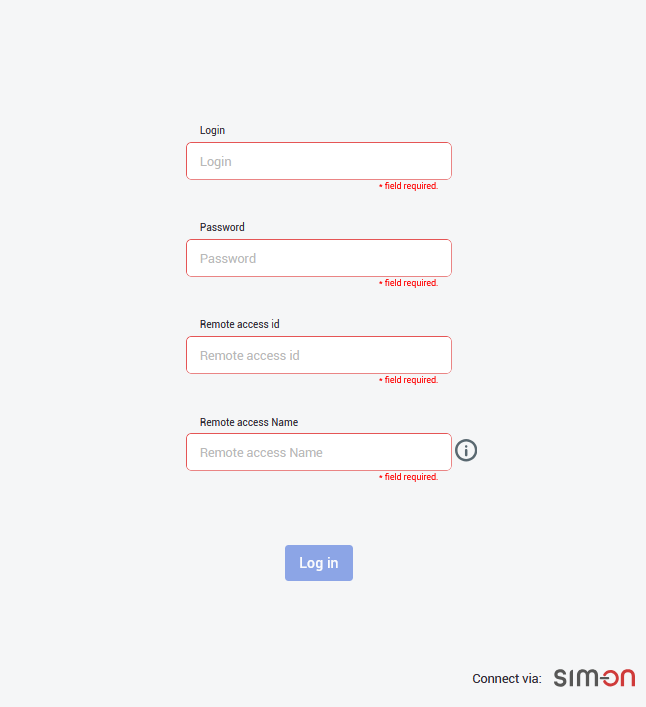
After logging in, you need to choose the central smarthome hub, from which the available rooms will be displayed. |
 |
|
4.
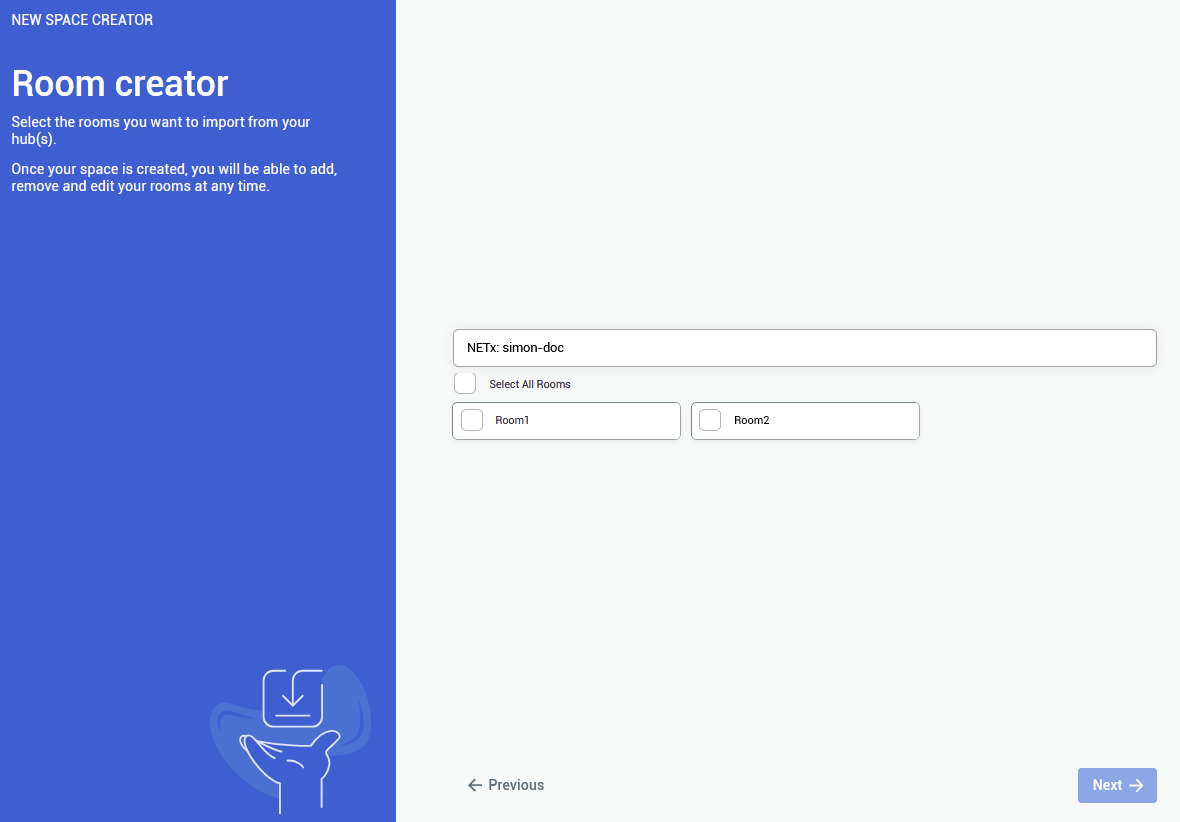
After selecting the central hub, you will be shown a list of all the available rooms, that were created in your NETx application.
Choose at least one room, to proceed further.
You are not required to import all of the rooms, although it is recommended - to keep the consistency between smarthome environments
Rooms can be added and edited afterwards as well |
 |
|
5.
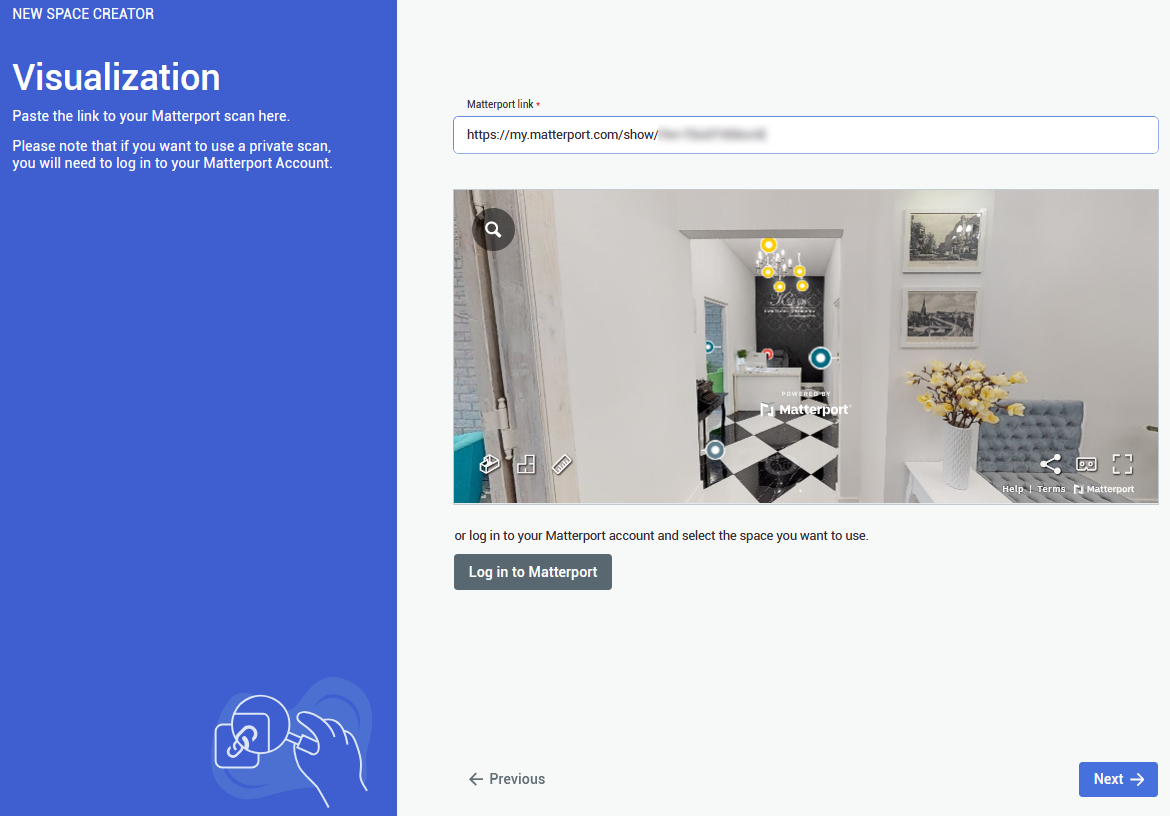
The last step is to provide a Matterport Virtual Tour link. Either public o private link is accepted.
To use private link, you are required to log in to an appropriate Matterport Account |
 |
|
6.
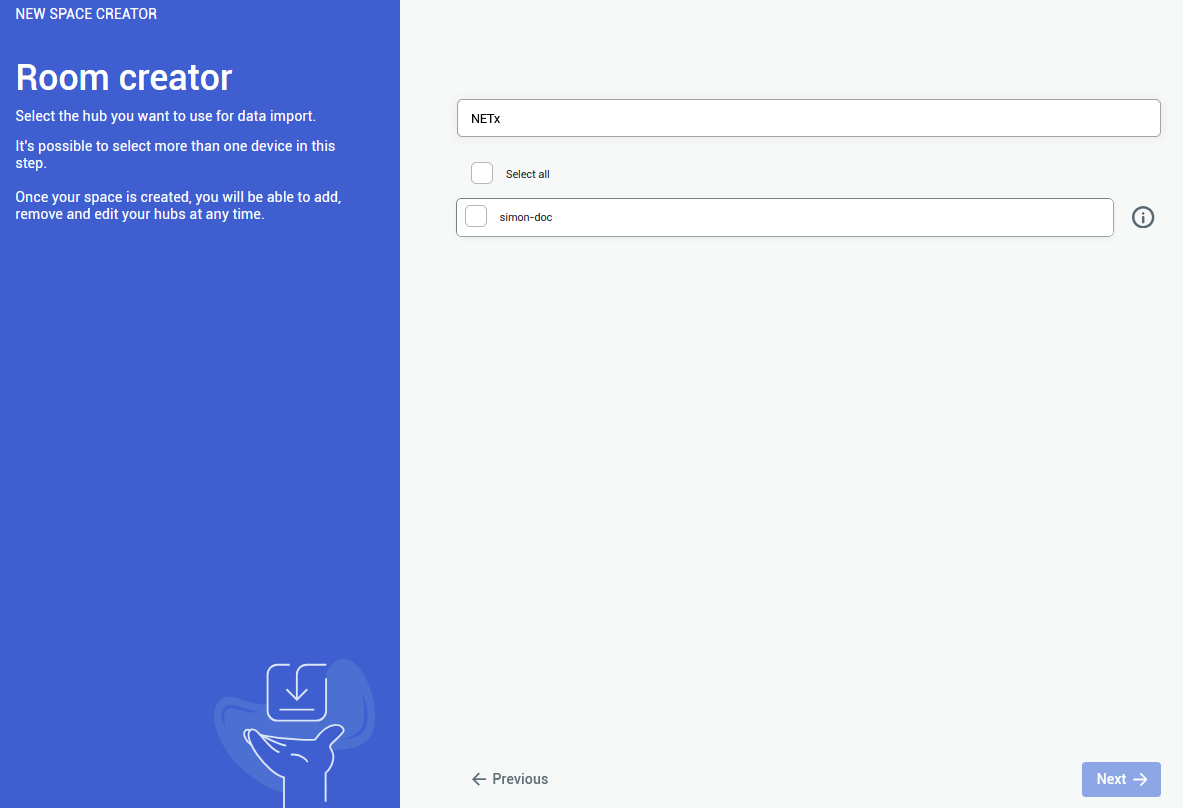
At the end you will be shown a summary of your project setup. After making sure that everything is as it should be, confirm to finalize the project creation. |
|
You can add a provider by selecting Providers in the side bar, and then clicking on ![]() button. The process will look exactly the same.
button. The process will look exactly the same.
You can also delete a connection by clicking on ![]() button. Devices imported from the selected hub will be also deleted
button. Devices imported from the selected hub will be also deleted

