Devices
Choosing the Providers and adding Devices
There are two ways to import the devices. The first is a part of the process of creating a space - mainly, the import rooms option. After selecting the option of importing rooms the process of connecting to providers is shown here:
KNX - project setup
SmartThings - project setup
NICE (Fibaro) - project setup
NETX - project setup
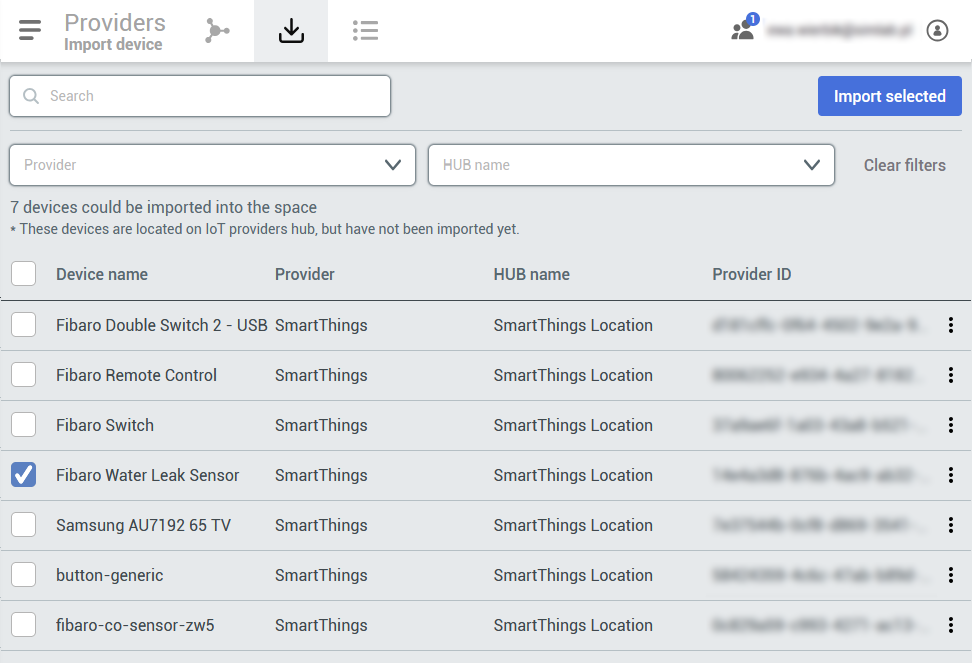
If you have more than one provider but you want to import devices from one of them only, click on the Provider dropdown and choose the desired one. If the devices were already connected to the project, they will appear in the Device list immediately
|
Be aware that you can import many devices but not all of them will be connected to your space. If the devices are connected to the space already, you will find them in the Device list. In the example on the right there are multiple devices that are not connected to the space |
 |
|
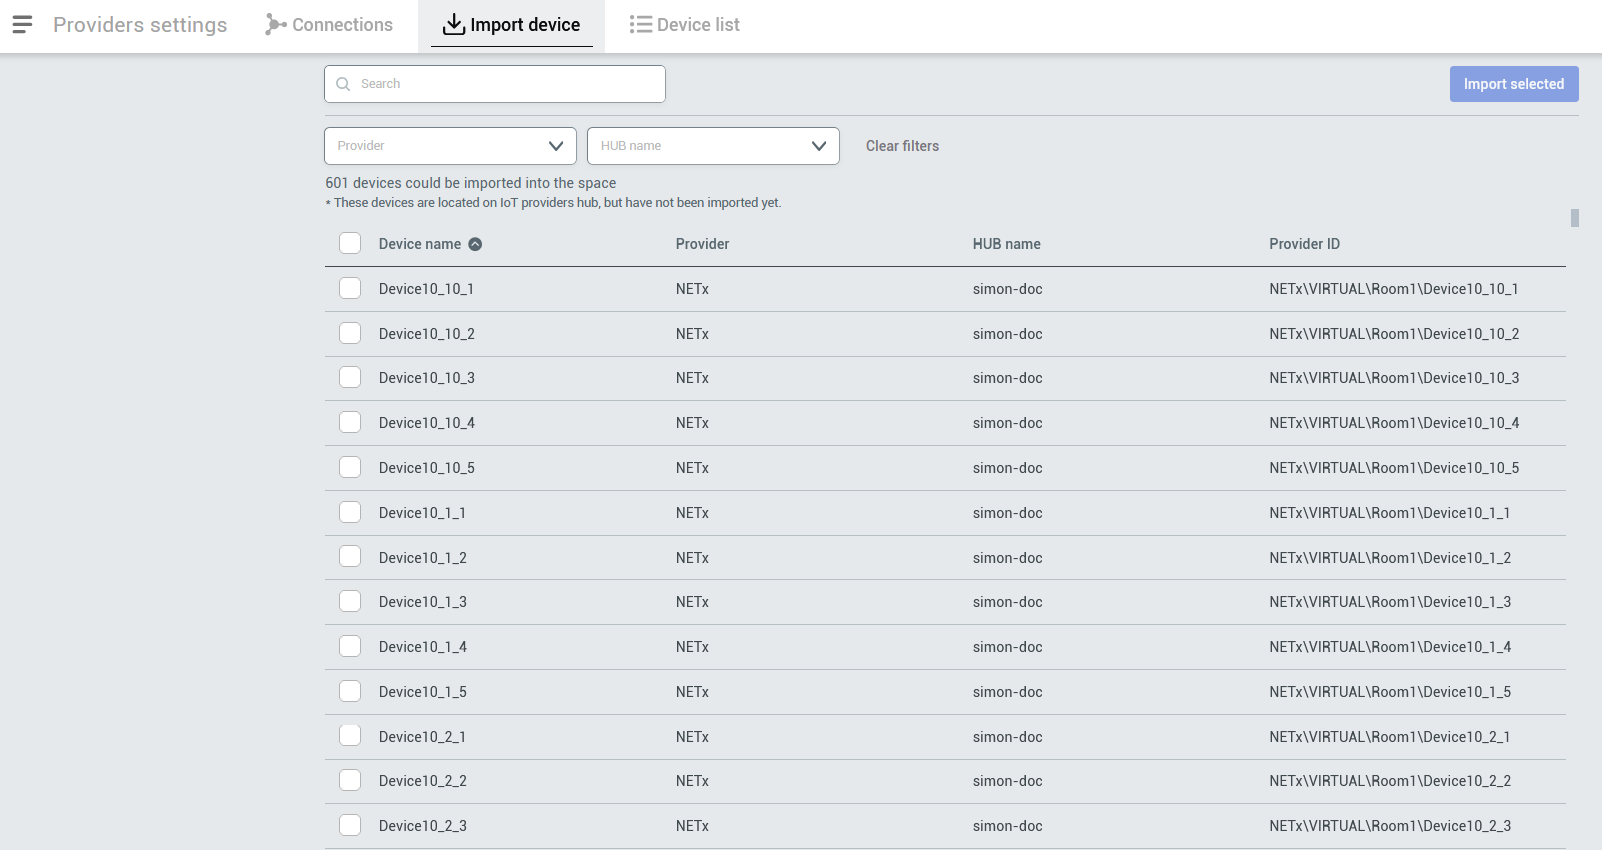
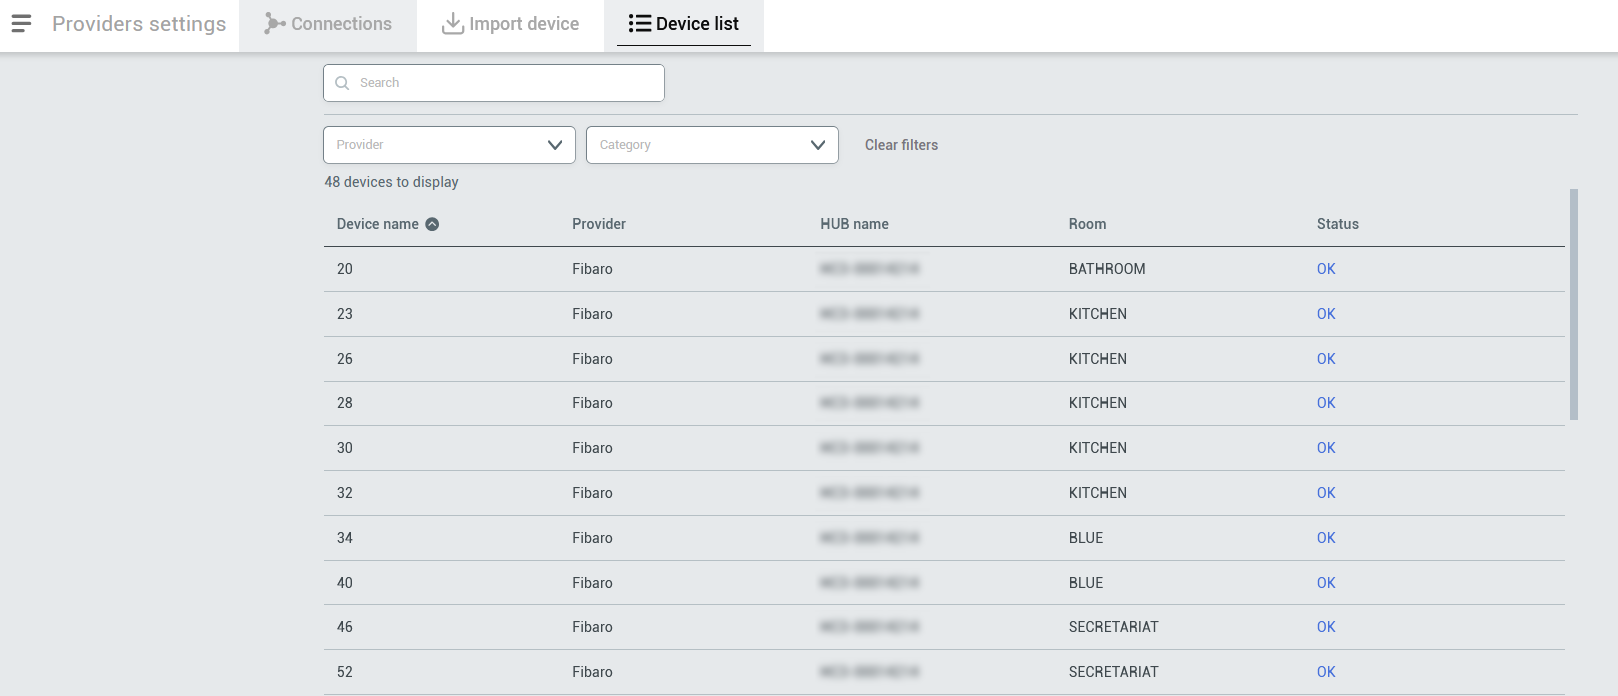
Then, In the Device list, you will see all the new Devices you just imported (or imported automatically) with information about device name, provider, HUB name, room and its status.
|
|
Adding devices to an existing project
In the previous step we went through adding devices while creating the project. If you already created a project and you want to import devices, follow the steps below.
In case you already created a project before and you want to add devices from another provider, you need to click on the burger menu ![]() icon, go to Providers, and then, in the Connections tab, click
icon, go to Providers, and then, in the Connections tab, click ![]() button.
button.
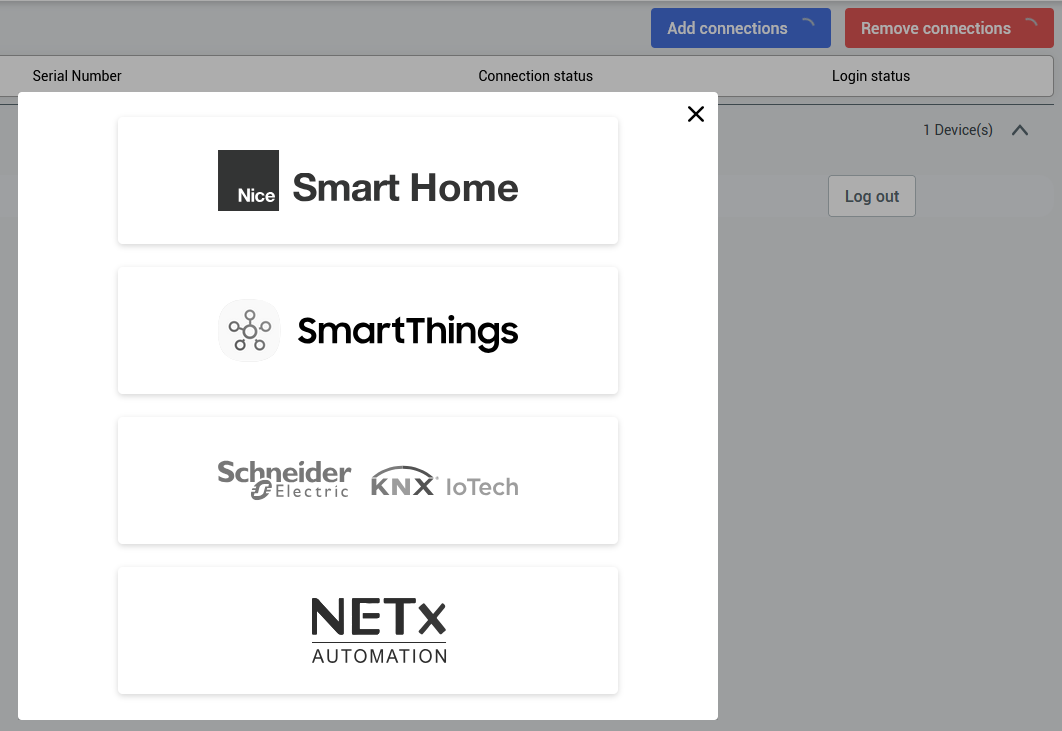
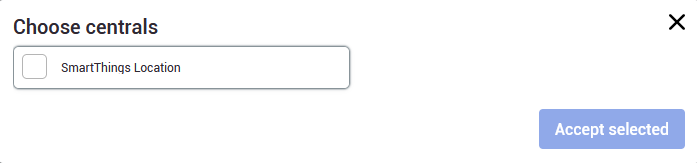
The window will appear and you'll be able to choose the provider, log into the system and depending on the selected provider, go through necessary steps (like giving the provider permission to access the devices, hubs etc.) In this example, we added SmartThings provider and in the next step we need to choose the centrals we want to import and Accept Selected.
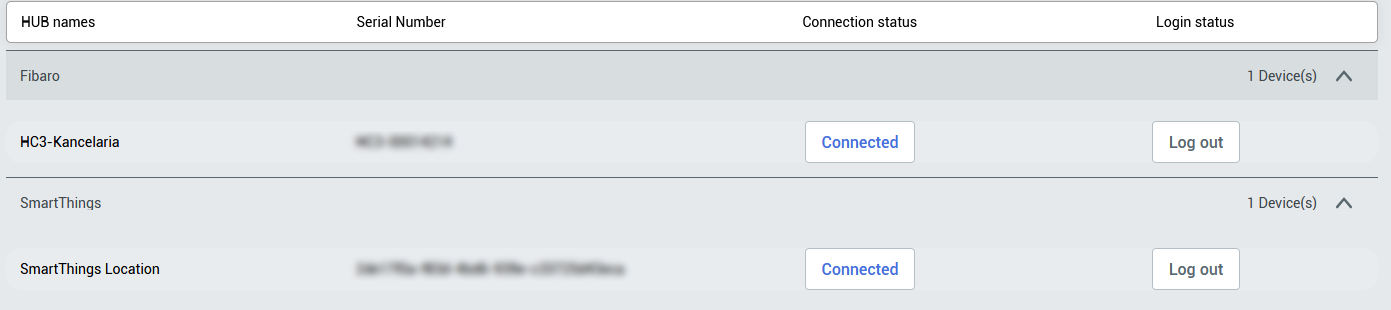
Next, if everything worked, we should see another HUB in the Connections tab.
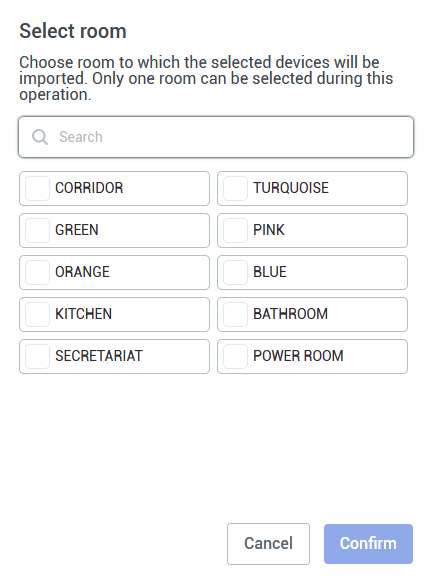
To import the devices, we need to go to the Import device tab and select the devices we want to be imported to our space. After pressing Import selected button, you will be asked to choose the room the selected devices will be imported to (you can select only one at a time.)
 |
|
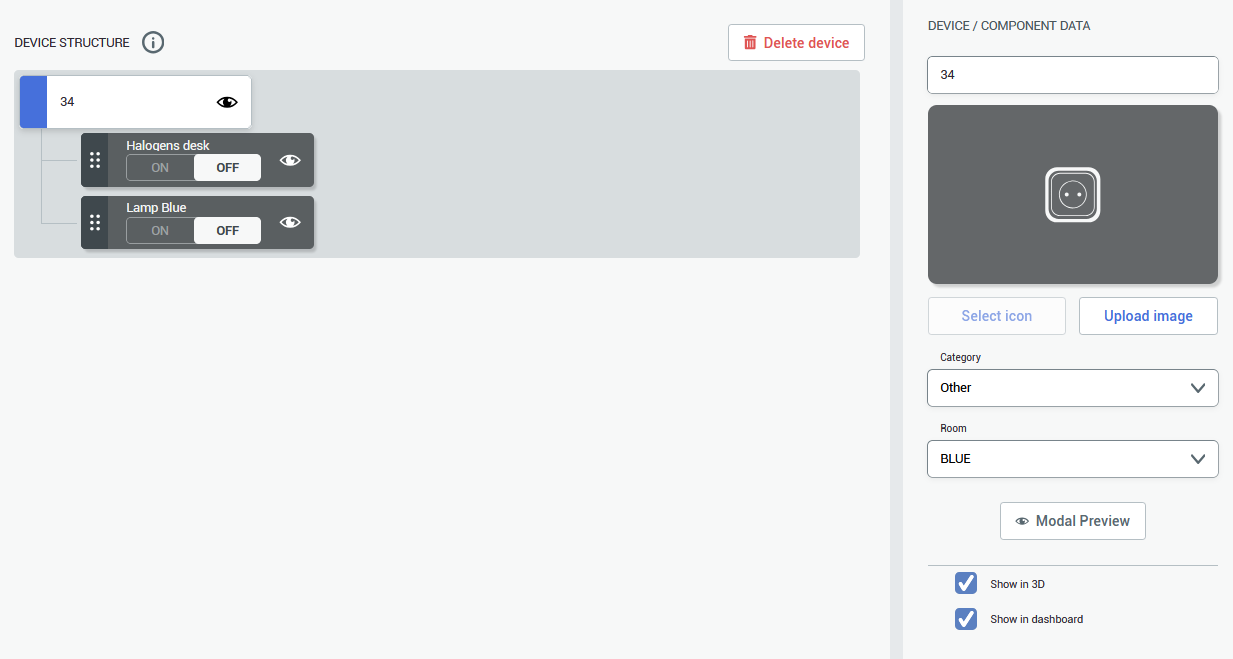
Renaming, editing and placing devices
|
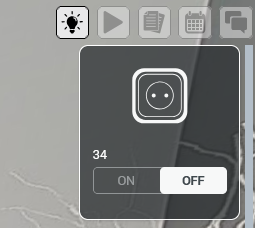
The devices come with icons that shows what specific device do. Let's change the name of the power outlet.
To rename a device (if it's named automatically but not intuitive,) you can select the device from the right panel, click on it and a window will appear.
Remember that at this point, if you're editing any property and click on the on-off option, you might accidentally turn on or off some devices
|
|
 |
|
|
|
|
|
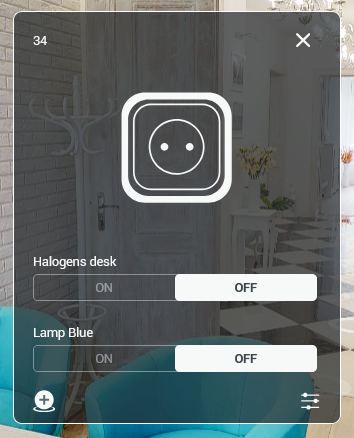
After clicking on a device, you will see a window with the device details. You can click the |
|
|
|
|
|
|
|
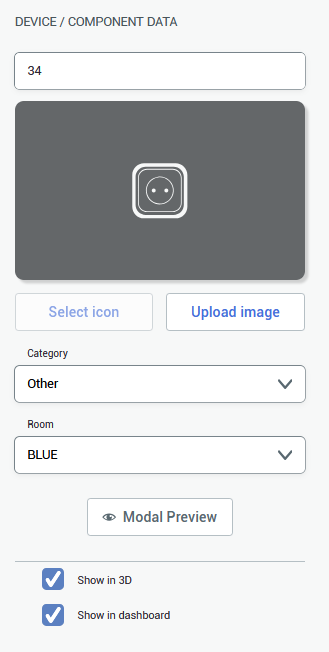
On the right you can change the name of the device and add the custom icon, change the category and room its assigned to. After renaming and saving the settings, you can click on the device again and see the little icon. This way you can click place the icon of the device in your space. Power outlet that is used for this walkthrough is located behind the door, so the marker is placed near the socket location.
|
|
|