
Stages method
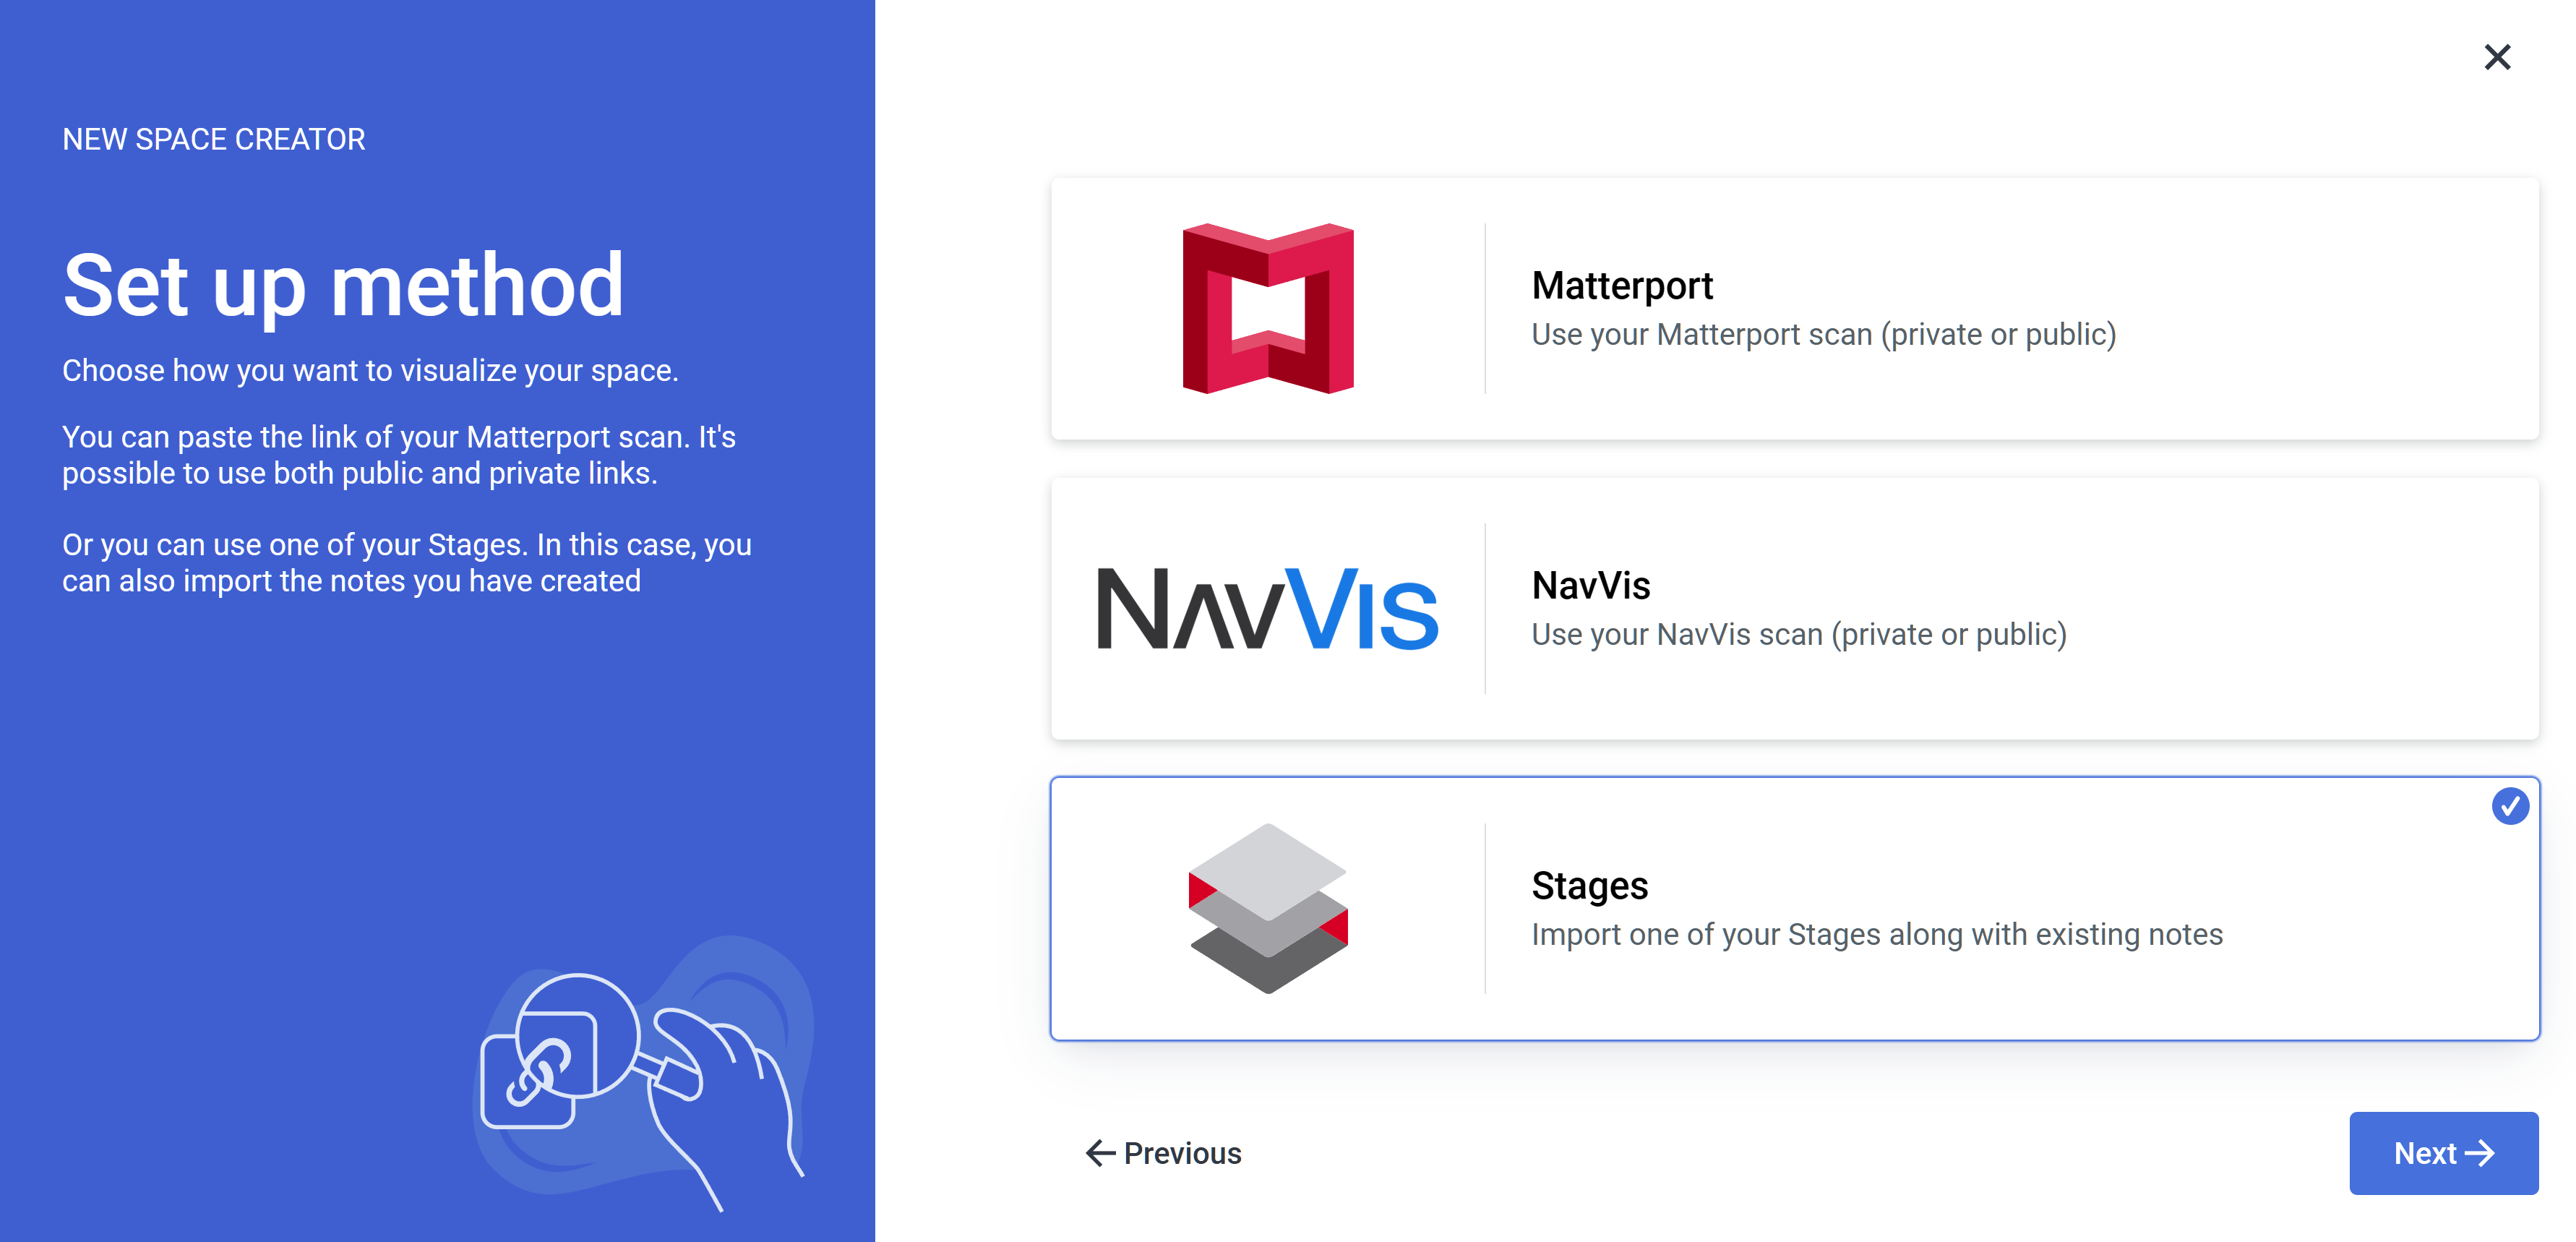
If you already have a project in Stages and Import room option, similarly to the Matterport option, you will be asked to choose the provider.
If you don't have a Stages project set up, you can use either the MATTERPORT or NAVVIS Method instead
The process is the same for all Providers SIM-ON works with. For the presentation purposes, we will be using Fibaro (NICE) and present the whole process of adding a new space with importing devices, setting sweeps to rooms and adding and renaming the devices for the space
Importing rooms
If you do not have a smart home system that we support, or any smart system at this time, use the Custom room creation
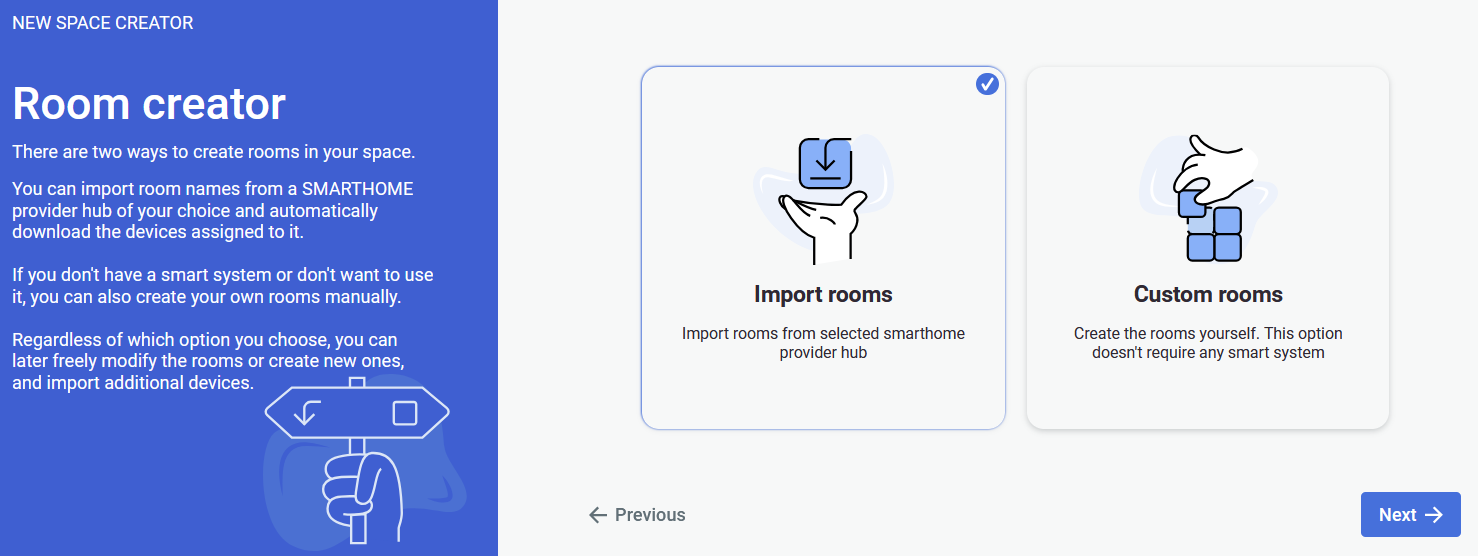
Selecting the Import rooms option will open a SMARTHOME provider selection window, where you will be asked to choose a provider. We will be using Fibaro as our provider.
Currently supported providers are:
KNX - project setup
SmartThings - project setup
NICE (Fibaro) - project setup
NETX - project setup
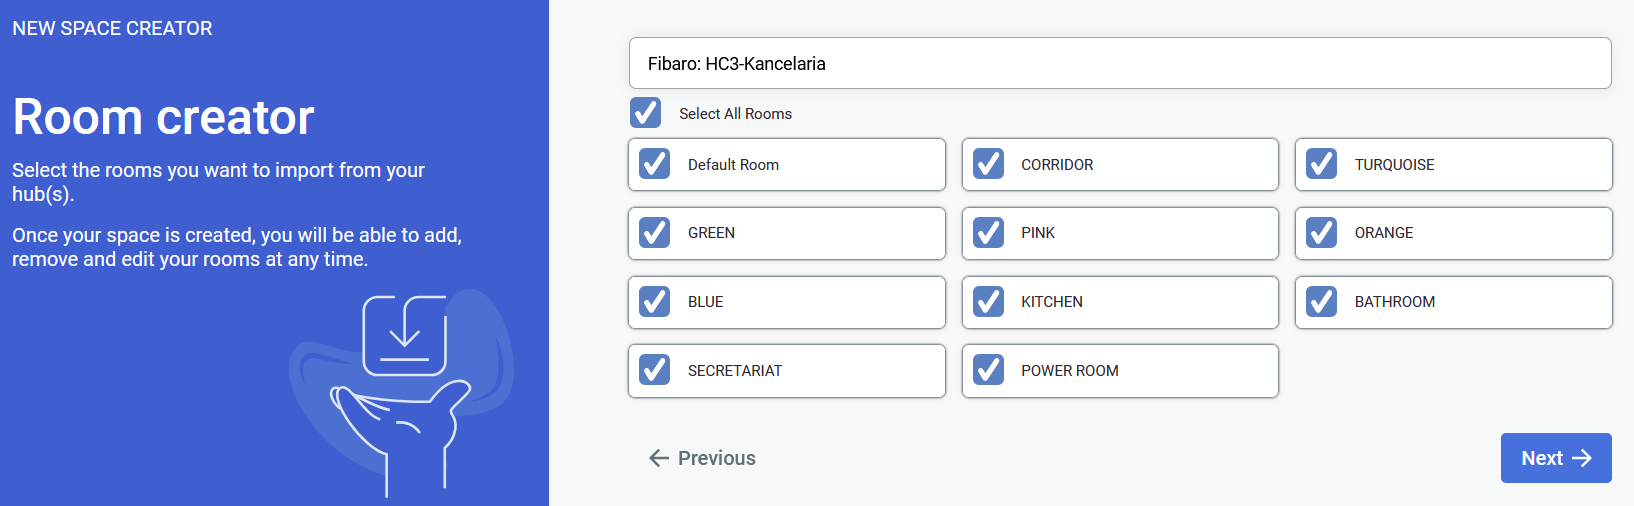
After selecting your smarthome provider and logging into your account you will see a list of available rooms to choose from for an automatic import.
At least a single room has to be selected

After selecting your choice of rooms, you will now have to select the Organization, project and stage, your scene will be built on.
After clicking next, the last step is to check if everything is correct. If so, click confirm and you can start working on your scene: adding sweeps to rooms, assets, tickets and events or devices in the future.
Creating custom rooms
The second option, “Custom rooms,” does not require any smart system, so if you plan to add one in the future, this option will work best for you
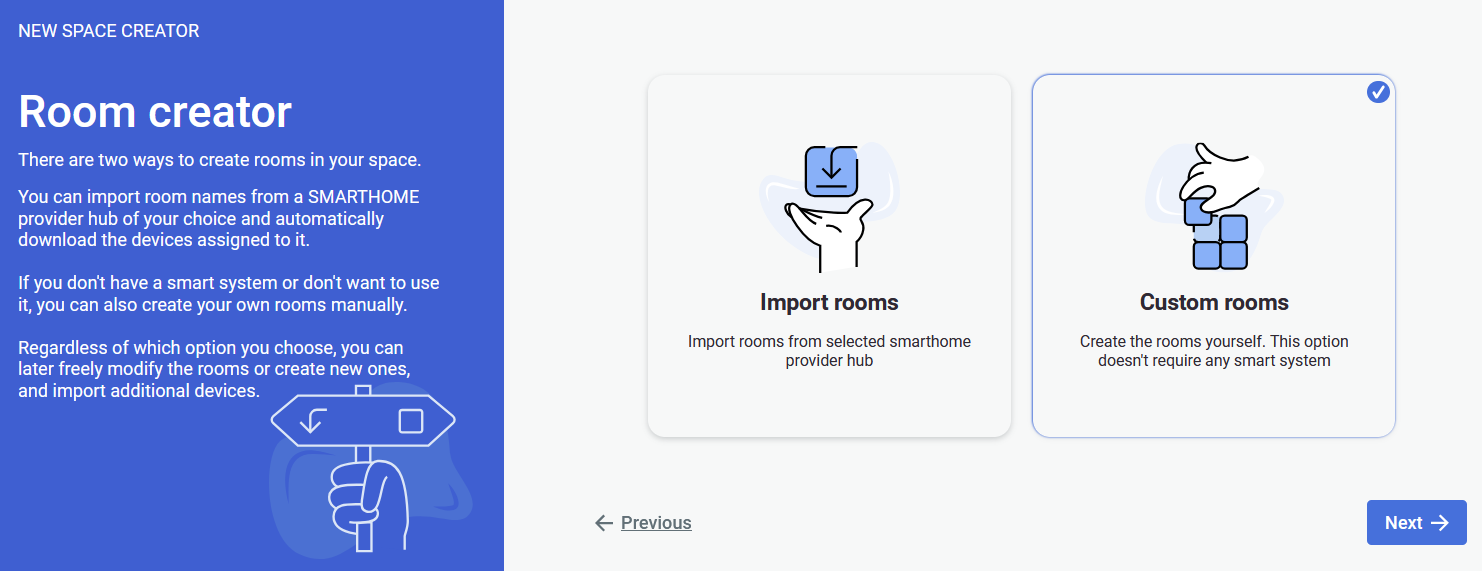
Select Custom rooms then proceed.
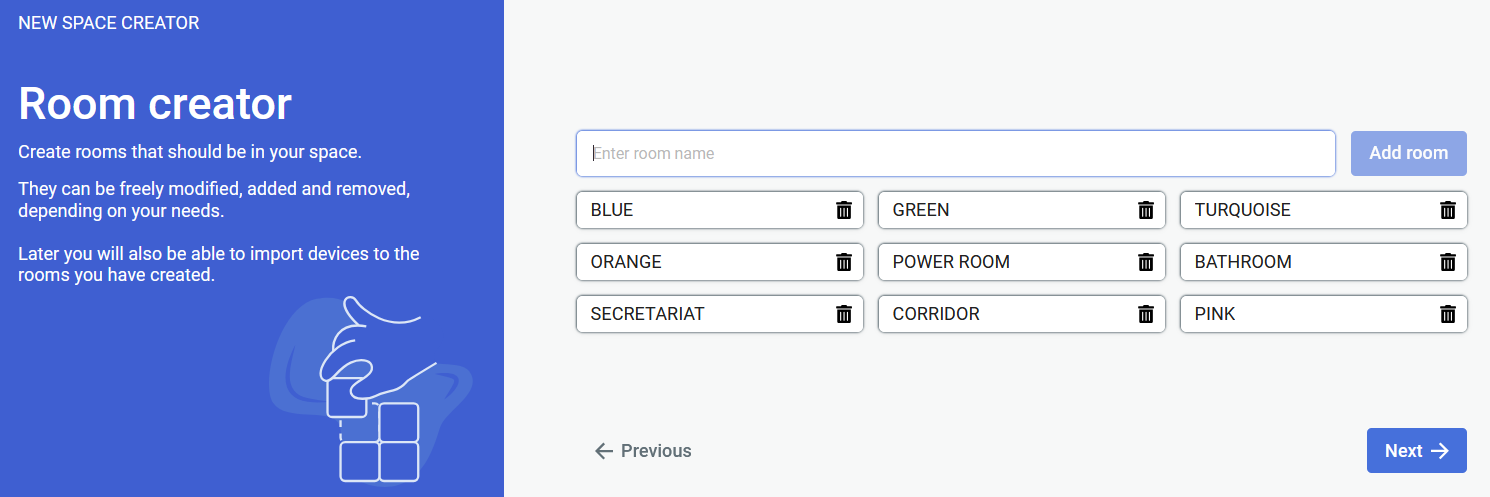
Now you will have to create rooms for the scene.
At least a single room has to be created to proceed
After creating your choice of rooms, you will now have to select the Organization, project and stage, your scene will be built on.
After clicking next, the last step is to check if everything is correct. If so, click confirm and you can start working on your scene: adding sweeps to rooms, assets, tickets and events or devices in the future.